


How to Paint an Accent Wall
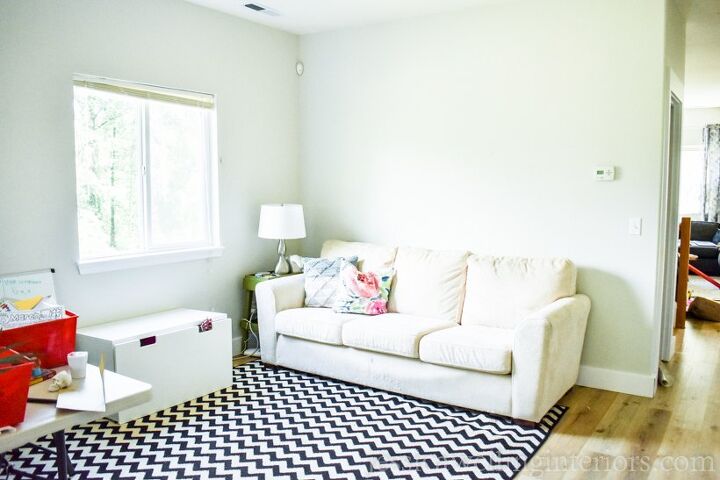
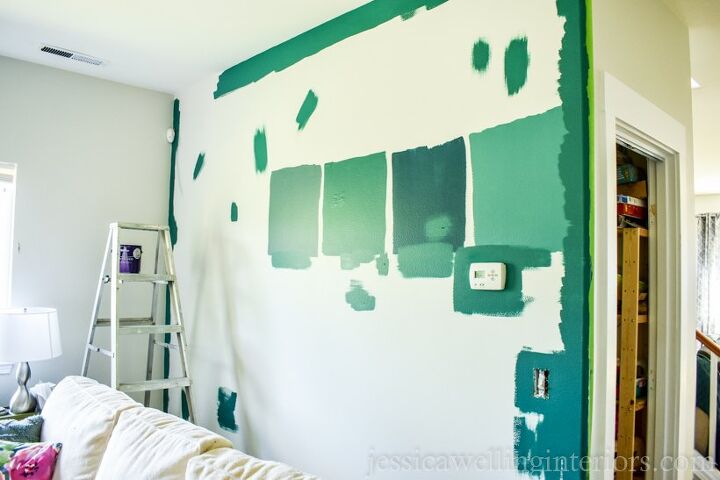
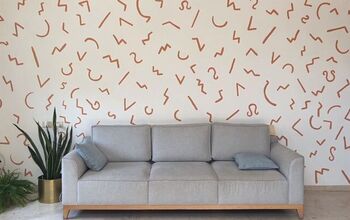
Hello! It's Jess from Jessica Welling Interiors. The kids got out of school today, and I'm already making plans for their distance-learning room for next Fall. Actually I'm doing more that making plans- I'm putting it all together so we'll be ready to go come September. This wall in the picture below is going to have a long desk with two workstations. Today I want to show you how to paint an accent wall. Most of these steps will be the same if you're painting more than just one wall.
Put down a drop cloth and cover any furniture you don't want to ruin. Also remove light switch and outlet covers. Be sure to keep the screws with them so you don't lose them!

I'm not a big fan of taping. For most painting projects, I prefer to just free-hand, and then come back and touch things up when I'm done. I've found that even when using tape, it's tough to get a perfectly clean line- especially with textured walls.
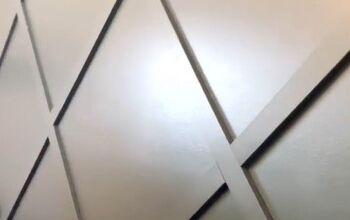
But for this particular project, one of my corners is rounded, so I do need painter's tape to create a clean line. This is especially important because there's a lot of contrast between the two paint colors. Once I've put the tape on the wall, I go back over it with my fingernail to be sure it is on there nice and tight so no paint will seep under it.
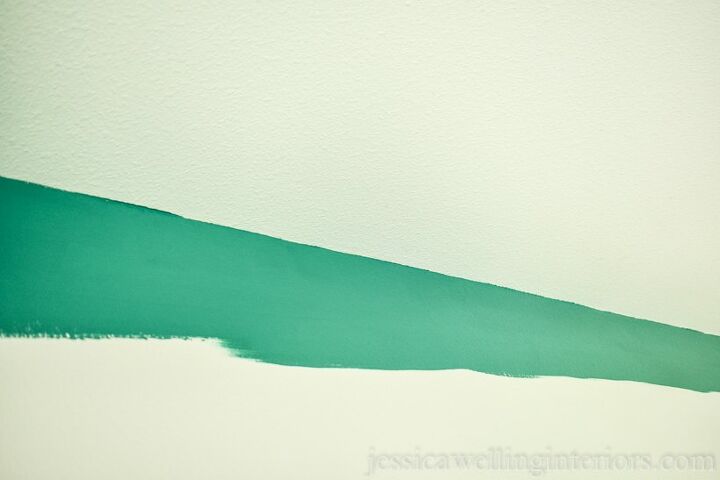
Cutting in is the brush work you do around the edges and corners before applying paint with a roller. I like to use a 1 1/2" angled brush. It's important to control the amount of paint on the brush by only dipping the bristles about an inch or less into the paint.
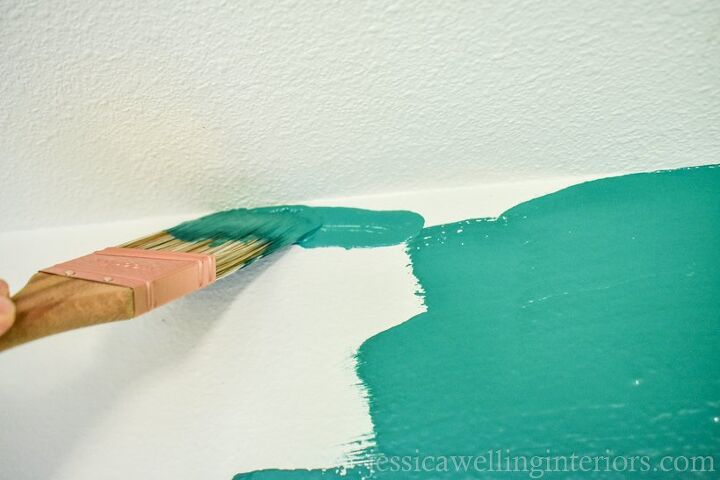
First, get just a little bit of paint on your brush. Then get right up into the corner, put a little bit of pressure on the brush, and carefully drag the bristles along the edge very slowly. It takes a bit of practice, but it's a worthwhile skill to master.
If you have any excess paint building up on your brush, apply it to the wall an inch or two away from the edge and smooth it out.
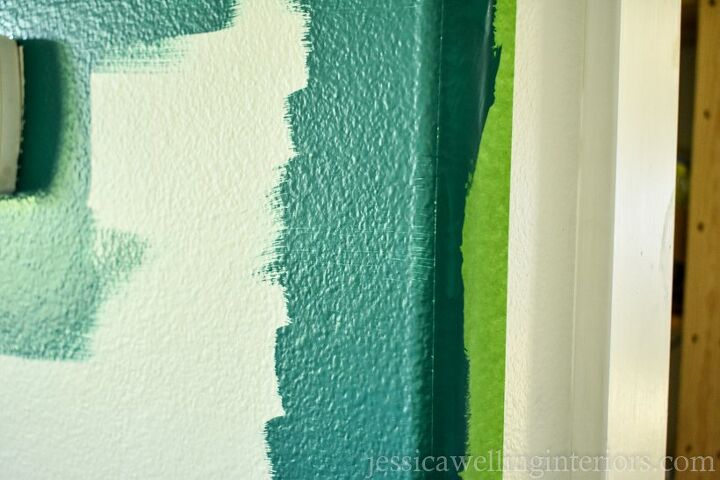
To paint the taped edge, start with the brush over the tape and move the paint across onto the wall (right to left in this photo), using short strokes. This will help ensure that you don't push any paint under the tape. You may have to do two coats over the tape, so come back and re-apply after it's dried for an hour or so.
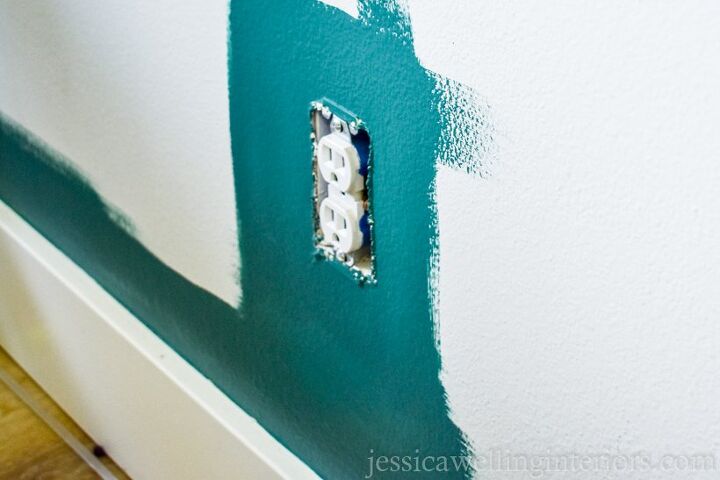
Go ahead and paint around any outlets or wall switches too. It's easier to get in close with a brush than it is with a roller.
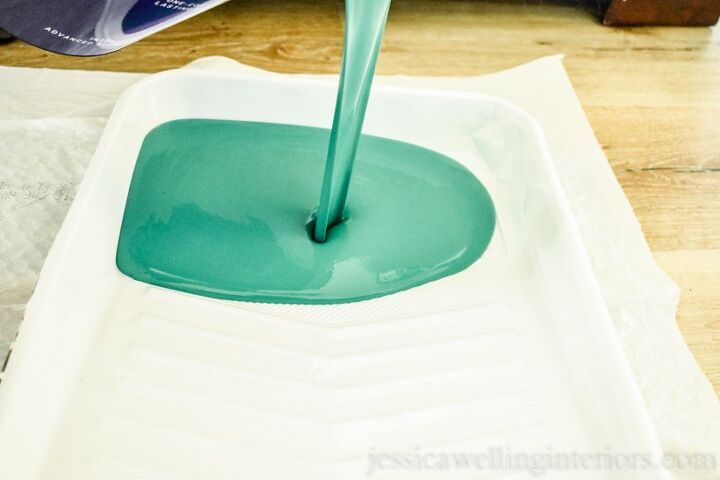
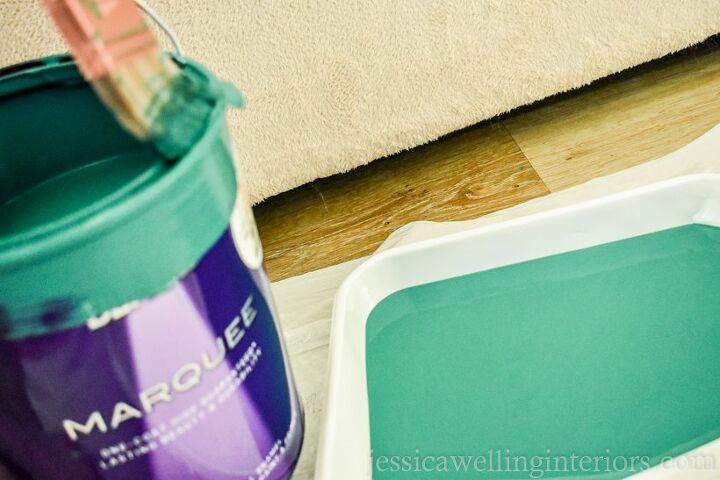
Pour the paint into the reservoir end of the paint tray.
Use your brush to wipe any drips off the edge of the paint can, and run the brush around the inside lip of the can to get any excess paint out.
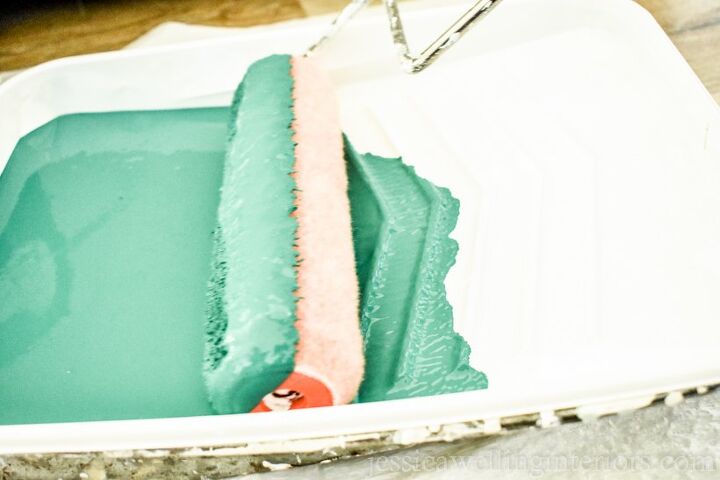
Roll your roller toward the pool of paint, then back up the ramp a few times, so that the whole roller is covered, but not dripping with paint.

Now apply the paint to the walls using the roller. Roll up and down, then go over it with diagonal strokes to help ensure an even coat. Sometimes you'll end up with lines on either side of the roller. Just go over them in a different direction to smooth them out.
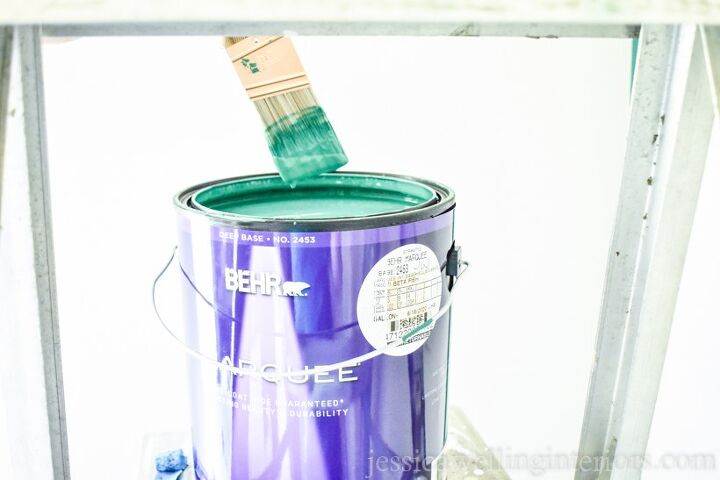
Finally, after the paint is dry, go back over any sections that didn't get full coverage. This was my first time using Behr's new Marquee One-Coat paint, and I have to say I was impressed! It really did cover in one coat, and this was a big color change too!
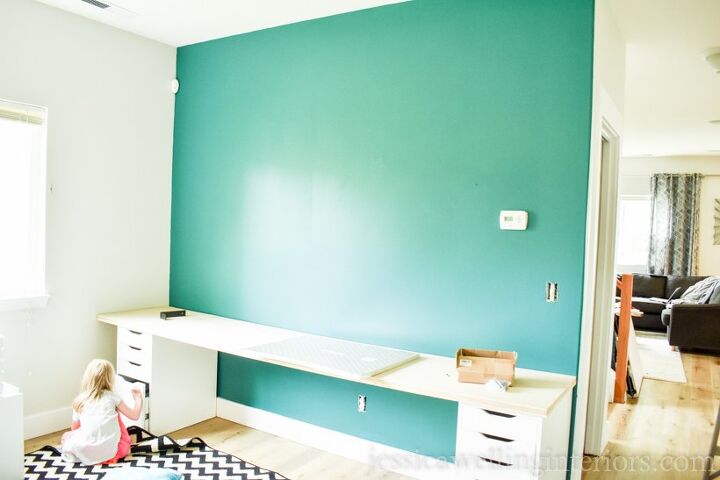
Here's the wall now that it's painted. Our next project will be finishing up this simple Ikea hacked desk to turn the space into a homeschool room. The whole setup would also work well for a home office. I would love for you to come follow along with our project HERE!
I'm a bit obsessed with accent walls lately. I think this is the 5th one I've painted in my house this year! Check out more accent wall projects HERE!
Resources for this project:
See all materials


Frequently asked questions
Have a question about this project?