


Tips for Painting Baseboards and Trim
If you love this project, grab your quick start DIY guide & subscribe to our blog!
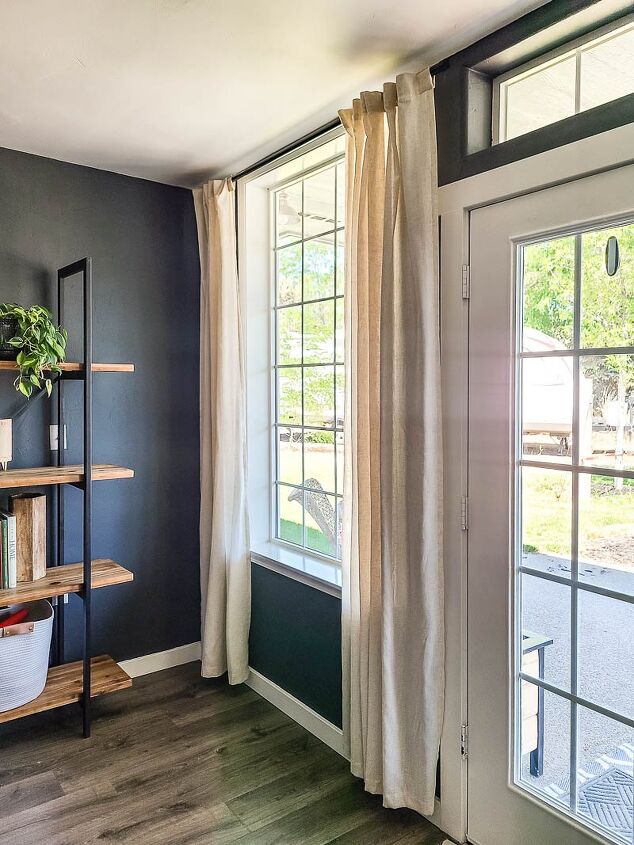
It’s amazing what a coat of paint can do – especially for baseboards and trim. Painting baseboards and trim instead of replacing them is a great way to save a little extra cash and make what you have work for you.
How to Prepare Baseboards and Trim for Painting
1. Determine if you should paint or replace trim and baseboards.
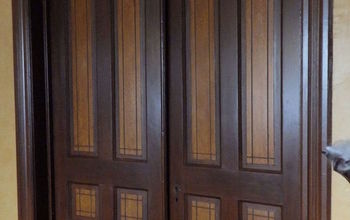
First, you will need to determine if your baseboards are really worth painting or if removing and installing new trim would make more sense.
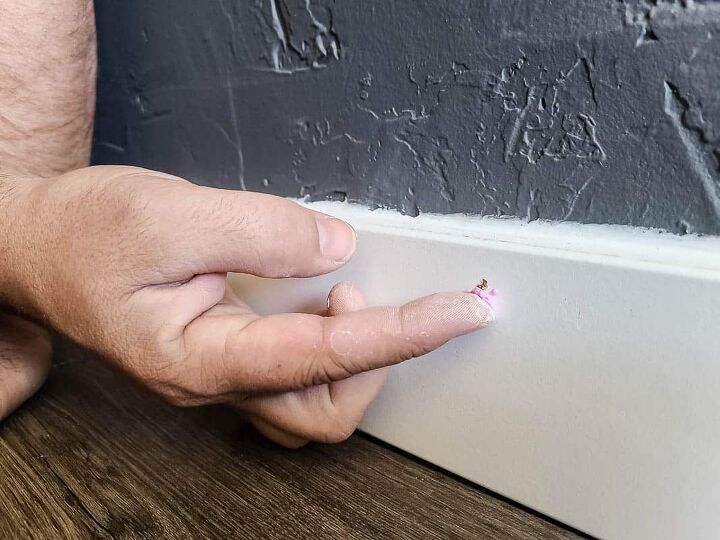
2. Make the repairs.
Like all paint jobs, preparation is key – and baseboard and trim are not the areas to skimp on!
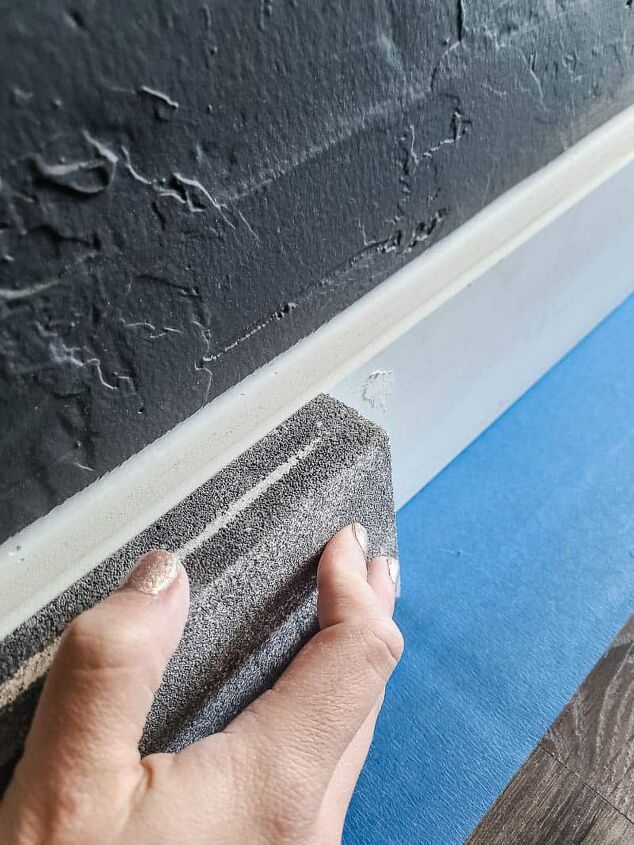
3. Prepare the trim.
Even if spackling isn’t necessary, take a few minutes to lightly buff or sand out any spots that could catch or obstruct a paint job. Sanding also helps shave off that layer of dust that’s been caked on by moisture, hair products, and general wear and tear.
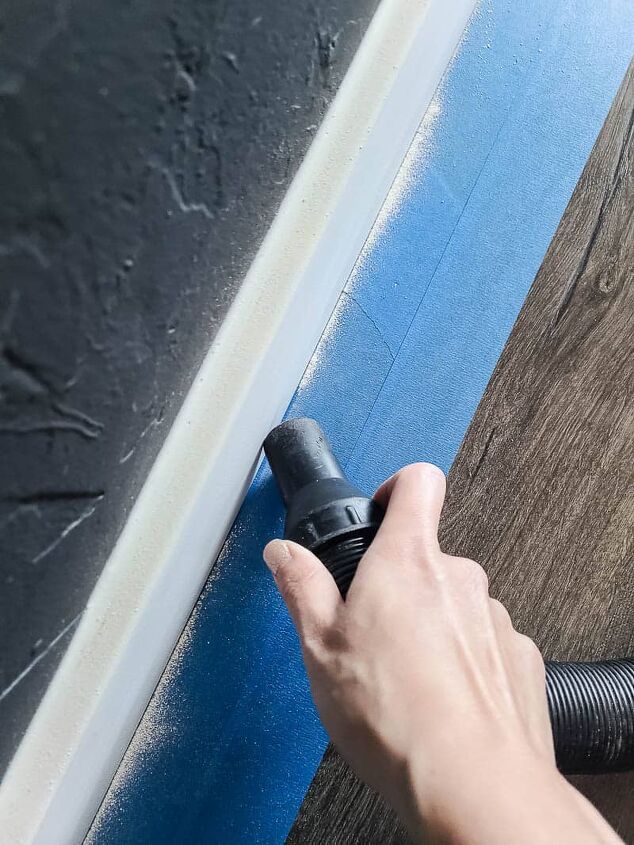
After sanding, vacuum the sanding dust from around the corners and anywhere that paint will be applied.
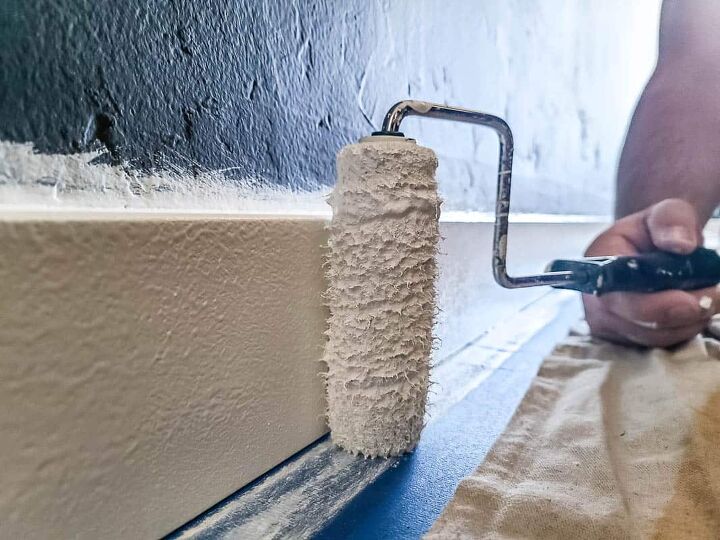
4. Painting baseboards and trim.
As you prepare to paint, make sure the floors and windowpanes are taped off with painter’s tape. Don’t forget to lay down a tarp or drop cloth to protect the floor from paint drips and spills.
For the best results and the most coverage, we use a 4-inch paint roller on the edges and the front of the trim. We apply the paint fairly heavily, so we don’t have to apply multiple coats.
Tip: If you are buying new trim or baseboards for a room, purchase pre-primed trim.
If you love this, check out all of my painting project tutorials in the archive here!


Frequently asked questions
Have a question about this project?