Medicine Cabinets: Repair Toothbrush Water Damage & Prevent Its Return

by
Matthew Gingerella
(IC: homeowner)
You know that patch of peeled paint, exposed rusting metal, muck, and bacteria growth that is located below the toothbrush holder in the medicine cabinet?...Well that’s what I am repairing in my daughter’s bathroom in this project case study.
It was a bit of work, but the results were excellent and my daughter loves it - so I’m a happy daddy. I’ve included plenty of photos to help you follow along.
STEP-1: Sand Through the Muck & Rust
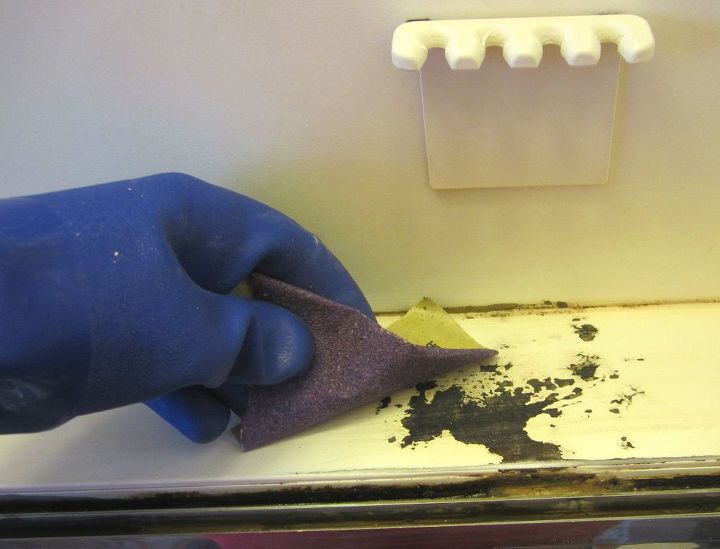
a. I started out overly optimistic regarding this sanding step (pic-1). I armed myself with sheets of sand paper (wet or dry) and a sanding sponge. Luckily, it only took about 5-10 minutes for me to recognize that was a mistake and to come to my senses.
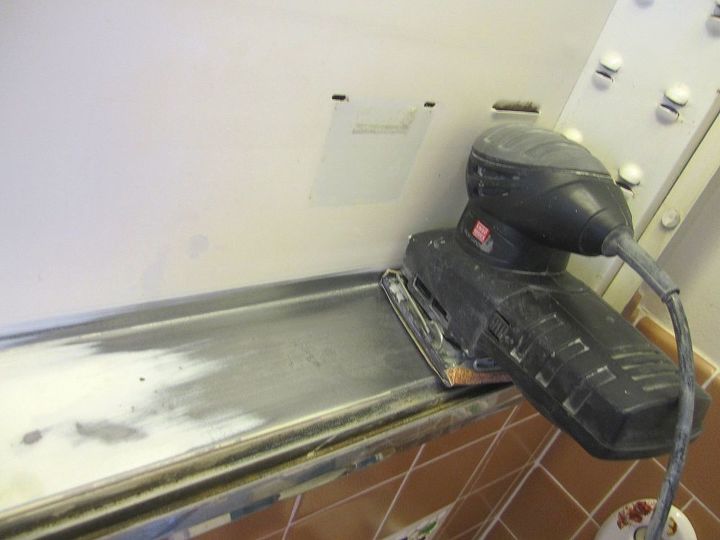
b. I broke out the power vibrating sander and ground through the paint and metal with vigor (pic-2). It still took quite a while to sand the rust damage out of the metal surface.
c. Manually sanding the cabinets sliding mirror channels was arduous and gross (pic-3).
d. In fact, at one spot in the channel the rust had created a raised bump. It took a metal file and elbow grease to remove the defect (pic-4)
e. Although I was able to use the power sander on the back and top surfaces of the cabinet, the sides required more manual sanding (pic-5). The old paint needed to be roughed-up to be ready for applying primer.
STEP-2: Prepare Cabinet for Primer Coat
STEP-4: Spray on Final Paint Coat
It came out smooth enough for a quick job and the damaged metal was undetectable (pic-8).
Project complete, daughter and daddy are happy.
Enjoyed the project?
Published August 13th, 2014 2:51 PM
Comments
Join the conversation
2 of 11 comments
-
-
Thank you @Eleanor, its a bit more work to do it right the first time - but worth it. Take care, Matthew
 Matthew Gingerella
on Mar 21, 2015
-











Frequently asked questions
Have a question about this project?
Can I use appliance paint instead of the rustoleum?