


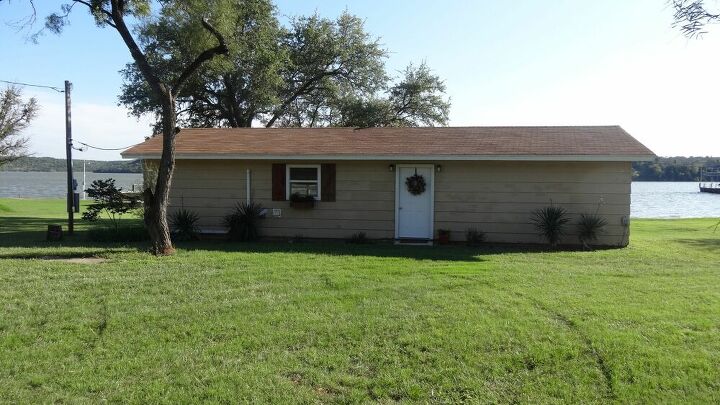
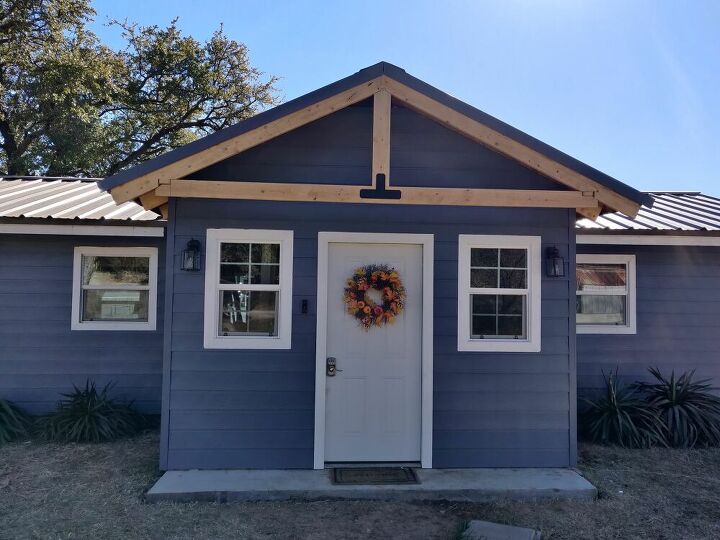
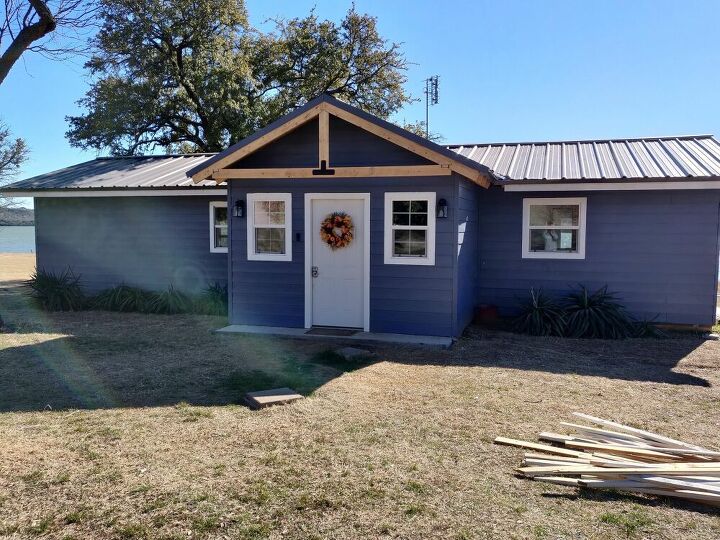
Lake House Make Over – Front Exterior
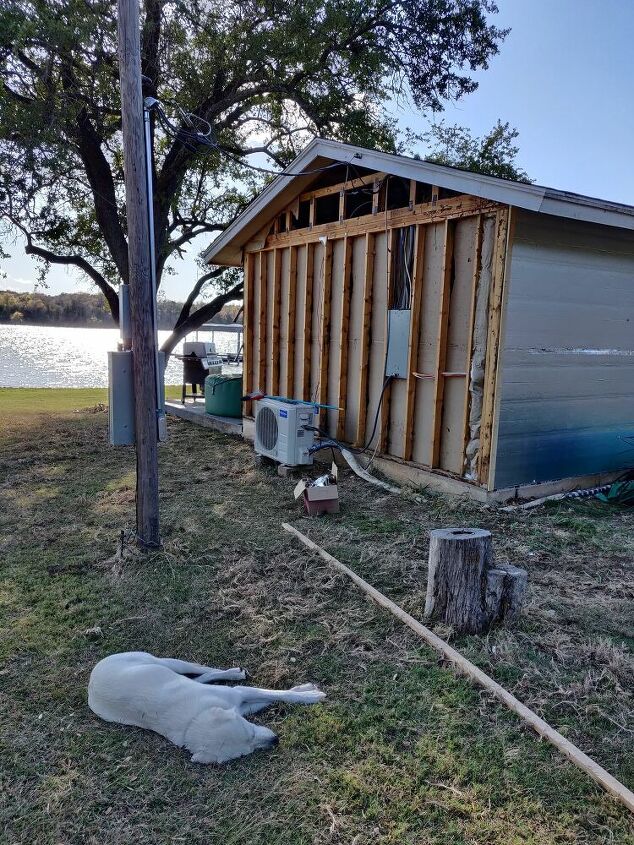
After renovating the inside of our old lake house, it was time to tackle the exterior. The house was a boring rectangular box that needed new siding, windows, as well as, a new roof. Storage was a problem, and we had no laundry room. My husband and I decided to go all in and add a mudroom and a large covered patio. Next year we hope to add two more bedrooms and another bathroom, but that will be considered Phase 2. This house is about 2 1/2 hours from our main house, so we had to pay close attention to timeline, availability and weather.
Step 1 – Foundation
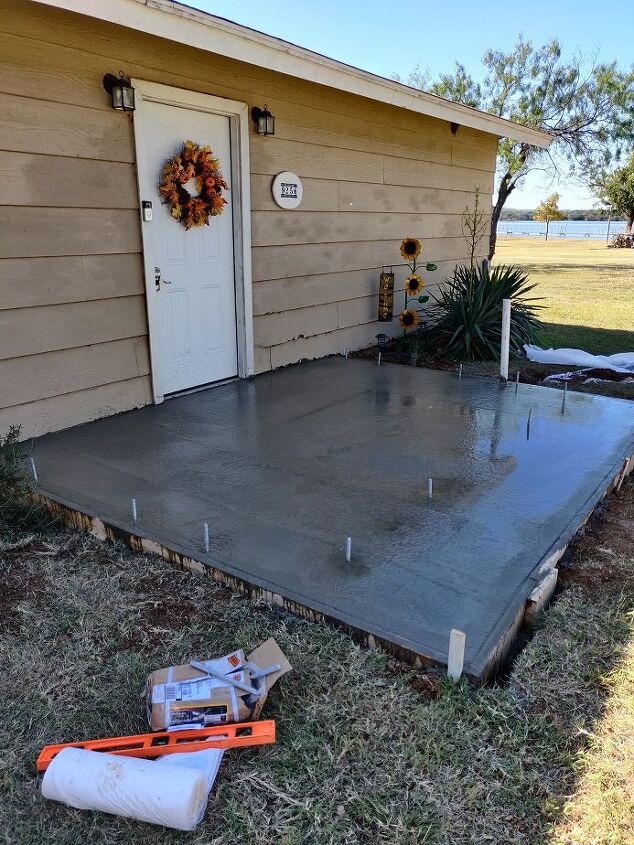
This additional room would function as a mudroom/entry way, with storage and laundry area. We also wanted to enclose the refrigerator opening up more space in the kitchen, making the refrigerator flush with the wall. We dug the foundation area ourself, prepped the forms and had concrete delivered. This was our first concrete pour and thanks to our delivery driver, it turned out ok. They are often willing to help for a small extra fee. In the picture above, you can see where we added the drain line for the washer and the large bolts to attach the foundation.
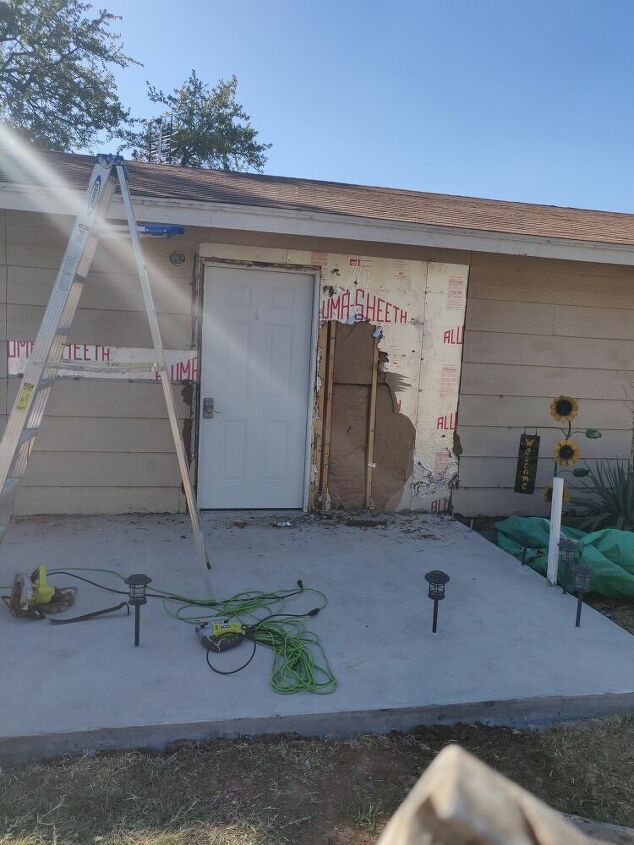
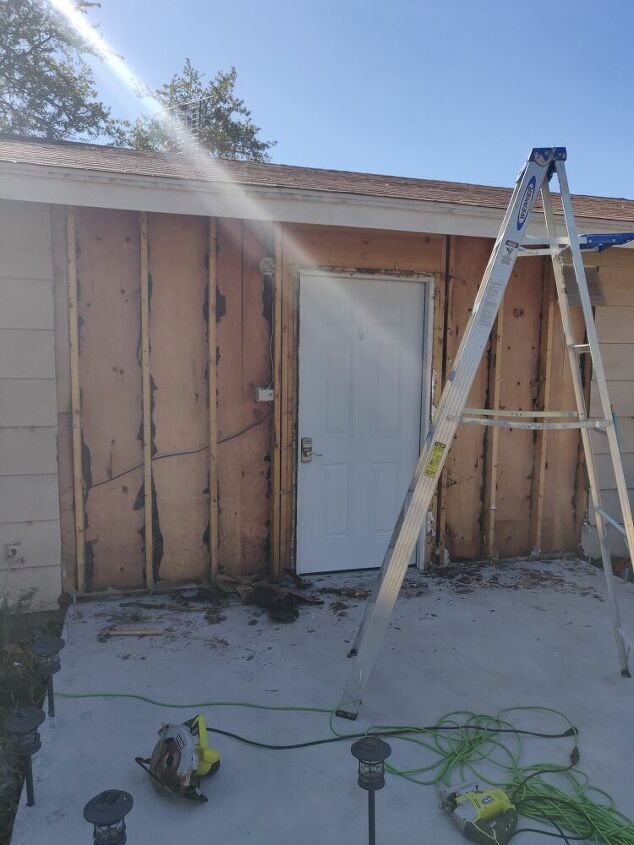
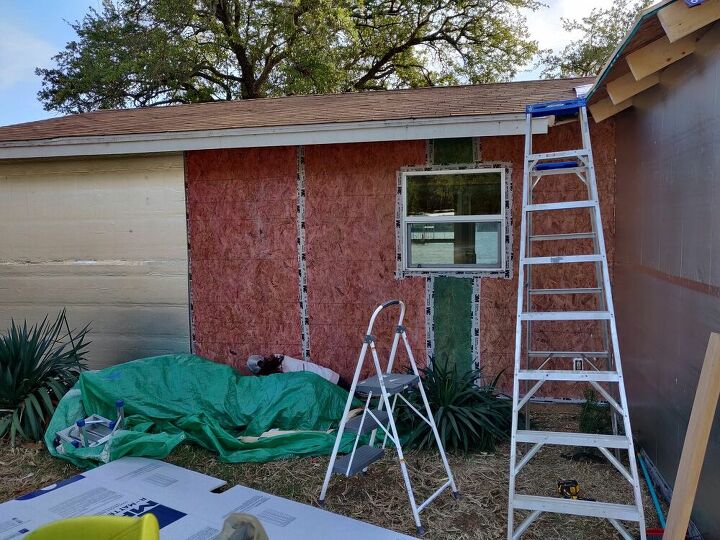
Step 2 – Remove siding and insulation

The siding was 40 years old and was in rough shape. We found that the home was built using a cardboard like material in lue of plywood/OSB boards, which we also replaced. The insulation was replaced using new energy efficient insulation.
Step 3 – Remove existing Eaves and a portion of the Roof
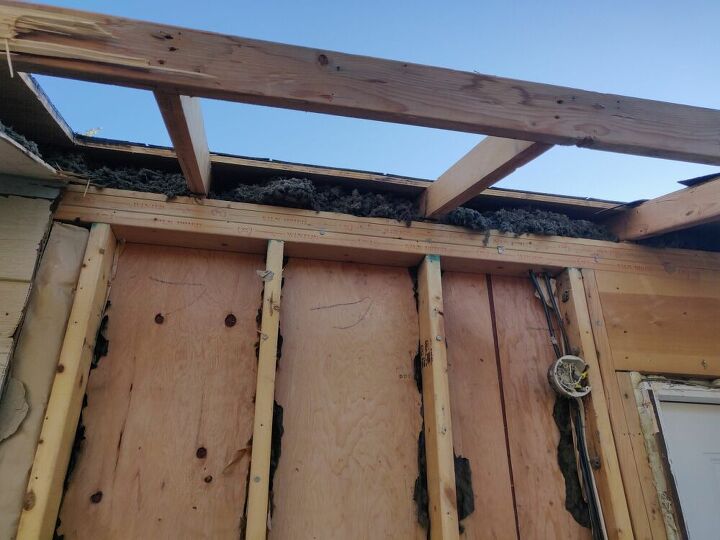
This was a cumbersome process especially because of the hard to reach areas that had to be cut with a saw. With the roof open, we had to make sure that we could finish the new portion of the roof before any inclement weather.
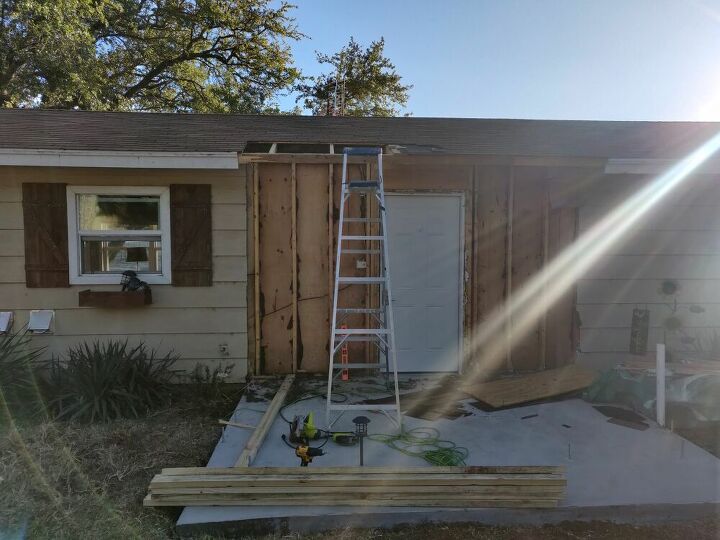
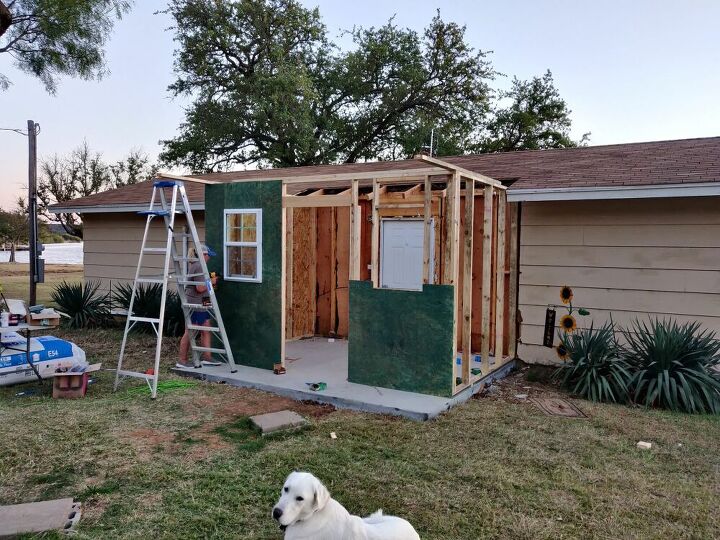
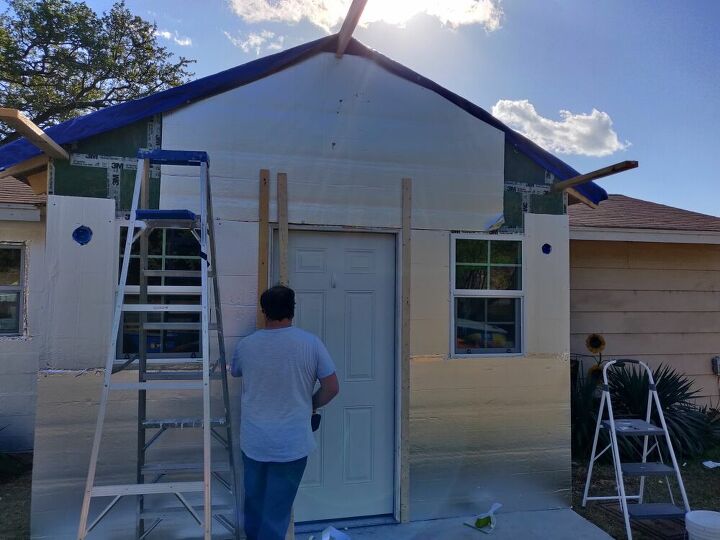
Step 4 – Frame the entry room
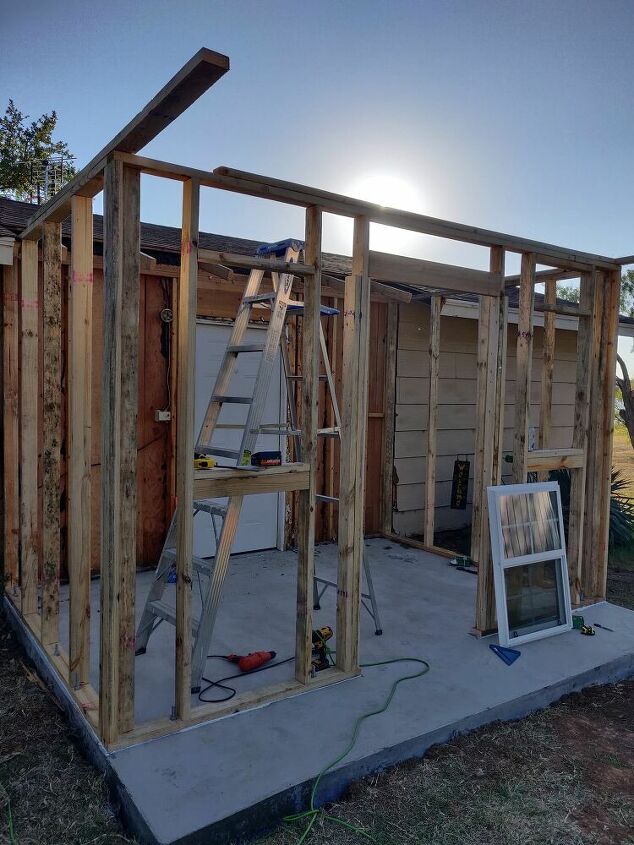
Framing this small room was quick and easy, reminding us how much additional effort goes into remodeling an existing structure than a new build.
Step 4 – Install the OSB boards and windows
The OSB (plywood) is treated with a water resistant coating that we applied ourself. You can purchase this pretreated but it is more expensive.
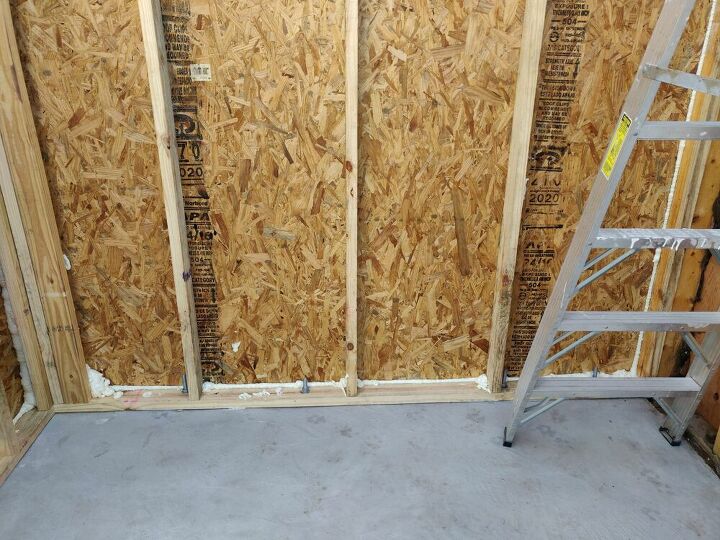
Here is the view from inside, where we filled any cracks and corners with spray foam. The insulation will be added to the inside between the 2×4’s prior to the drywall.
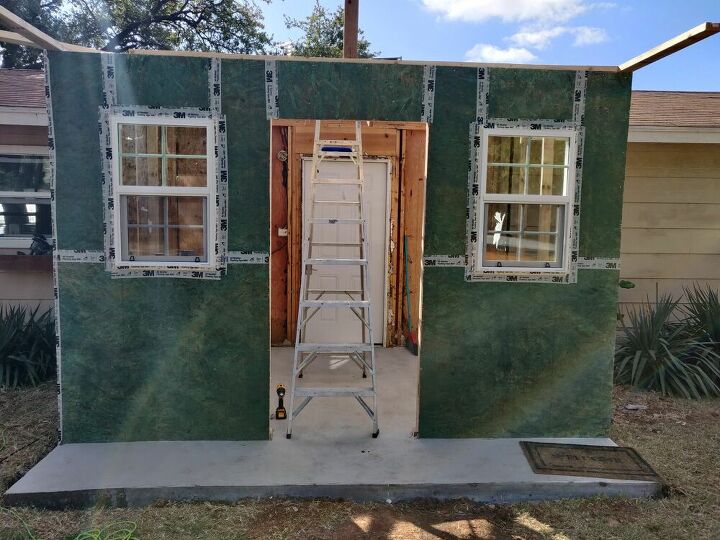
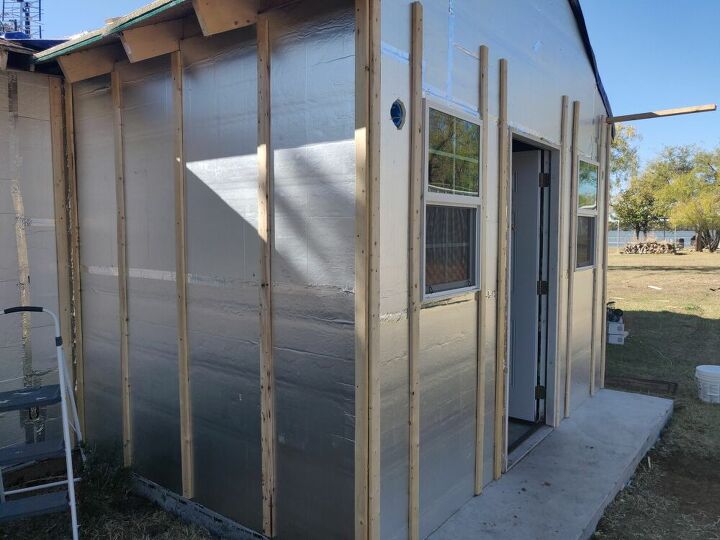
Our goal was to make the house as energy efficient as possible, so every edge/corner/seam was taped with the appropriate tape to ensure each layer was completely sealed.
Step 5 – Construct Roof

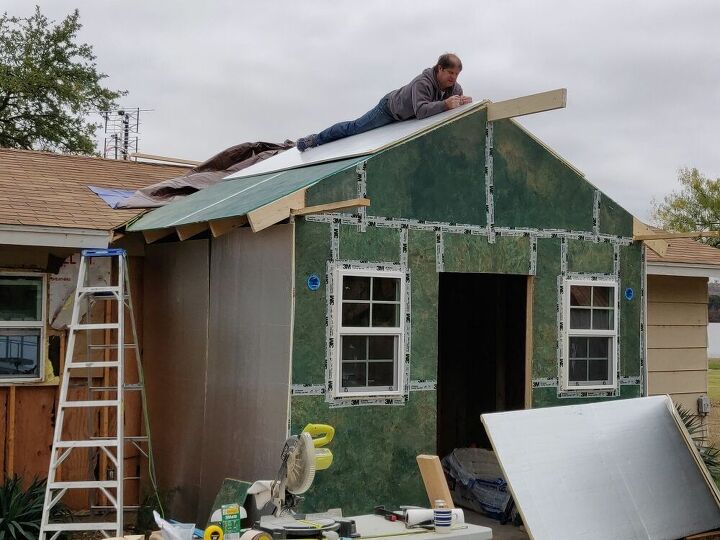
After the plywood layer, we installed insullation boards to the exterior. This adds another layer of energy efficiency with an R5 value.
Step 6 – Install the 1×3 Exterior Boards for the siding installation
These boards are used to attach the siding but also to provide a rain screen for the house. In case of any rain inside the siding, it will drain off the wall and insulation boards.
Step 7 – Install siding and Metal Roof
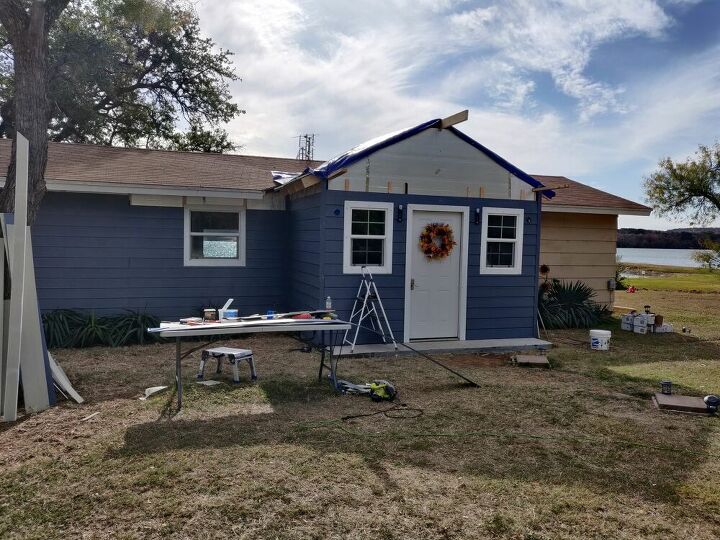
We used fiber cement board siding in a colonial lap style painted Pacific Coast blue (Sherwin Williams Weather Sheild). The roof is a PBR panel 26 guage metal in charcoal grey, .
Finshed Exterior

Comments
Join the conversation
-
It looks very good, great improvement!
-
I marvel over the fact that you actually did this yourselves. Boy!


Frequently asked questions
Have a question about this project?