


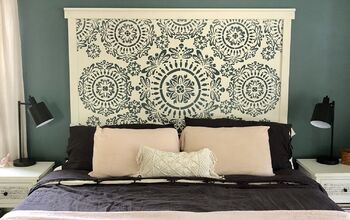
Chinoiserie Inspired Headboard

Hi Hometalk! I love love love chinoiserie, and hope to one day own a home which I can fill with lovely floral wallpaper. For now, I will have to resort to something a bit more small scale. Check it out! My neighbors were throwing these out. What are they? Not sure, but my boyfriend knew I'd grab them and bring them inside before I even said anything. 
Disclaimer: This project will take an artistic turn. If that is not your strong suit, no need to worry! This can all be done with stencils, I simply did not have any on hand, and also really enjoyed free-handing it. You do you friend.
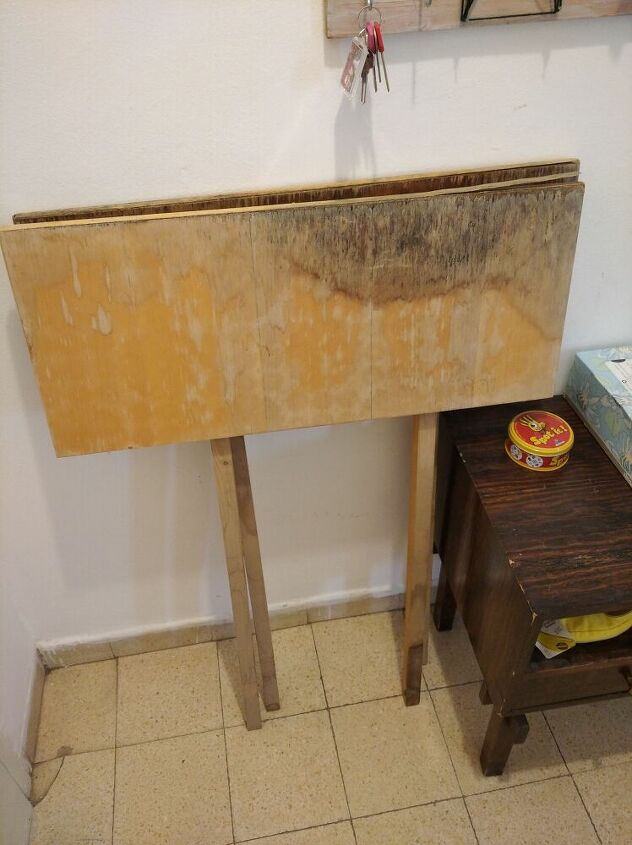
Er, the random wood things I found near the trash. They were in pretty good shape, I just wiped them down and disinfected them- COVID-19 shall not pass!
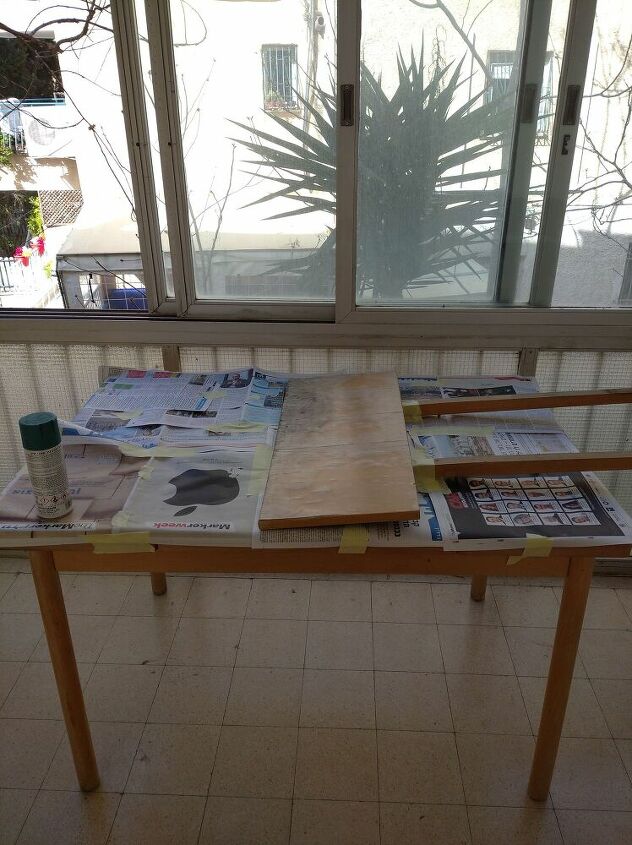
I covered the surface well with newspaper. I will be spray painting these, so if you do this- please please do so in a well ventilated space. I opened up all the windows in my sun room, and closed the door to the room, so the fumes would not spread to the rest of the apartment. (Stay Home!)
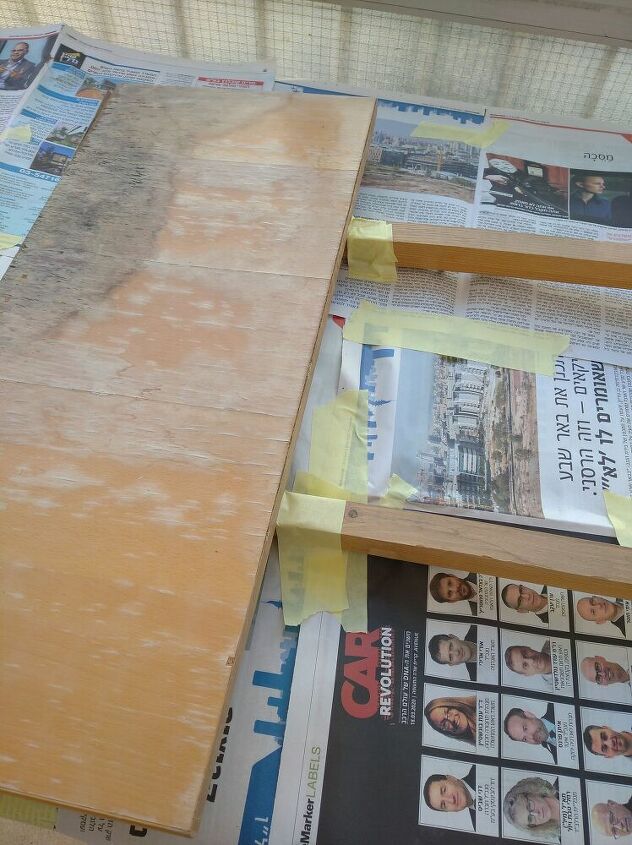
I taped off the legs with painter's tape. I don't want them to get sprayed on, because I'd like to keep them in their natural wood.
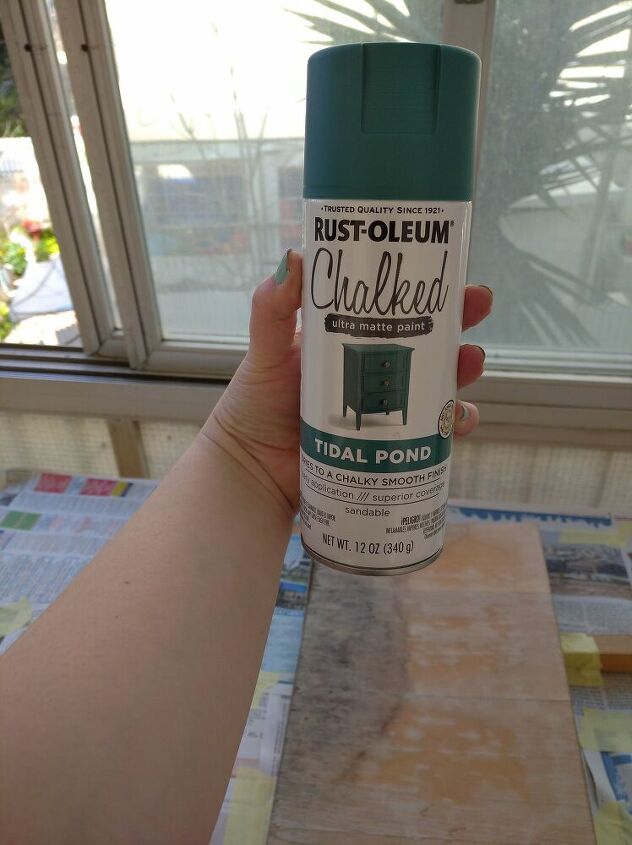
I had actually picked this up at the hardware store (before all this madness), thinking I'd be painting my wall. Spray painting a wall is NOT as fun as it sounds, so I decided to do this instead.
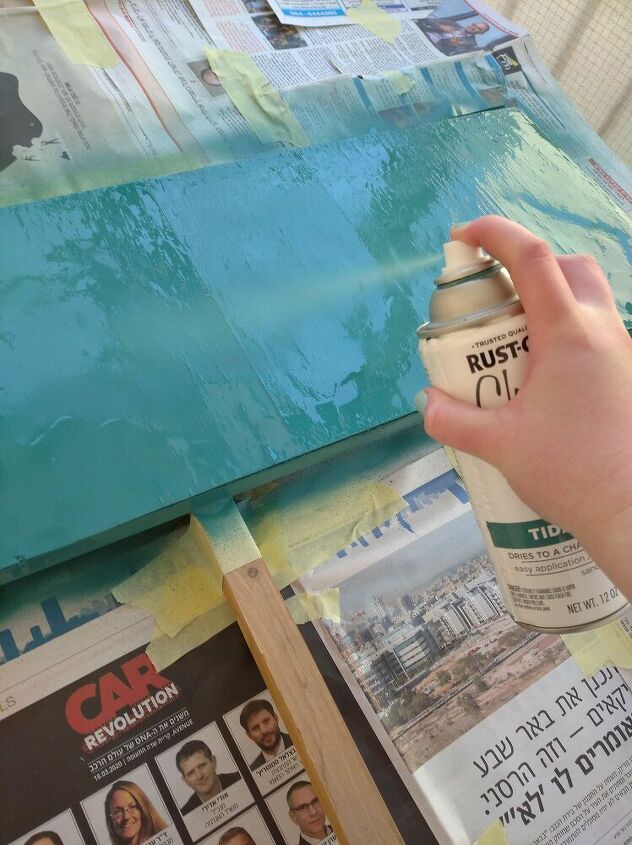
1.5- 2 coats is enough to fully cover these.
Mmmm mmm mmmm! Love this!
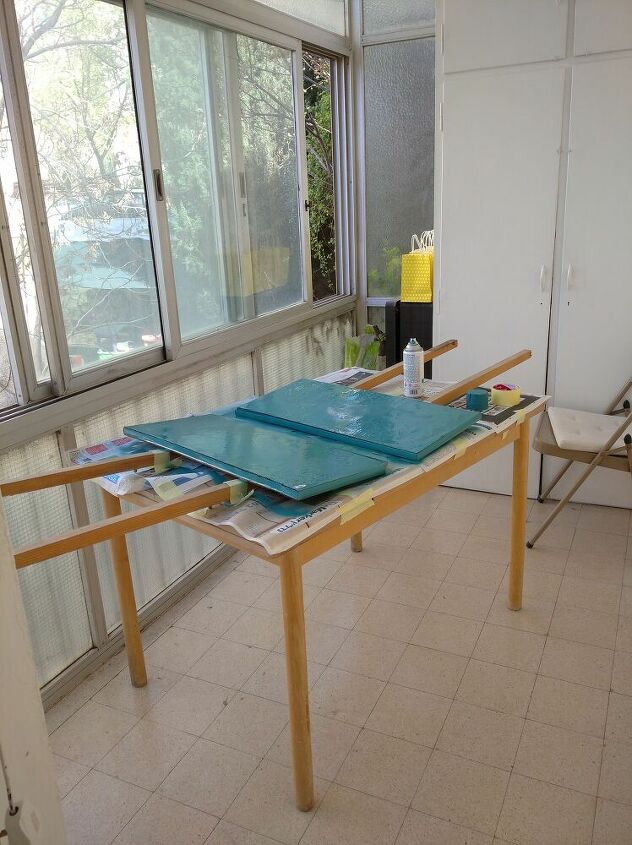
Then I let these dry overnight.
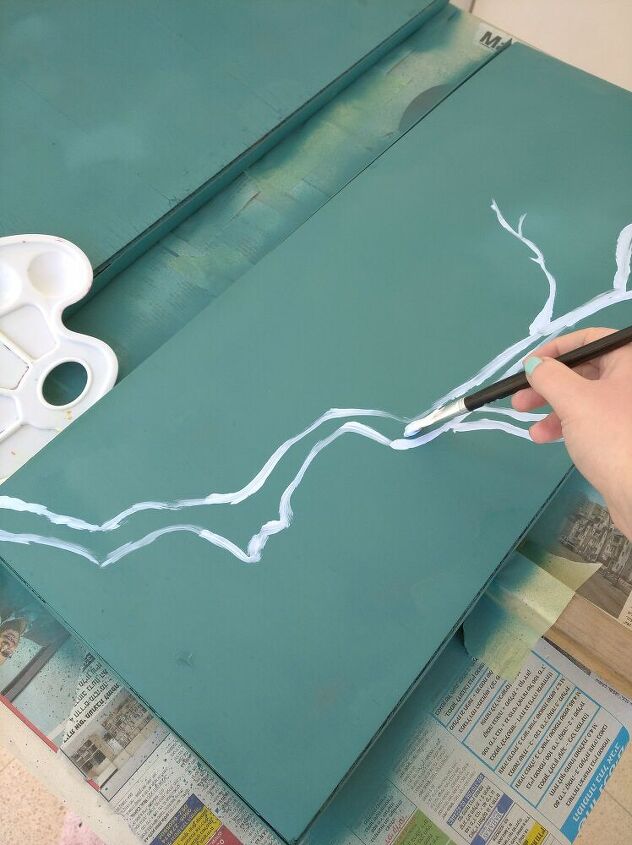
I grabbed some acrylic paint for this part. I used a light light blue for the big branches. I suggest using a stencil or a photo as a reference for this. I had 2 sample chinoiserie wallpapers that I was using as inspiration. I have attached them at the end of the project.
Hi!
Fill in the larger branches, and let them dry. Acrylic paint is known for drying pretty quickly, plus, the wood soaks it right up so it won't take too long to dry. You may just need to paint 2-3 coats so the color really shows up.
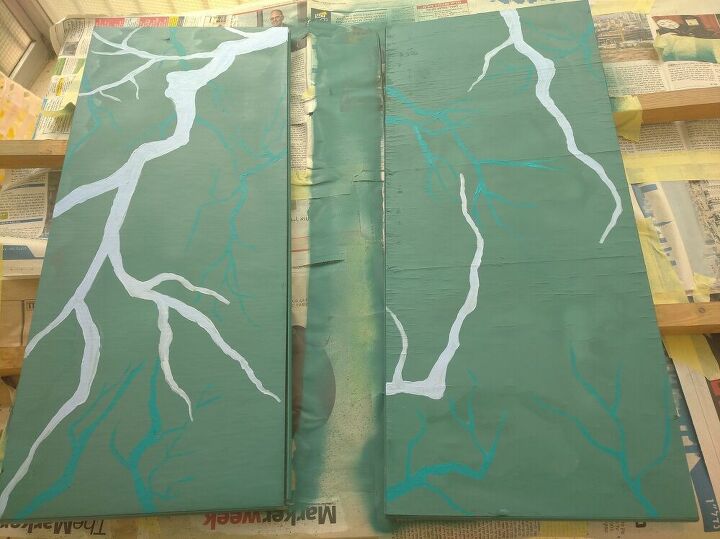
I then used a shade of teal (just a bit lighter than the background) and added some smaller branches.
My goal is to fill these up with branches, flowers, and birds.
As I mentioned earlier, this DOES NOT need to be done by hand. You can and should certainly use a stencil if you feel more comfortable doing that.
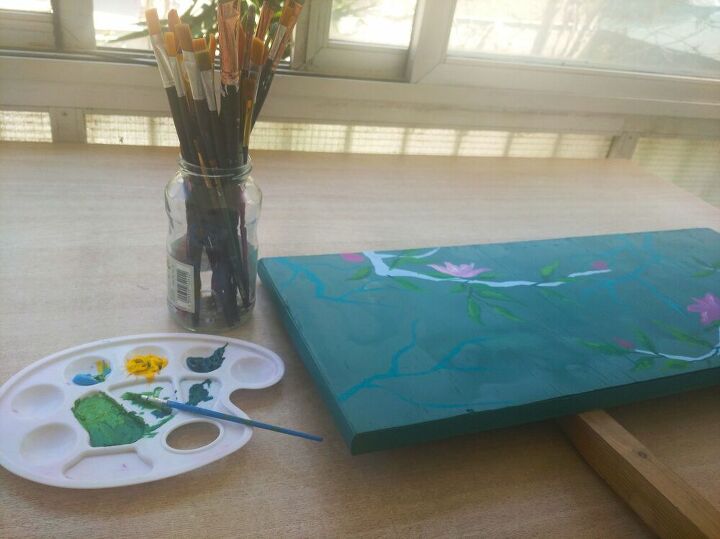
To keep it simple, this is how I did it. I added in all of the details in layers. The paint colors you will need are: pink, green, yellow, red, black and white
- First, I painted on pink flowers. For these you can use a stencil or reference photo to help you along.
- Then, I added in some green leaves- I used a light, medium, and dark shade of green to create the shadows and highlights.
- I then created two birds. One is yellow and black, the other is yellow and red. If this is too much for you, feel free to skip this step.
- The last detail I added was a number of white vines running in the background.
Once I added in all of the details, I let them dry. (It did not take too long!)
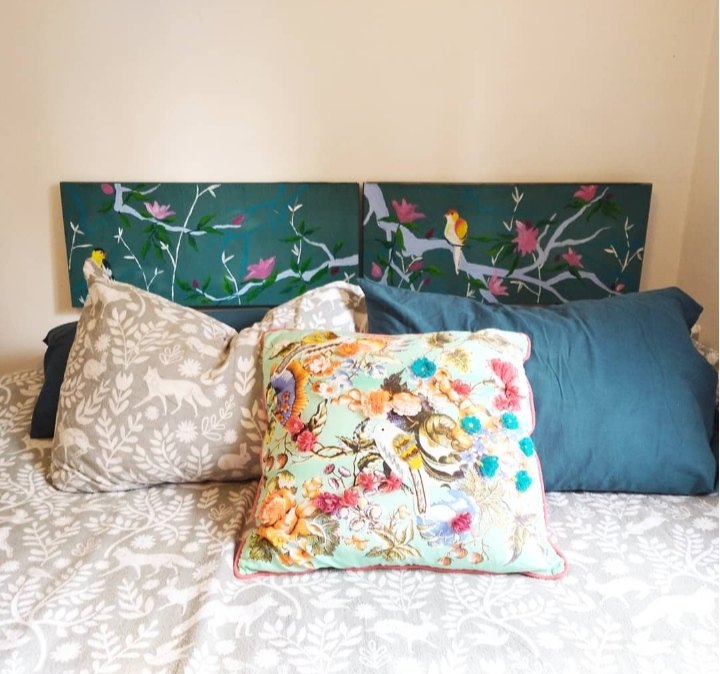
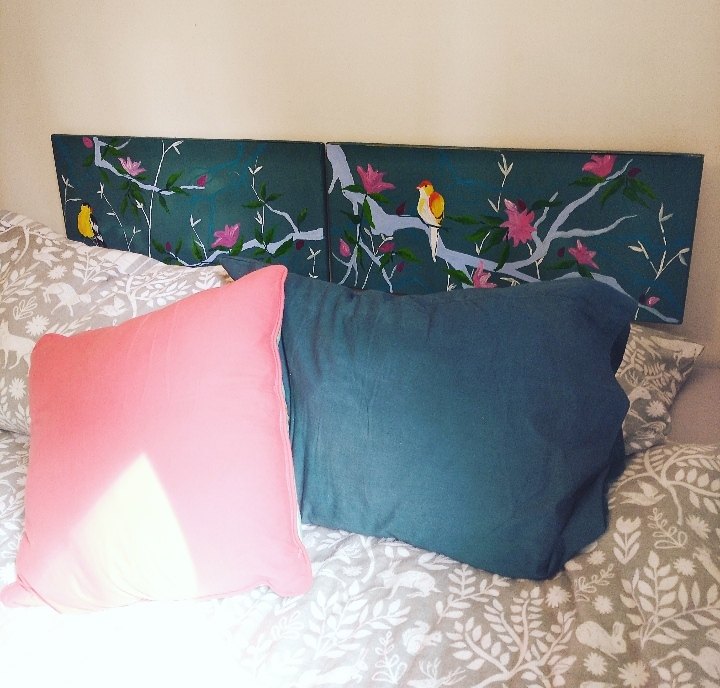
Then, I simply placed the two pieces at the head of my bed. They turned out to be a really great height, and the pillows block the legs. I'm pretty happy with how it turned out.
I hope you like this project, and that maybe you'll give something similar a try. We certainly all are looking for projects to do now that we have so much free time. Stay safe and healthy out there!
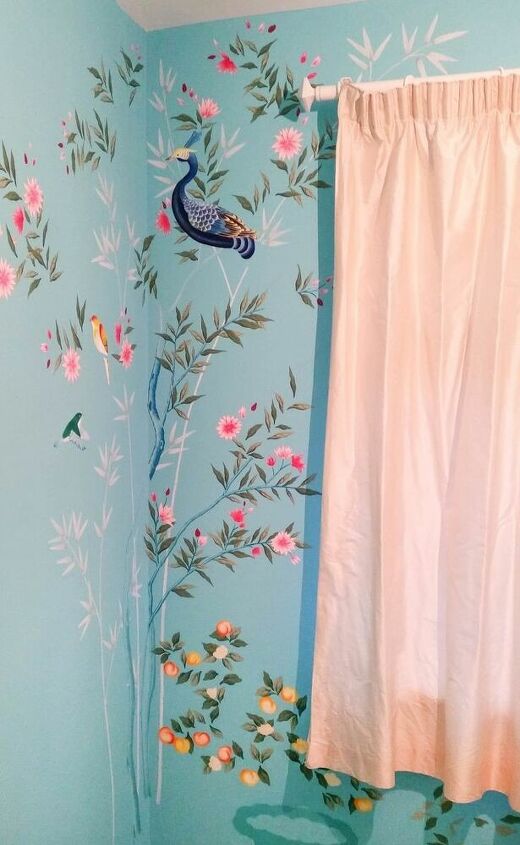
This photo is not mine, I found it on Pinterest!

This photo is not mine, I found it on Pinterest!
Resources for this project:
See all materials


Comments
Join the conversation
-
Wow. Very pretty! I wonder what your neighbor would think of it now!🙂
-
Beautiful! One mans trash, is another’s treasure! You sure proved that! Lovely! Thank you for sharing! 🌺


Frequently asked questions
Have a question about this project?