


How to Make Cut Out Wooden Candle Holders
I get a project idea in my head and my husband teams up with me to make it happen. I recently decided that I wanted to make candle holders with cut outs for Christmas and winter decor. We didn't have wood in our workshop to use but we did have two furniture legs that worked perfectly! I'm sharing five versions of this project and I'm sharing how to make it with a furniture leg or with new wood.
Get more ideas for DIYs, crafts, and home decor on my blog, Sweet Pea.
Hometalk Recommends!
Want to save?
Get your 30-day free trial of Amazon Prime today before Prime big deal days on October 8-9th!
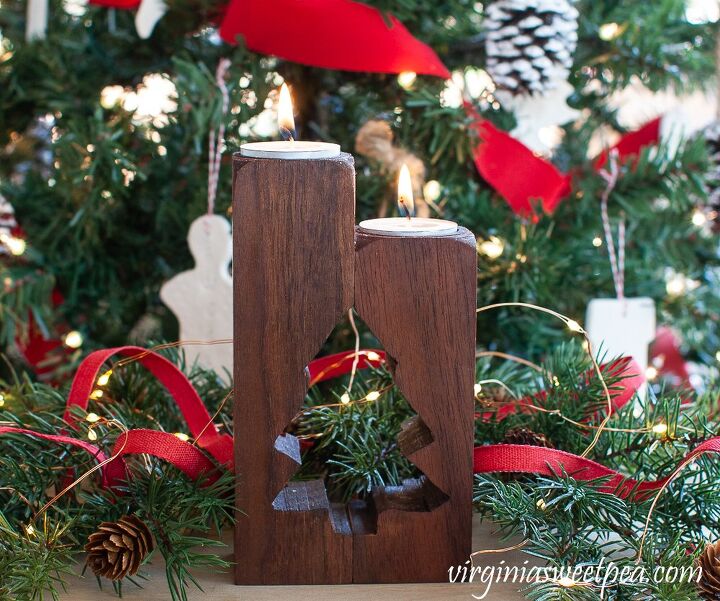
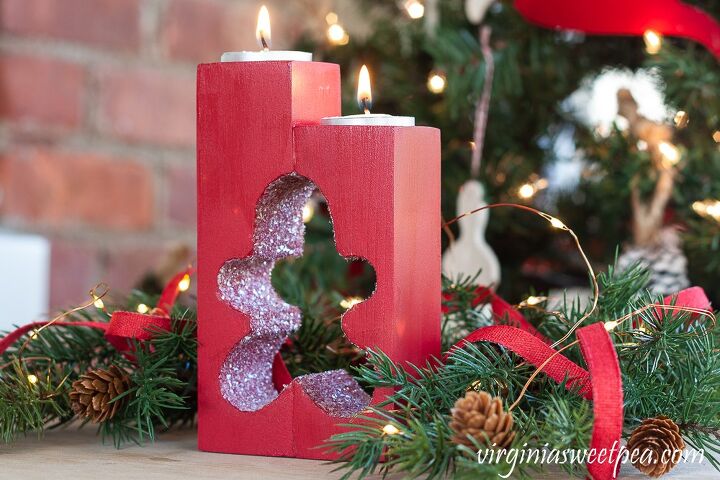
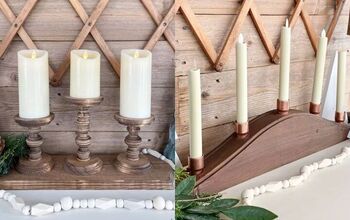
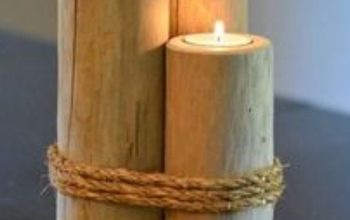
This is exactly what I wanted to make! I used two sections of a table leg to make this. It looks so pretty when the candles are lit!
Here are the table legs that I used. The top section worked perfectly for this project. We used another section to make a snowman candle holder.
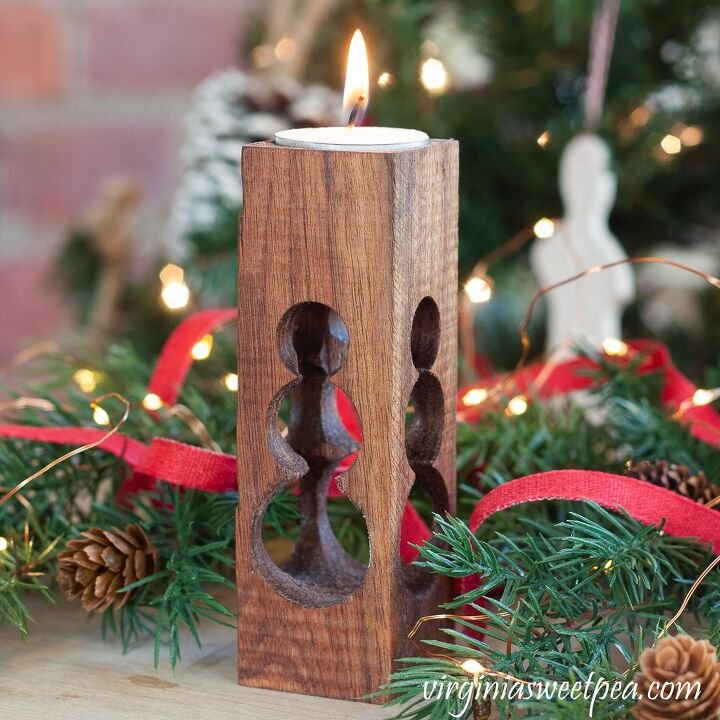
This is the snowman candle holder that we made with another section of the table leg.
The table legs are actually very special because they were turned by my grandfather. We found them in his workshop after he died and saved them for a future project and this is it!
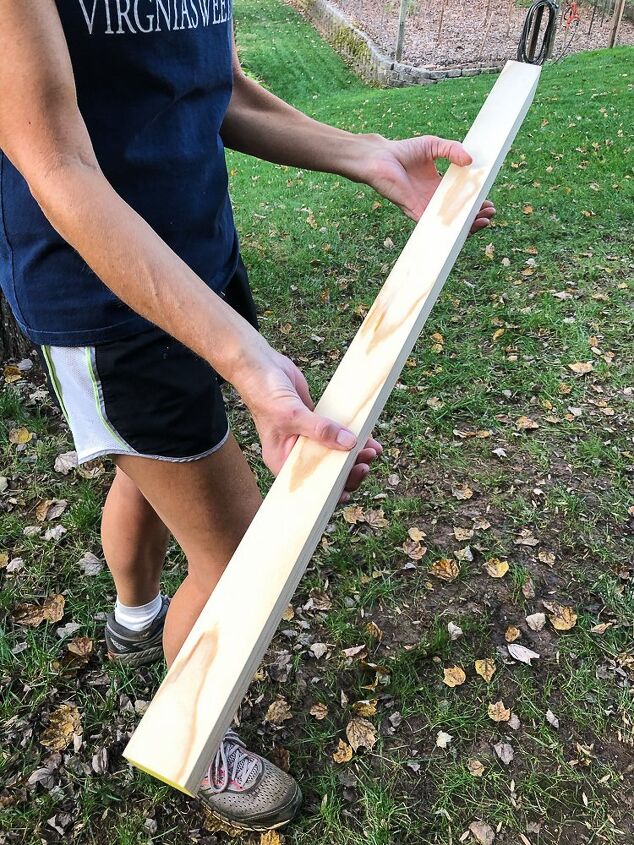
We knew that not everyone would have a handmade Walnut table leg to use for this project, so we headed to Home Depot and purchased a 1 3/4″ x 1 3/4″ x 2′ piece of wood to make more candle holders.
This adorable gingerbread man candle holder is one of the designs that we made using the new wood. There are two more designs to see on my blog post. (Link below  !)
!)
To make it extra special, I brushed the inside of the gingerbread man with Mod Podge and then sprinkled Diamond Dust on it for glittery sparkle. I prefer Diamond Dust over regular glitter.
Back to my original idea using the table leg!
Determine the length of each piece of the candle holder. We chose 6 1/2″ x 5 1/4″. Cut pieces to this size using a chop saw or hand saw.
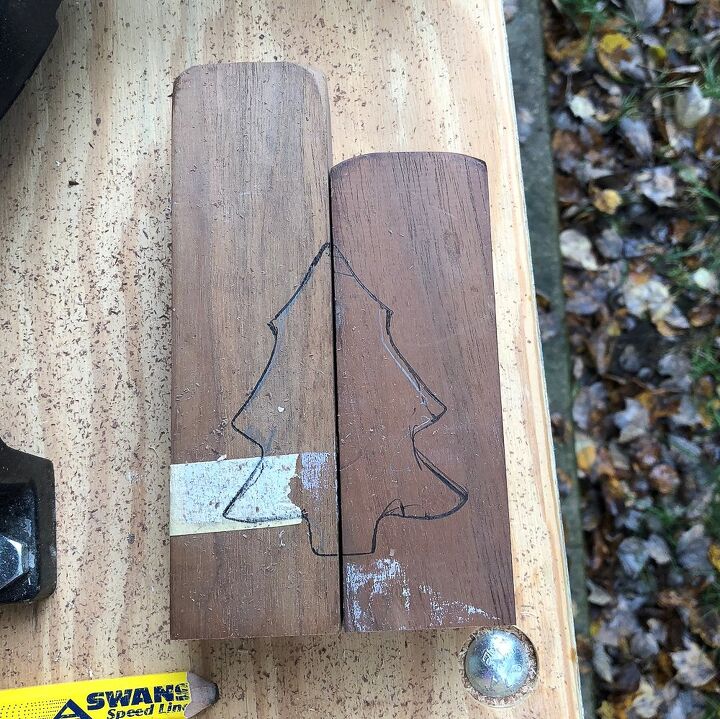
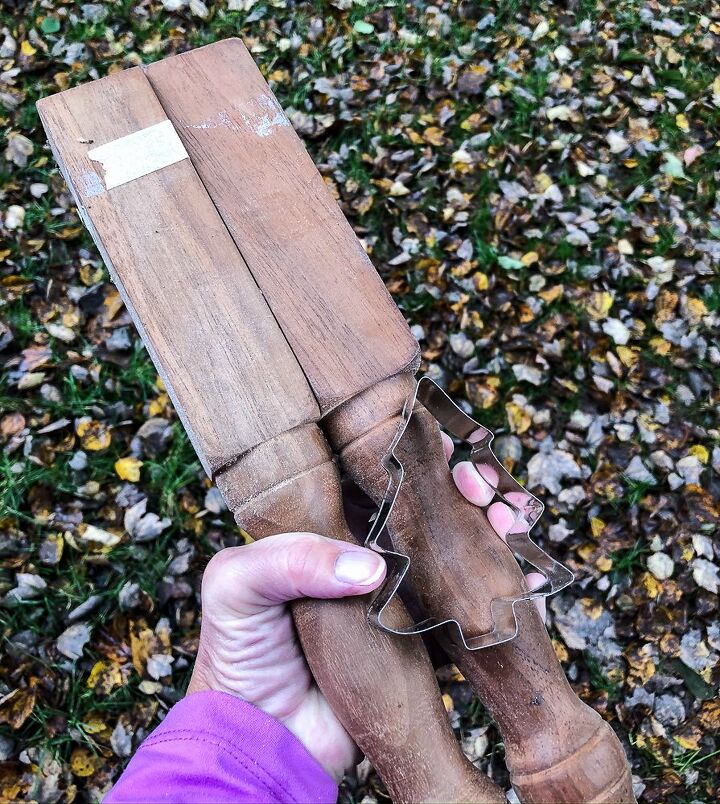
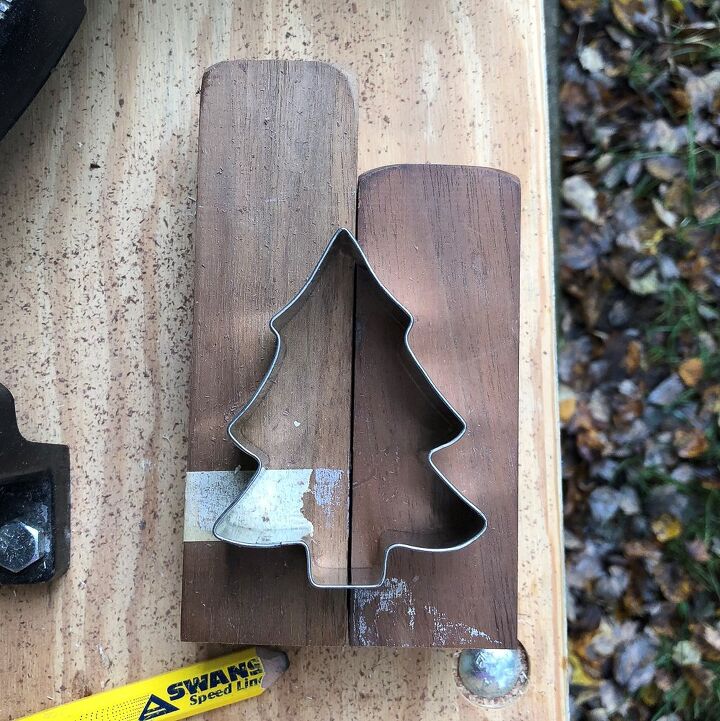
Trace a design onto the wood pieces and cut out with a band saw.
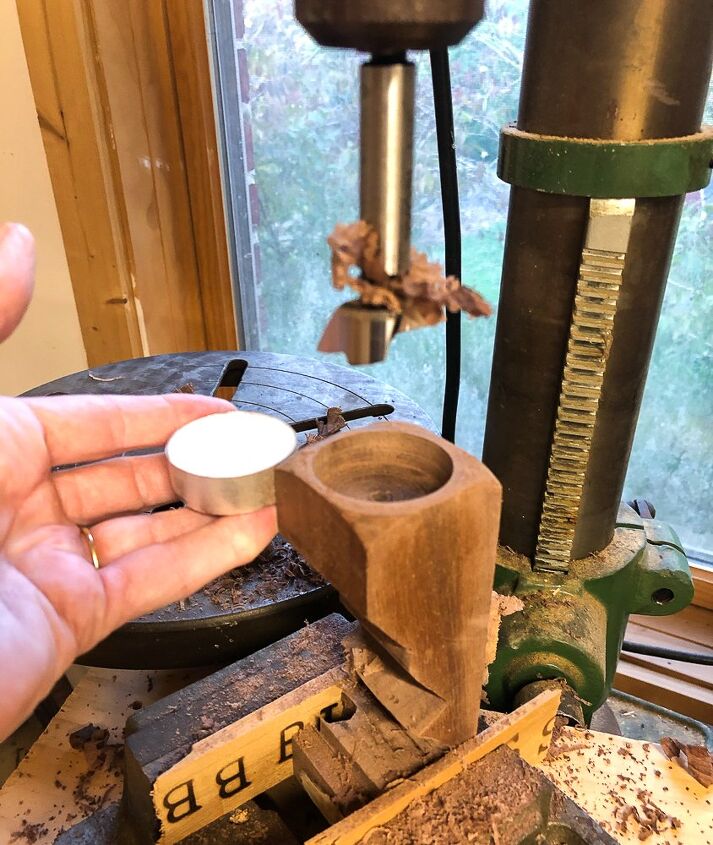
Using a 1 1/2″ Forstner bit and a drill press or regular drill, make holes in the ends of the candle holder pieces to hold a tea light. (Measure your tea light and use the appropriate size. I found that tea lights come in varying sizes.)
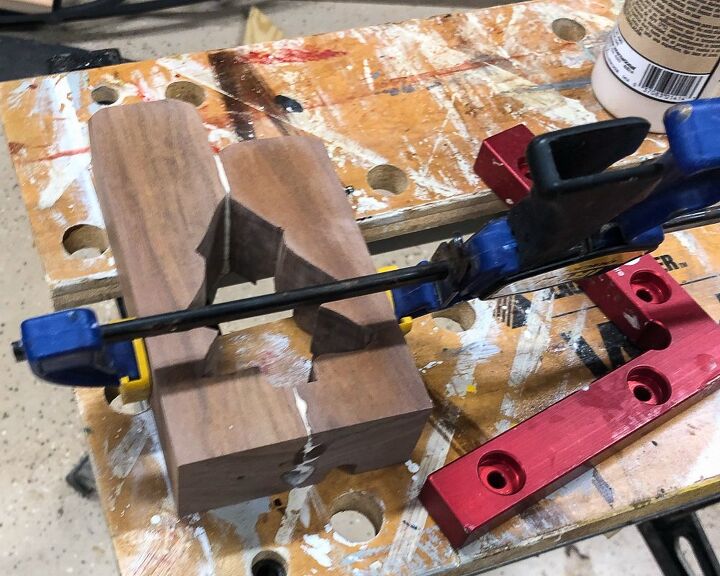
Glue the pieces together, sand, and then paint or stain the candle holders. Clamps and a clamping square help with this step.
Head to my blog post ( link below) for step-by-step directions with LOTS of pictures!
Resources for this project:
See all materials


Comments
Join the conversation
-
The candle holders are beautiful. Especially love that they came from something your grandfather made. Family heirloom.
-
What a great idea! Love them!


Frequently asked questions
Have a question about this project?
Would a jigsaw work for the simpler one? The Christmas tree?
What did you do with the other part of the leg?
These are simply BEAUTIFUL! Thank you for sharing! May you and yours enjoy your upcoming holiday season!