


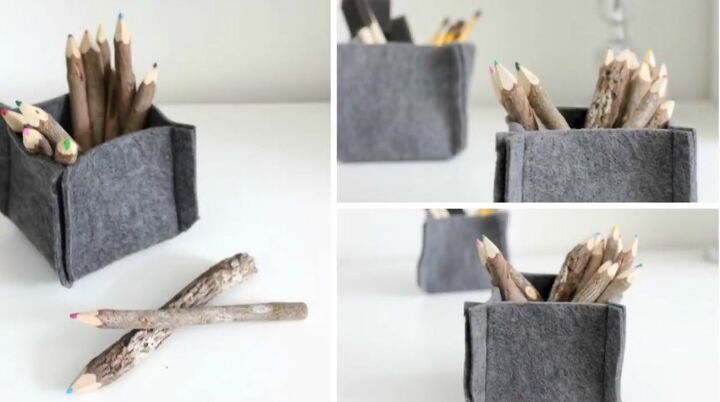
DIY Felt Basket
With the new year coming, I always need more organizational help! I wanted to fins a cute way to organize all of those bits and bobs in my office, so I made these chic little felt baskets! Find more great DIY Home Decor and Renovation ideas on our blog, Love Create Celebrate!
These baskets couldn’t be easier to make! All you need is a few basic items!
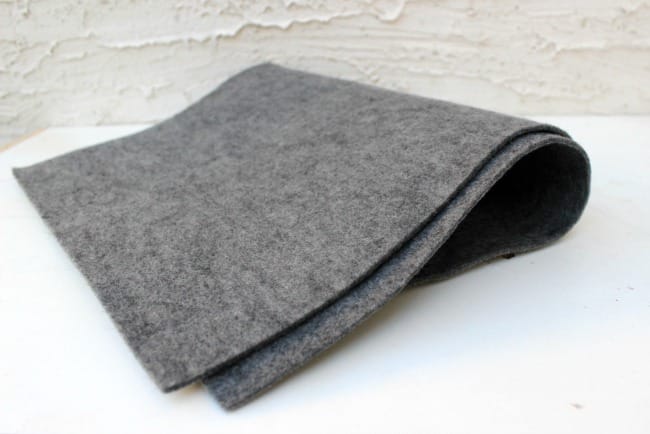
Thick felt
Co-ordinating String
Sewing machine
Ruler and/or measuring tape
You can find a full video tutorial on how I did them HERE!
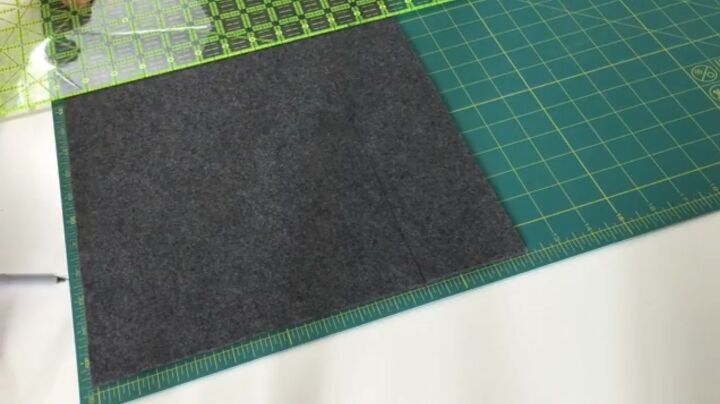
1. Draw and measure a large square. If you want a 3 inch basket like mine, draw a 9x9 inch square. Next draw the cut lines by drawing a line 3 inches from all four side sides of the suqare you've just completed. Draw another line 2 1/2 inches for all for all the edges. You should have 2 lines that are only 1/2 inch apart on all four side of the square.
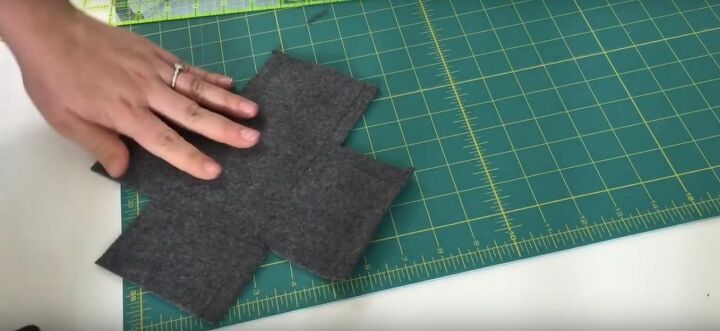
2. Take your cutter or scissors and cut the large square out. Cut the 2 1/2 x 2 11/2 inch small squares in all four corners. Cut diagonal lines through each tiny boxes towards the center of the box.
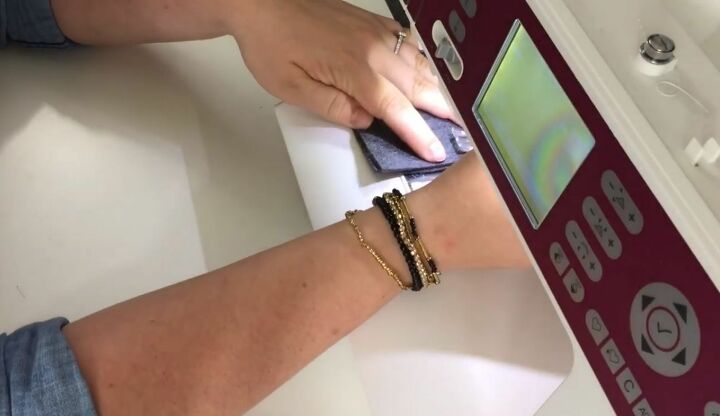
3. Put the close edges of your felt together. Sew the edges together using a sewing machine or a needle and thread.

I’m so happy with these baskets! All those little things that use to sit on my desk now have a stylish home :)
Resources for this project:


Frequently asked questions
Have a question about this project?