


How to Cover Tin Cans With Twigs
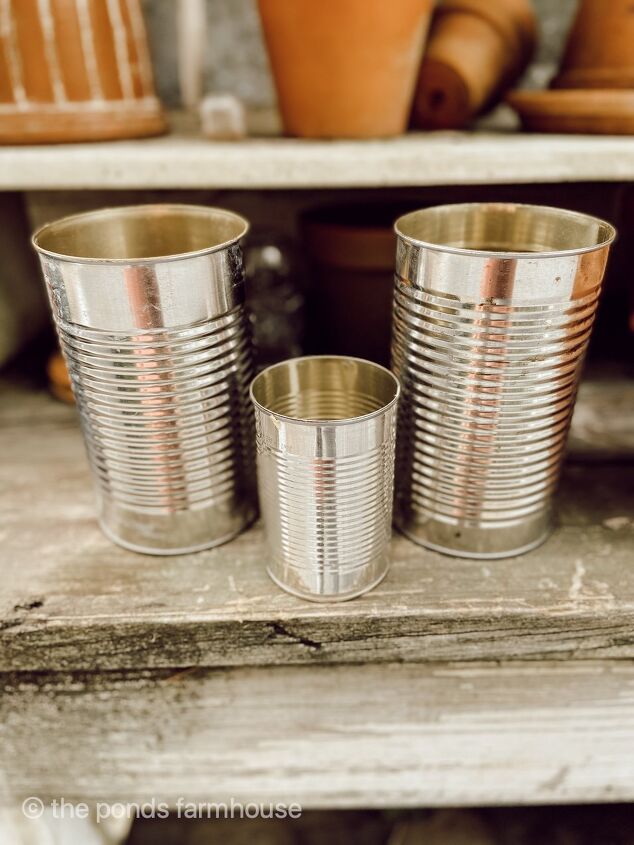
Today I’m sharing How To Cover Tin Cans with Twigs for a Free Recycle Craft. They can be used for a beautiful centerpiece or alone with stems. This easy tutorial will be a fall favorite.
The twig covered cans are beautiful to add to your fall decor as well as for all seasons.
Hometalk Recommends!
You can easily paint various cans for a free projects. I also decoupaged several tin cans with napkins for a Spring Table here.

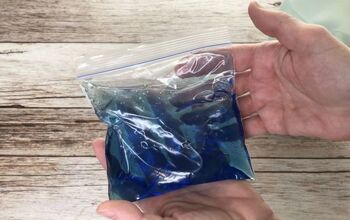
I used Hammered Copper by Rust-oleum, but brown or black works fine.
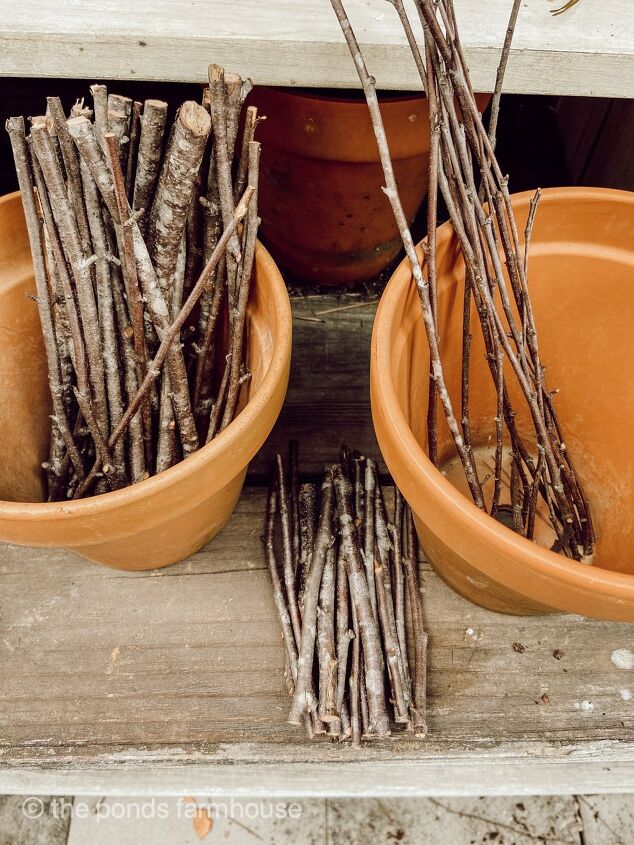
Once you have a good selection cut, you are ready to begin adding the twigs to the cans.
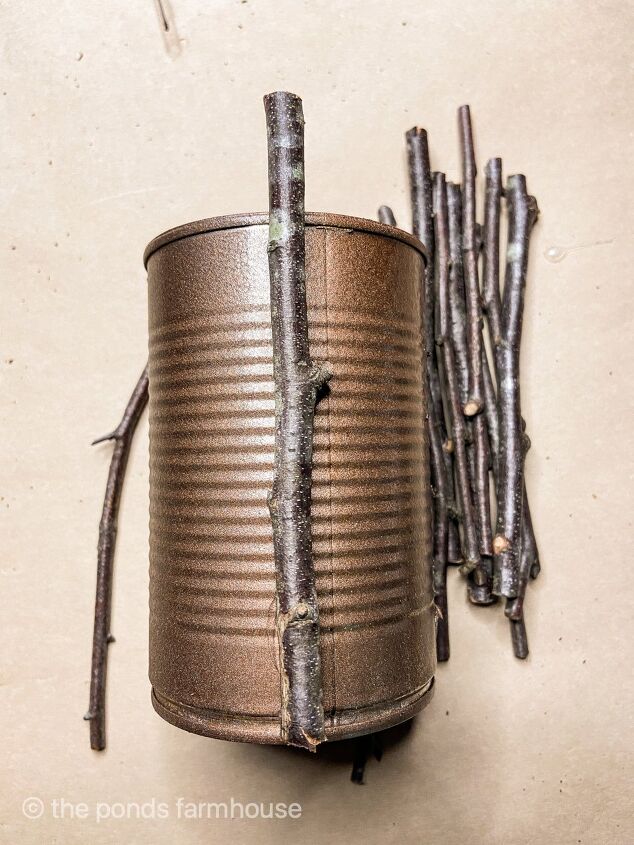
Begin by adding a bead of hot glue to the flat side of your twig.
The most difficult part is finding a flat side and many will not have one.
Don’t worry if it doesn’t lay flat because it will all work out in the end.
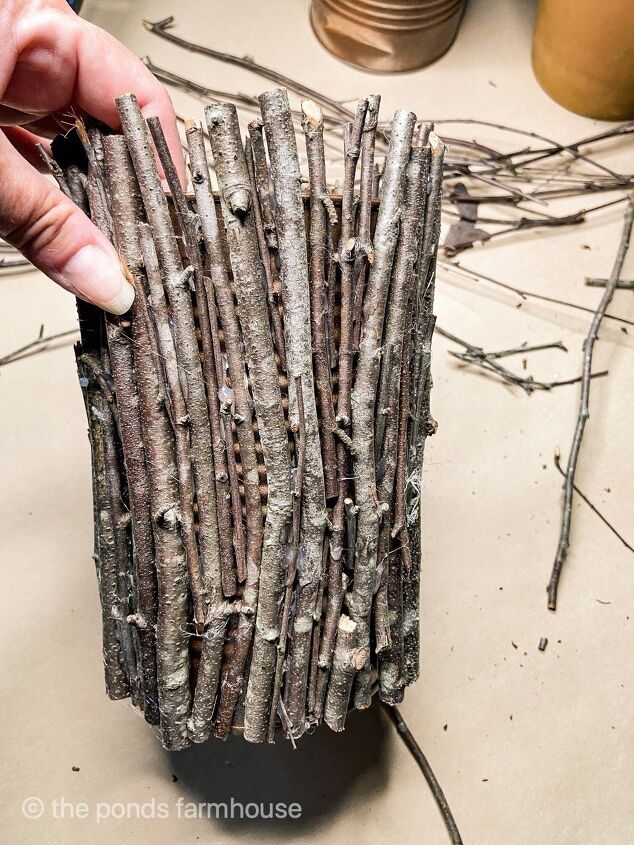
Finish Twig Cans - See the full tutorial here.
To finish the cans, I tied a length of raffia around each one and tied a simple bow.
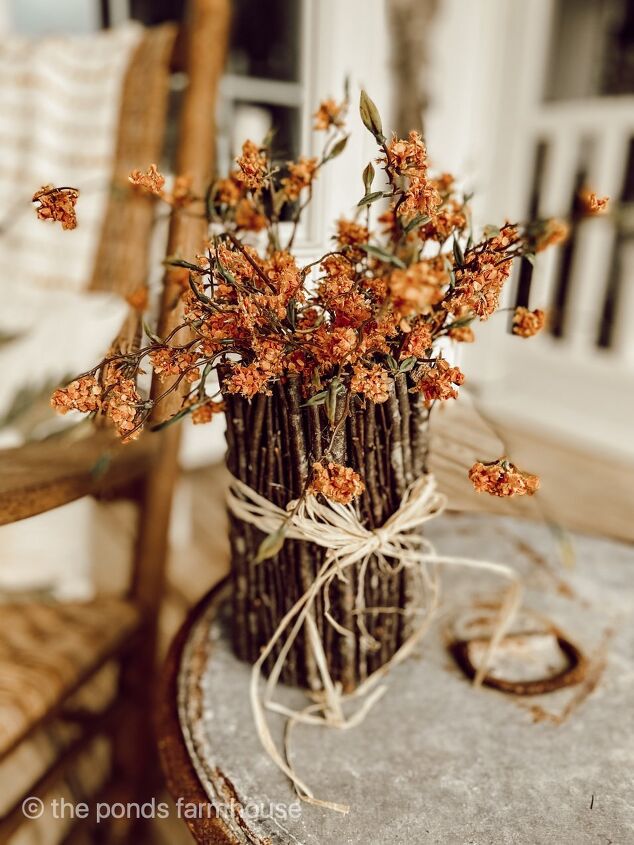
Although I have a plan to use these tin cans on a Fall Table Centerpiece, they look good alone with simple faux stems.
As I look at this photo, I’m already envisioning them with a wash of white paint for the holidays. So many fun options.


Comments
Join the conversation
-
Great idea for my patio railing!👍👏
This will raise the height and add more privacy in a lovely way. Thanks for sharing 😁
-
These are great looking. They could have many uses. Also, nice gift for someone.


Frequently asked questions
Have a question about this project?