


Embroidery Hoop Artwork

I've been seeing a lot of DIYs with embroidery hoops recently, and I have loved them all! I knew I wanted to do a fun embroidery hoop DIY for you all, so this month I finally got to it! This simple DIY is perfect if you need a new summer artwork piece. So follow along as I show you each step I used to create this fun, minimalist, summer wall decor!
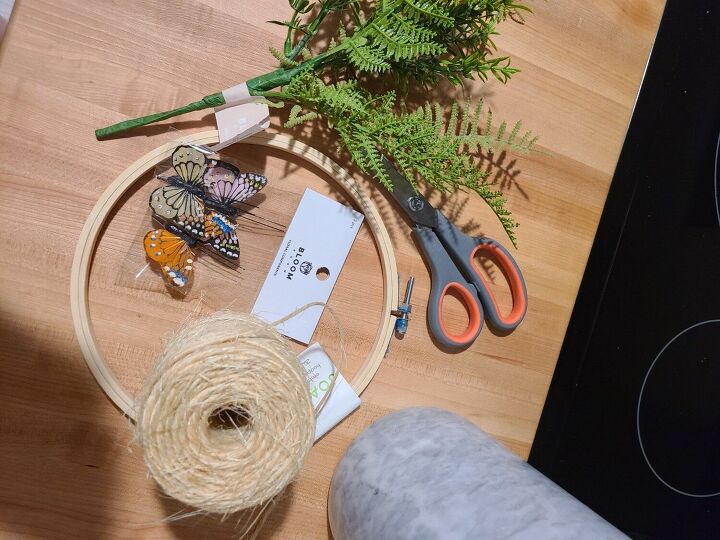
First, grab all of your supplies! You'll need an embroidery hoop, twine (or any other piece of ribbon or string you'd like!), some faux flowers of choice (or live if you really want!), and some embellishments - I choose butterflies!
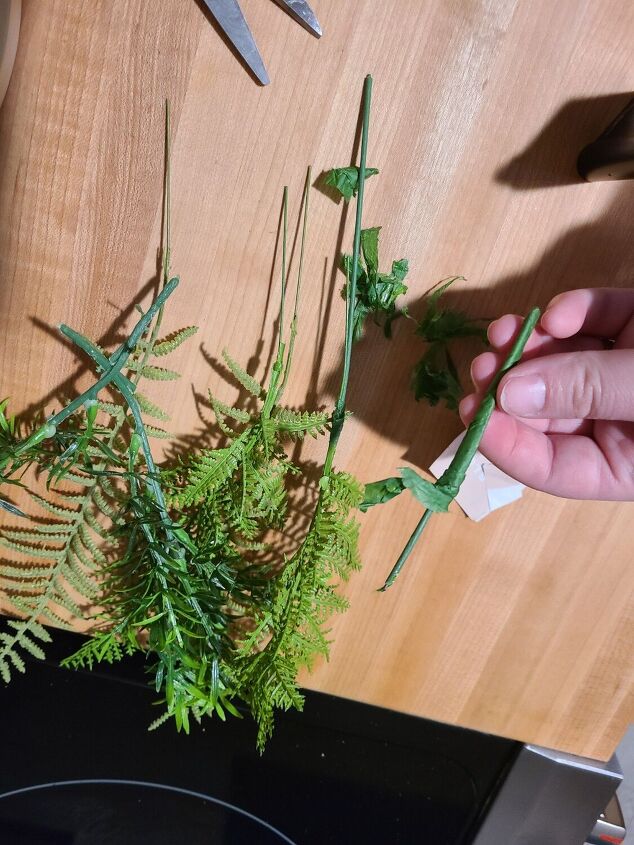
The first thing I did was take apart that faux stem. I found this one at Joann Fabrics and I was able to tell in store that if I sperated the greenery, I could use each piece individually.
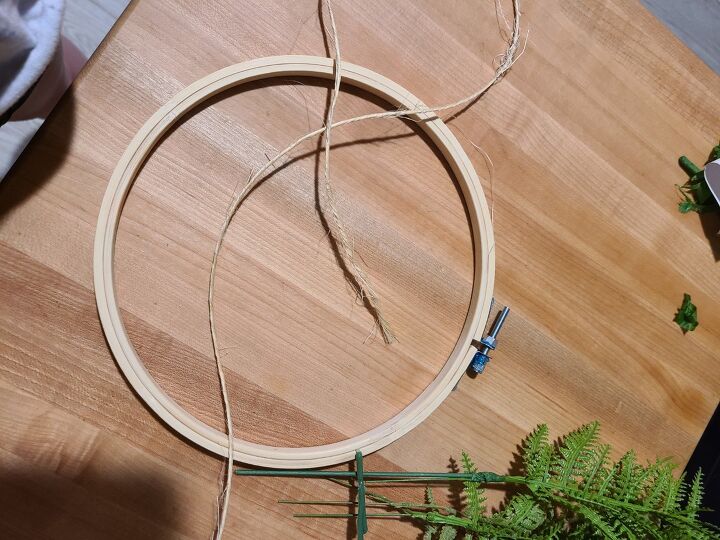
Then, I measured out my twine. I loosely wrapped it around the hoop until I got the look I wanted, and then I fut the twine to make it easier to work with.
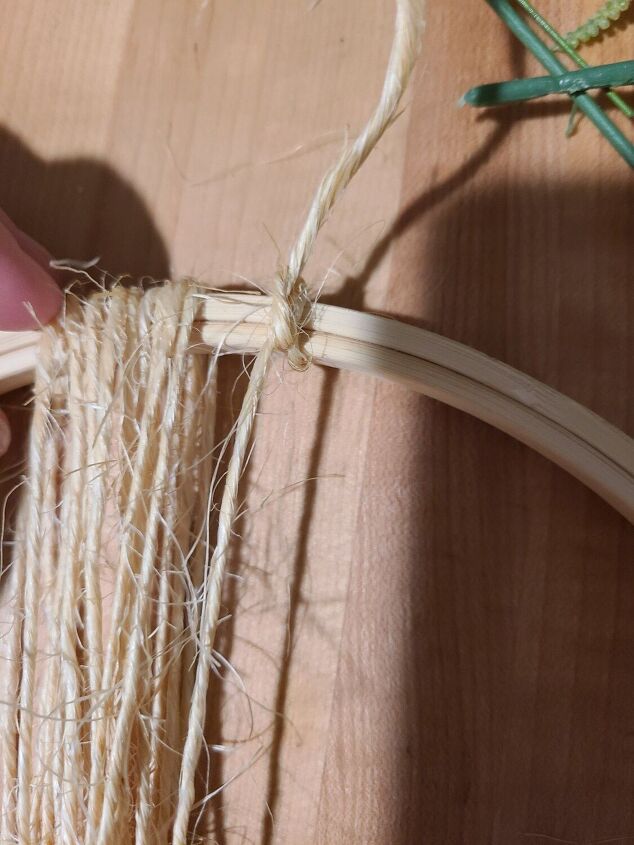
I then tied one end to the hoop and I wrapped the twine around the middle of the hoop until I was happy with it, visually!
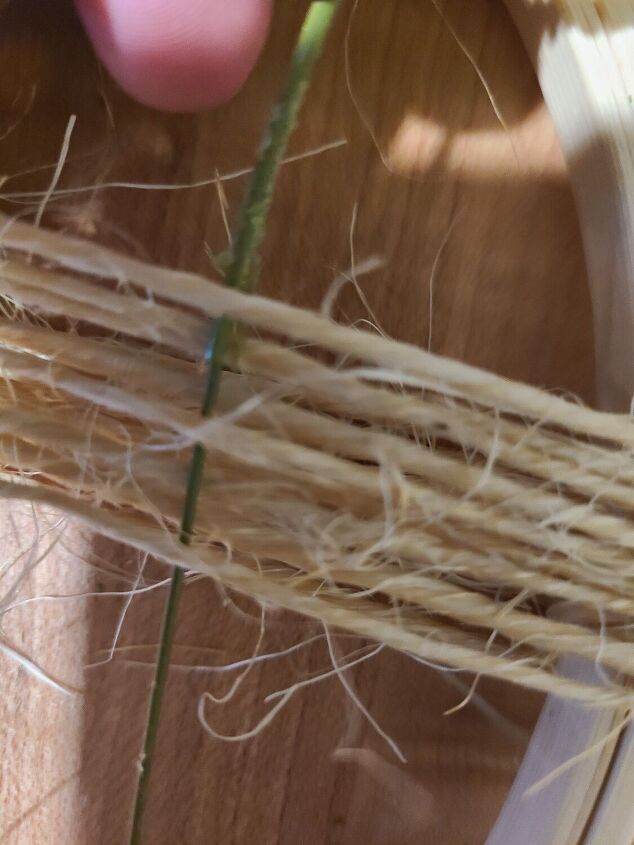
Then, I threaded the faux greenery stems through the twine and pushed them in until they were secure.
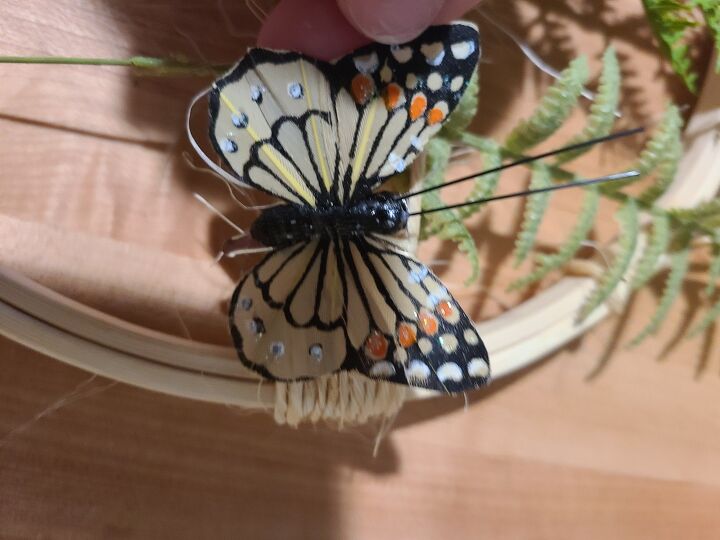
Once the greenery was secure, I added my embellishments- butterflies! I found these at Joann Fabrics and they were perfect! They had a little clip on the back of them, so I was able to easily snap these on to the piece where ever I wanted.
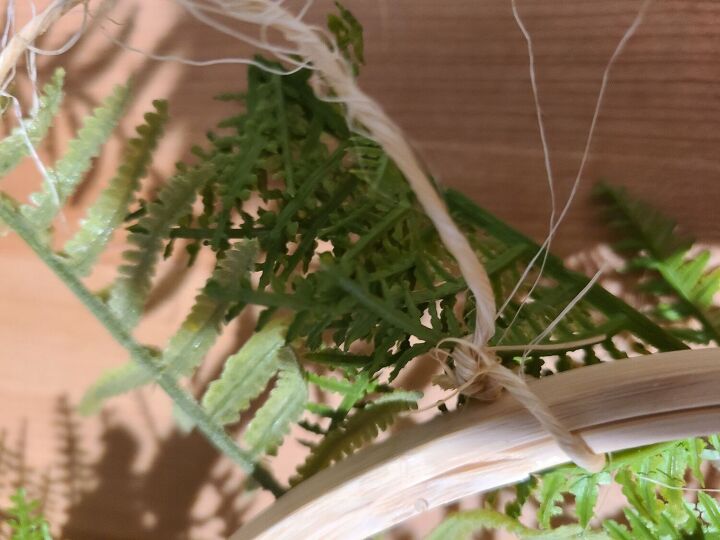
Lastly, I tied some twine around the hoop to crate a handle to hang it on the wall.
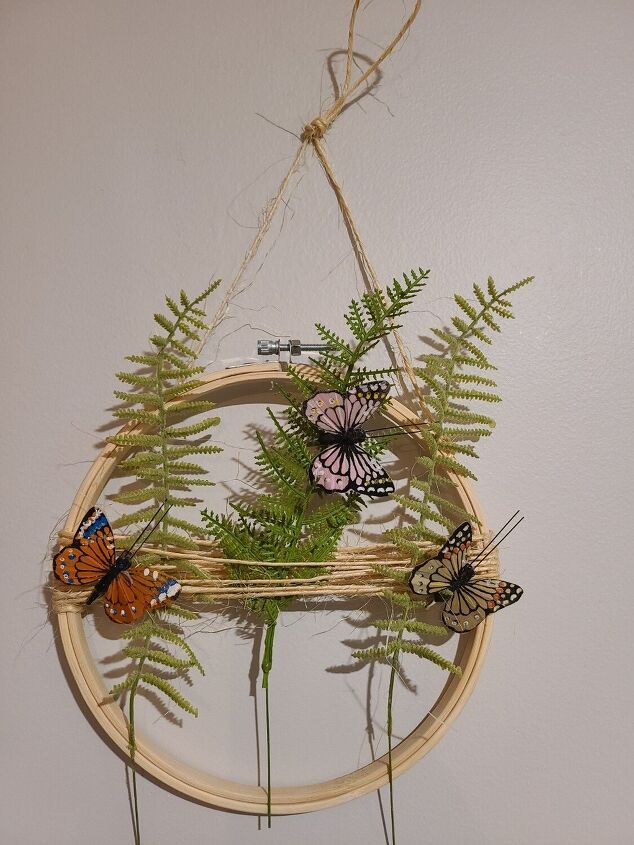
And Enjoy!
Comments
Join the conversation
-
I believe I will. I’m thinking a glued on background circle with muted water/ sunshine painted on it.





















Frequently asked questions
Have a question about this project?