


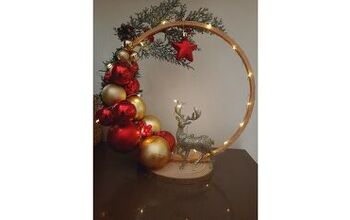
5 Simple Steps to Make a Stunning Embroidery Hoop Centerpiece
Are you looking for a totally unique Christmas decoration? Grab a couple of embroidery hoops and Christmas ornaments and let's make this gorgeous embroidery hoop centerpiece.
This post was transcribed by a member of the Hometalk editorial team from the original HometalkTV episode.
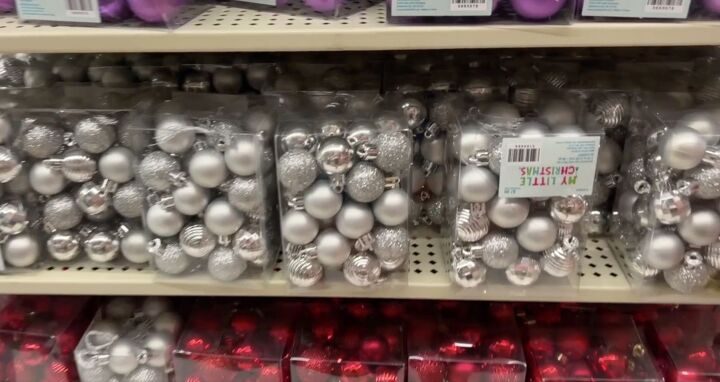
For today's DIY, we're going to run to the craft store and grab some tiny little ornaments and glittery faux flowers.
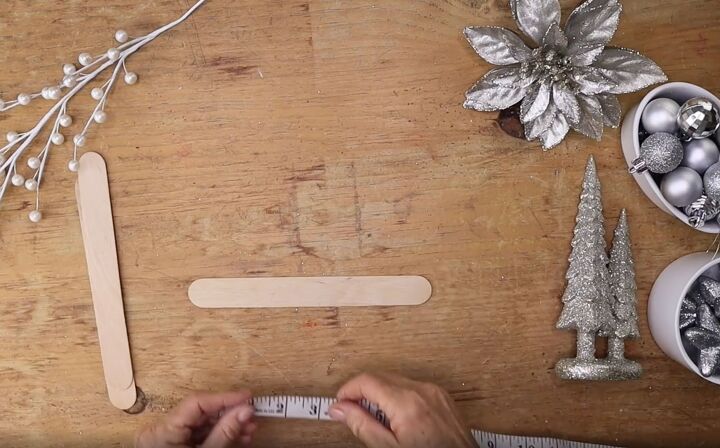
1. Cut tongue depressors
First, we're going to start with these large tongue depressors, which you can get at the craft store and we're going to cut those in half.
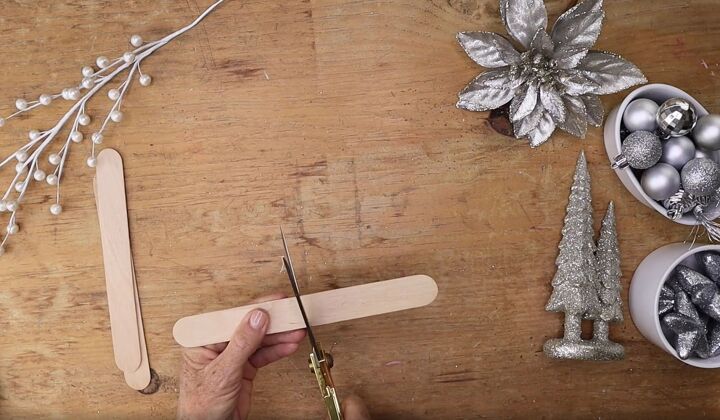
I marked them with a ruler and easily cut them with scissors. You're going to need about seven or eight of these.
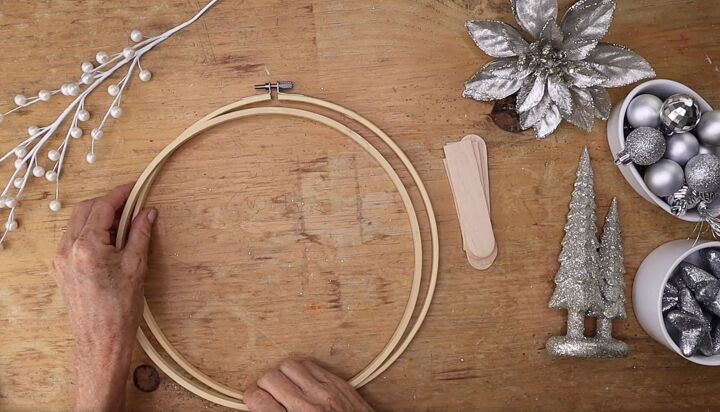
2. Pull apart embroidery hoops
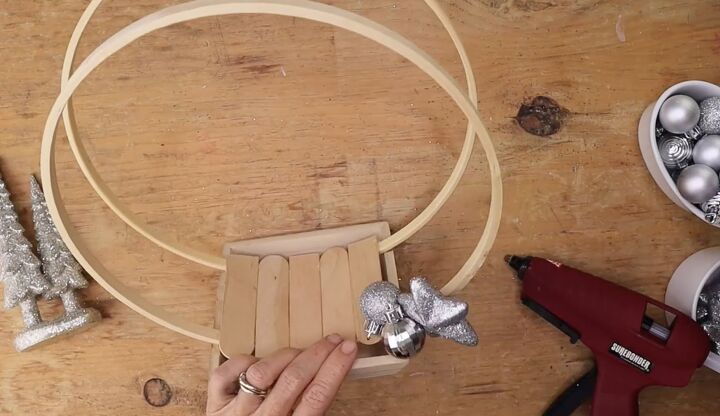
Then, I grabbed an embroidery hoop and pulled that apart.
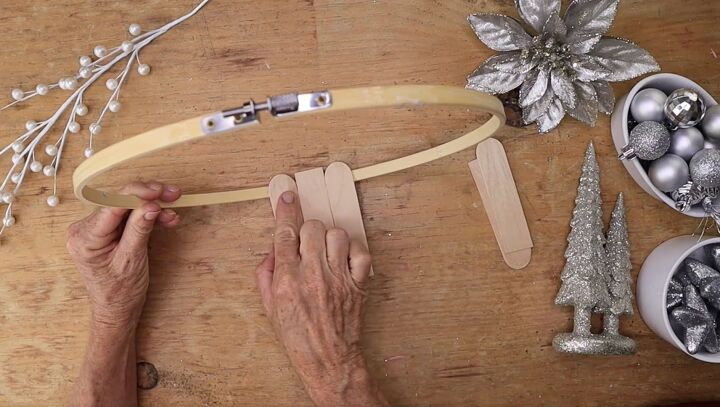
3. Attach tongue depressors to the embroidery hoops
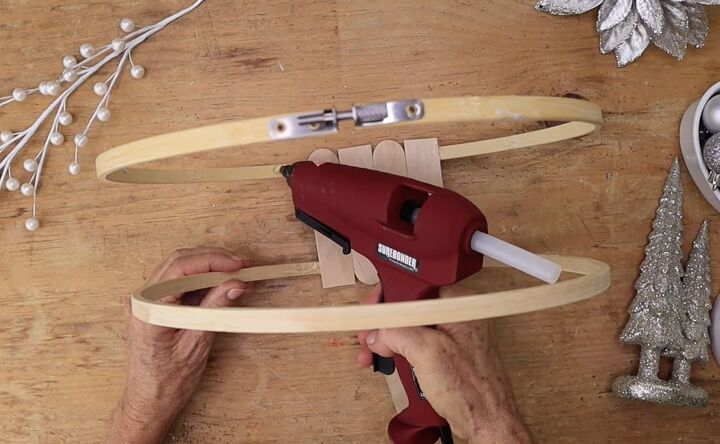
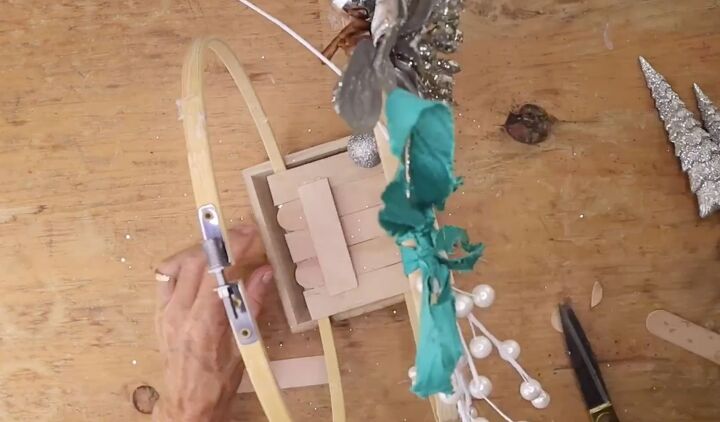
To make the hoops stand, I glued one end of three sticks onto the bottom of the first hoop.
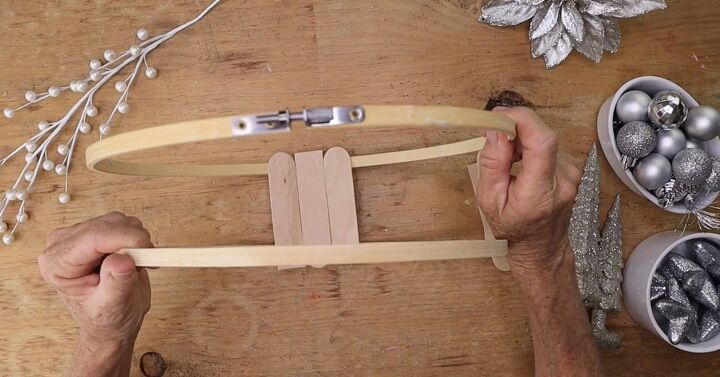
Then I hot glued them to the second embroidery hoop.
After I had attached three tongue depressors, I added two more; one to each side to make it even more stable.
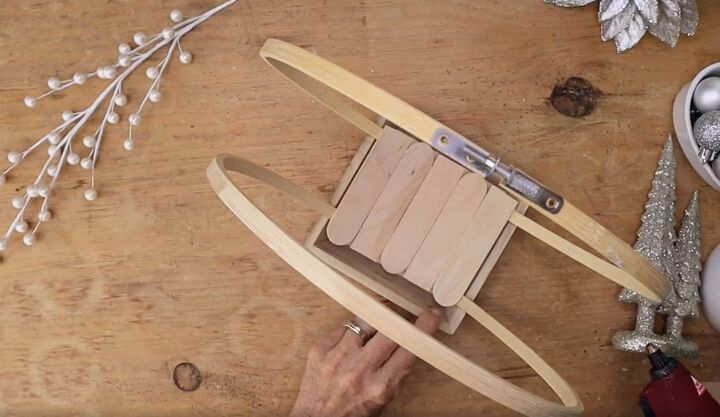
4. Add a wooden tray
Next, I grabbed a little wood tray, and I hot glued that to the underside of the embroidery hoops and tongue depressors. This will make my piece look more finished and refined.
5. Glue on embellishments
Then it was time to add my little ornaments. I glued them 3/4s of the way up one side of the centerpiece. I made sure they were secure by adding glue to the front and the back.
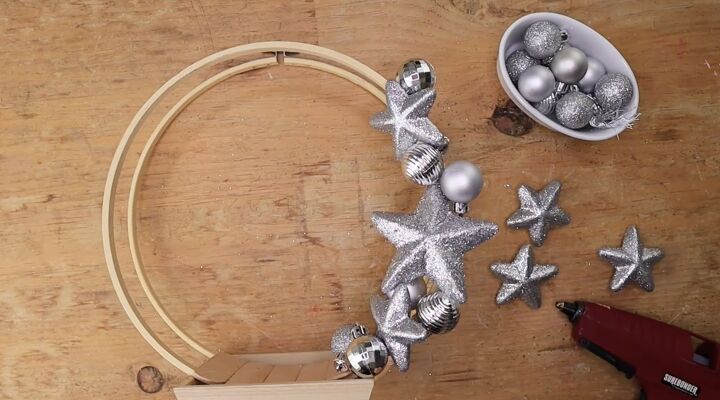
I decided to only add the ornaments to one side of the embroidery hoop centerpiece.
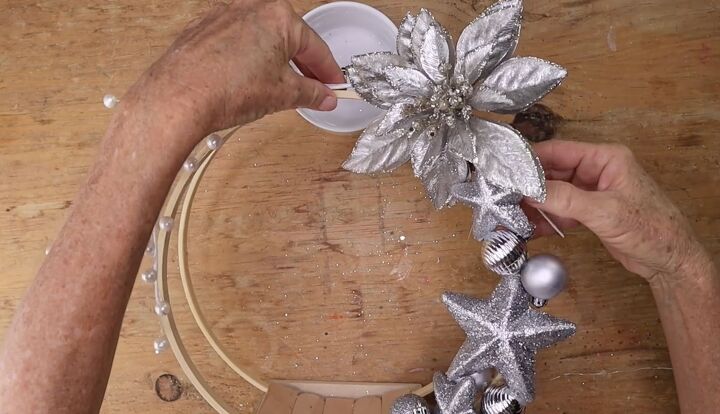
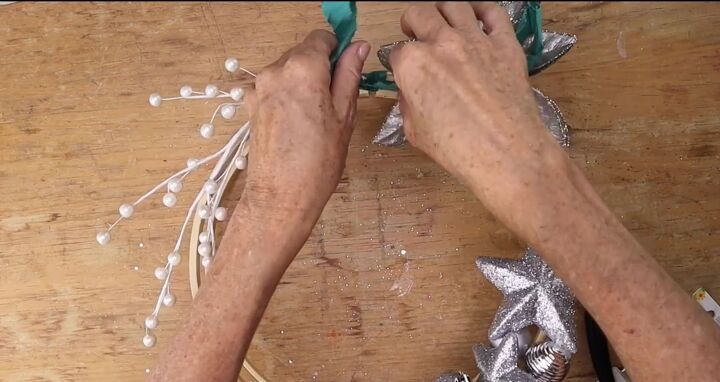
My next step was to grab one of my flowers and hot glue it to the top of the embroidery hoop centerpiece, slightly off-center. I wrapped the stem around the hoop to make sure it was secure.
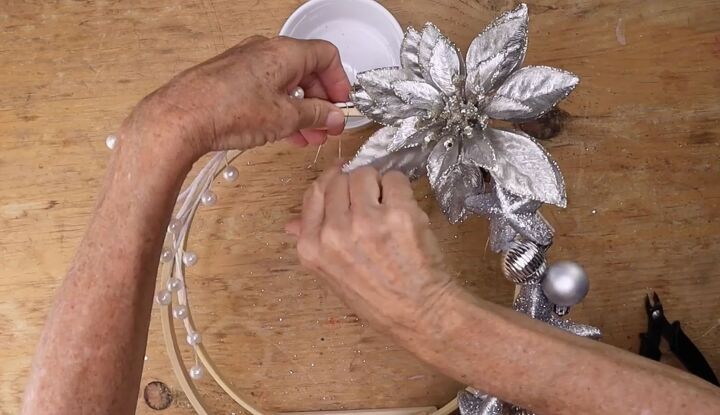
Then I grabbed a little pearl branch and attached it with floral wire.
To finish off the hoop, I added a little green bow to the top.
I also ended up adding a few more wood pieces to the bottom so that it was flat.
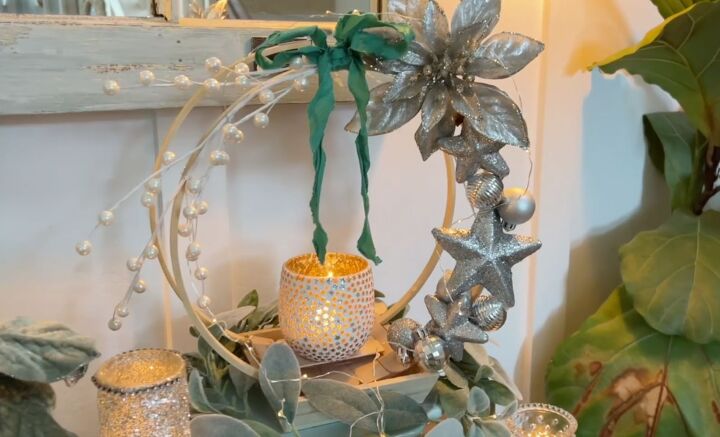
The little flat platform was perfect to set a candle on. You could also add some little figurines to it as well.
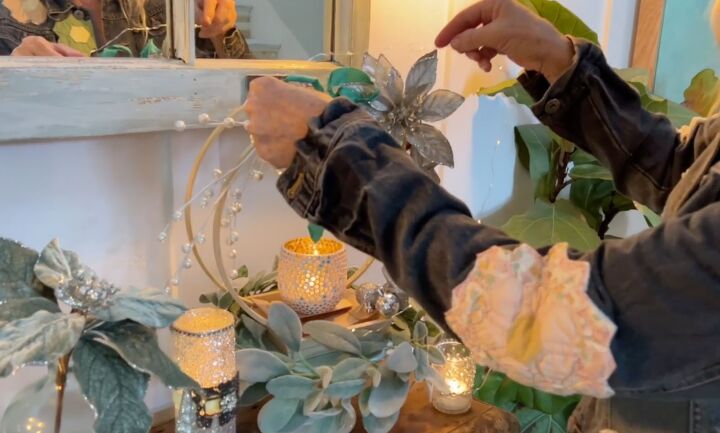
To make the hoop look even better, I added a strand of fairy lights.

I was able to slip the battery box behind the hoops so you couldn't even see it.
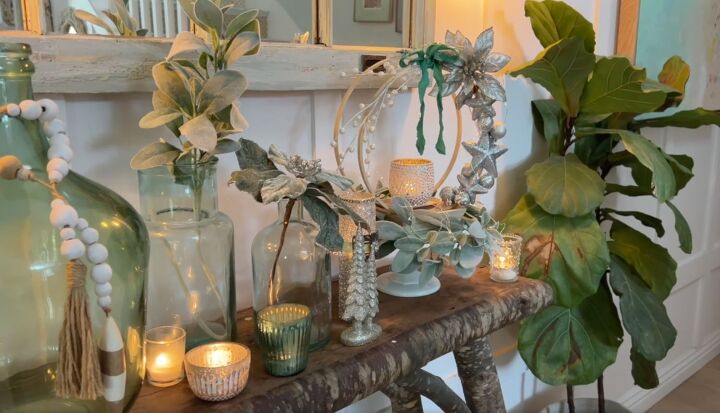
Embroidery hoop centerpiece tutorial
This turned out spectacular and I couldn’t be happier with how this fall floral arrangement looks.
Below the embroidery hoop centerpiece, I added a fall wreath, and I think it added a lot to the overall look.
I hope this inspires you to make a really beautiful centerpiece for your holiday table, let me know how it went in the comments!
DIY fall centerpiece ideas

Comments
Join the conversation
-
Oh my goodness so lovely. Your design isn’t just for Christmas. It’s year round. I see a little bunny on shelf for Easter/Spring. Very creative thanks for sharing
-
Most defintely


Frequently asked questions
Have a question about this project?