


How To Fill Nail Holes in Wall
If you love this project, grab your quick start DIY guide & subscribe to our blog!
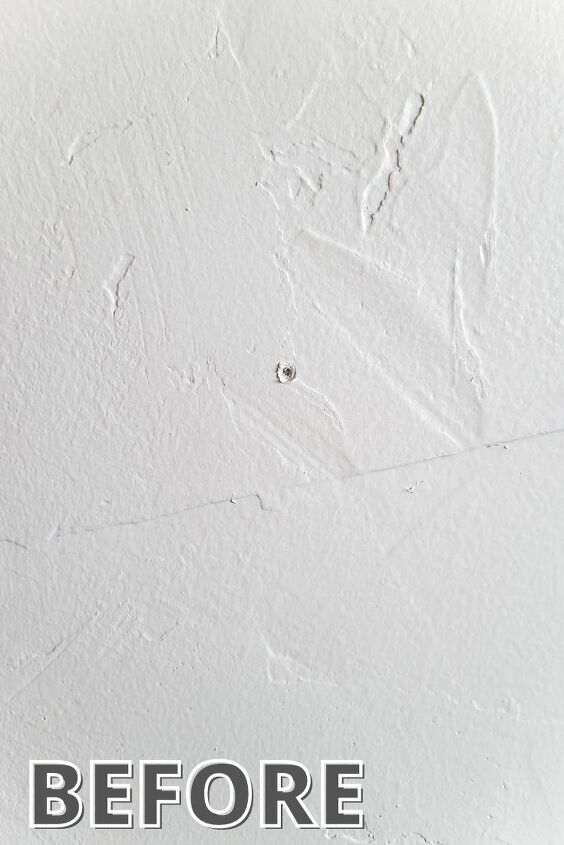
An inevitable part about decorating your walls is that you’ll eventually, sooner or later, have to deal with filling nail holes left behind. Learn how to fill nail holes in wall like a pro with this step-by-step!
In today’s post, I’m going to show you our tried and true method of how to spackle nail holes professionally so you can’t even tell that they were there!
It may be a few extra steps than you are used to but, I promise, it’s worth it.
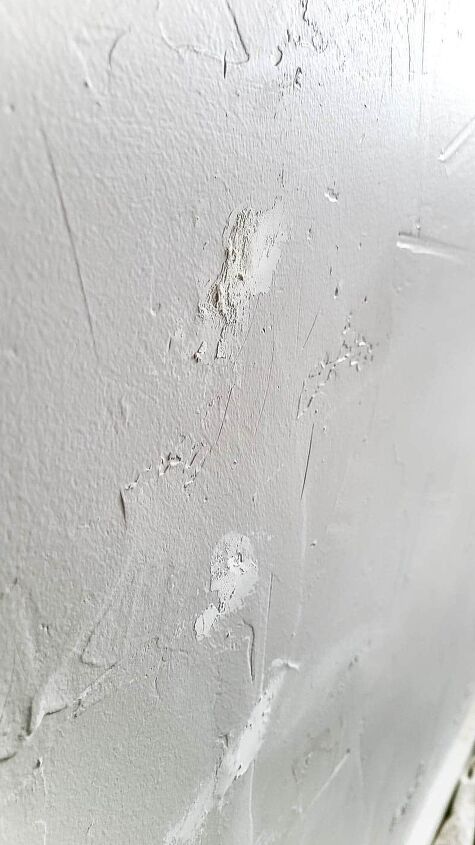
Step 1. Fill nail holes with spackle
To patch nail holes in the wall, you want to start by filling the hole with spackle.
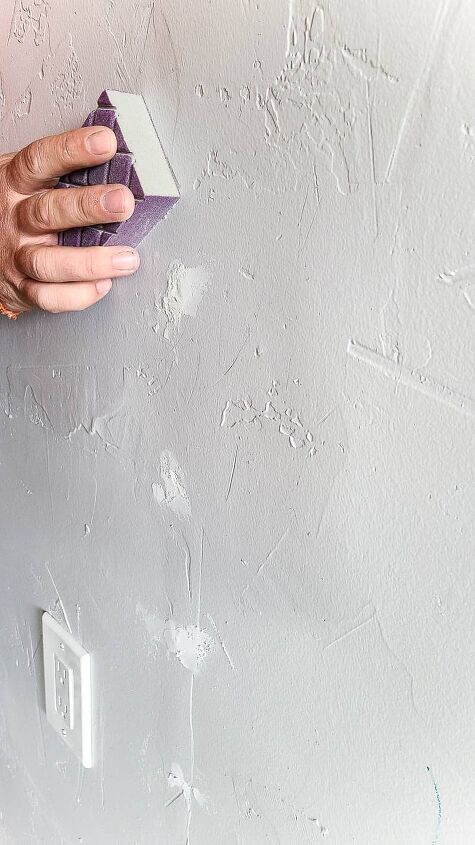
Step 2. Sand smooth
Once dry, sand the patched area smooth using a sanding block.
Wipe the area with a slightly damp rag after sanding to grab any dust before moving on.
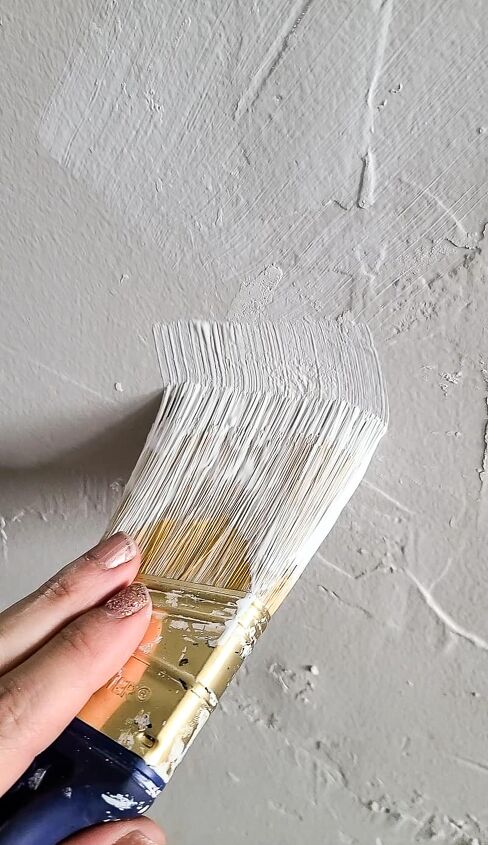
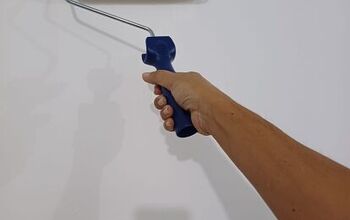
Step 3. Prime over patched nail hole
Grab a paintbrush and add some wall primer over the patched nail.
Let the primer dry thoroughly before moving on.
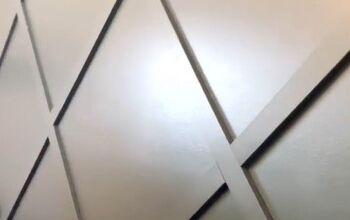
Step 4. Paint over the filled nail hole
Last, but certainly not least, you can paint over your filled nail hole as you normally would.
There you have it! How to fill nail holes in wall – the professional way. Using the steps in this simple tutorial you can start the fun task of filling your nail holes and watching them literally disappear as you paint the room.
If you love this, check out all of my painting project tutorials in the archive here!


Frequently asked questions
Have a question about this project?