


Upholstering An Antique Chair Part 2 - Redressing It!

by
Terry Foster
Advanced
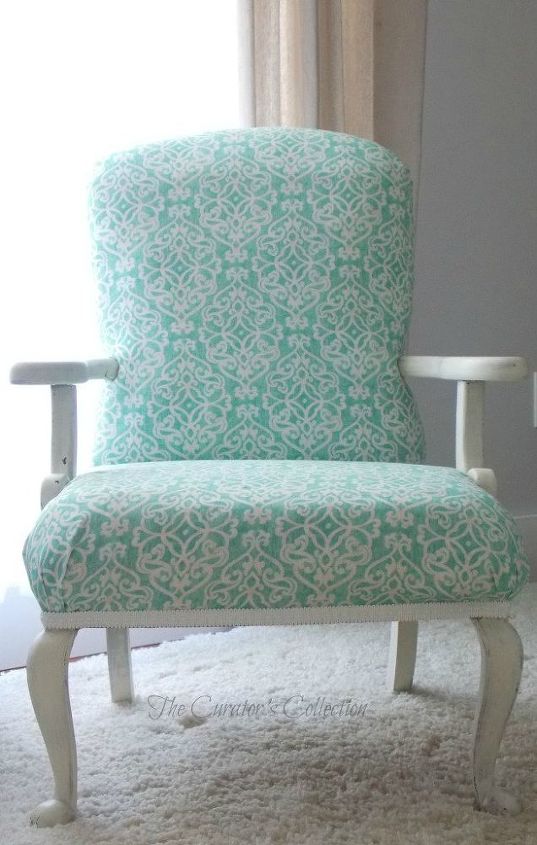
Today we are ready to redress this lovely little chair.
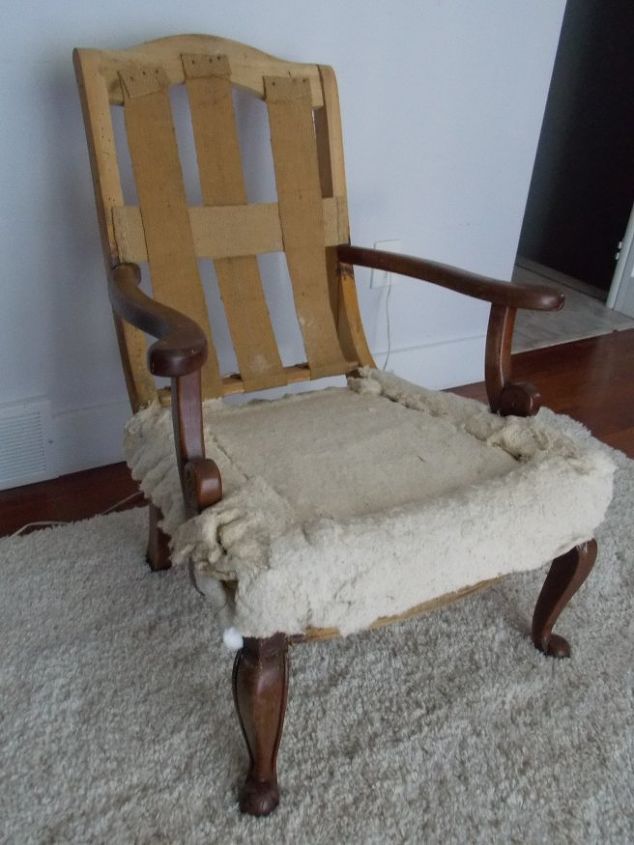
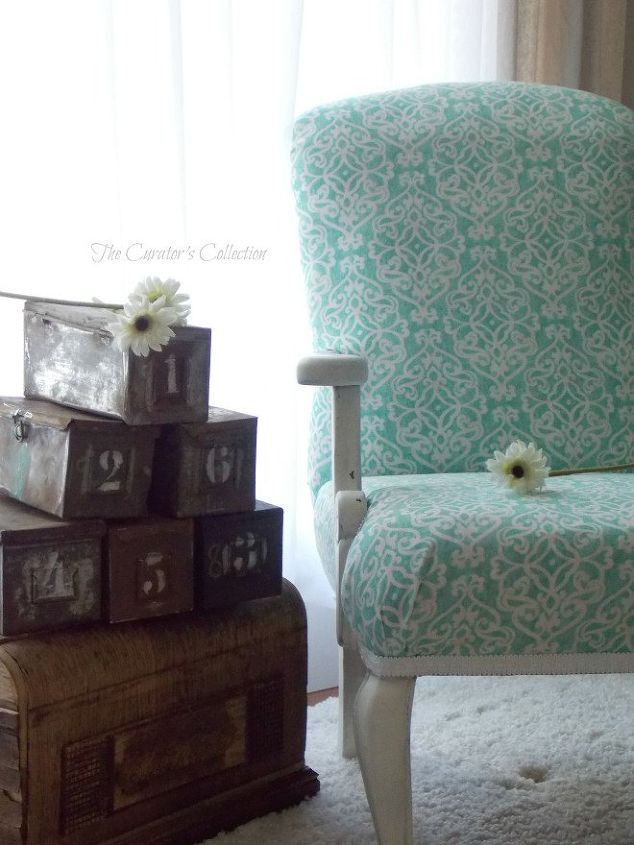
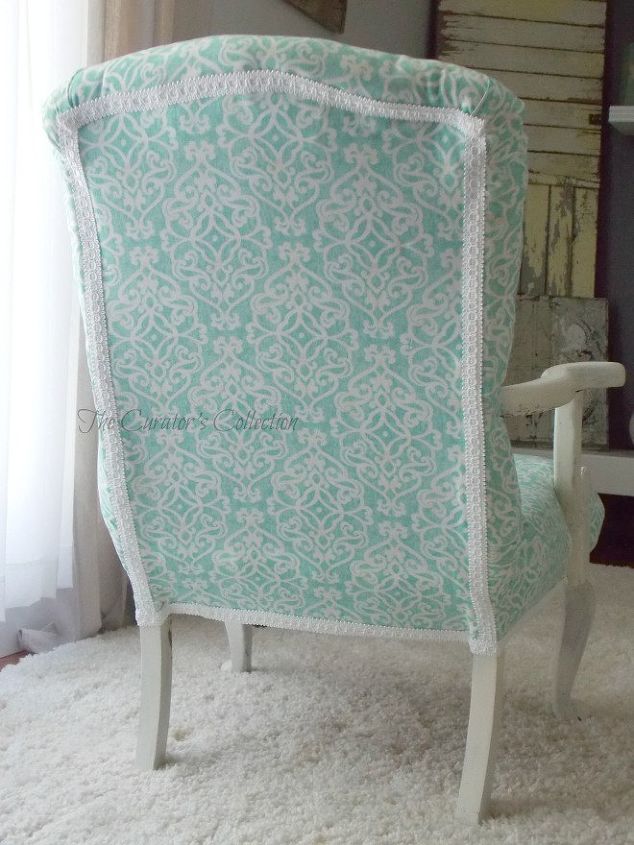
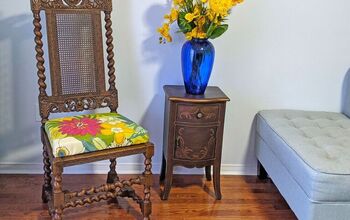
Because I am giving this chair a completely new look, I decided to give the wood a coat of MMS Milk Paint in the colour Linen before starting the upholstering. I sanded it smooth and finished it with a coat of clear wax.
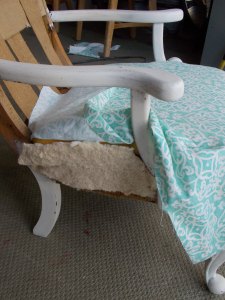
To begin upholstering the chair I started with the seat. I wanted my cushion to be attached to the chair so I removed the foam from the original cushion cover and placed it on the seat part of the chair. I added some extra batting to smooth out the shape and create a seamless feel between the cushion and the chair frame.
Next I placed my fabric over the seat and measured it to make sure that the material would cover the sides and front and back . I then cut it. You should have a large square piece at this point.
Place it over the seat and start by cutting out where the arms attach to the seat ...
If you hop over to the blog you will be able to see how to get to this ....
Want more details about this and other DIY projects? Check out my blog post!
Comments
Join the conversation
4 of 25 comments
-
You did such a great job - very pretty chair.
-
Beautiful!


Frequently asked questions
Have a question about this project?