


Fitting a New Window

by
PhilCo
Medium
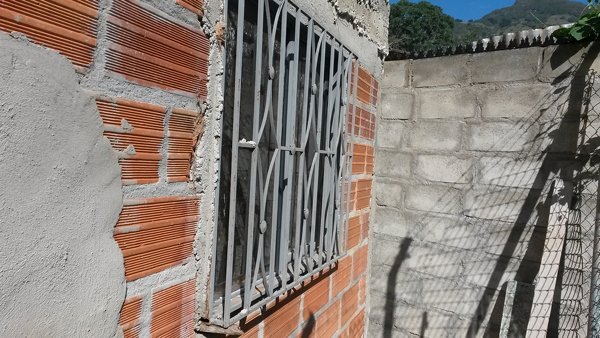
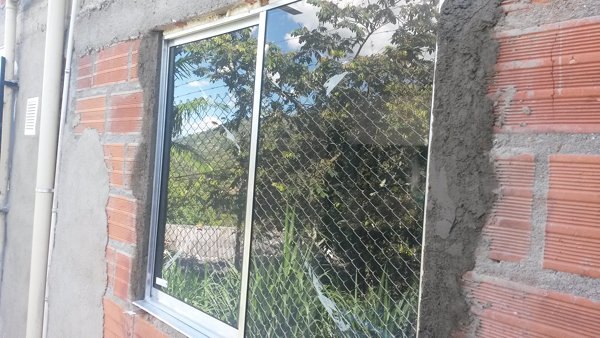
At the back of our house, there was one window, that someone in the past had just lodged into the wall, rendered the inside, but outside there were rotten wooden wedges, and paper stuffed in the holes to keep it in.
When I left the UK, I lived in Spain for 6 years, and thought their workmanship left something to be desired, but on moving to Colombia, I realised that I had been spoiled.
This was a job I had been putting off since we moved in nearly two years ago, but it had to be done. Not only was it an eyesore, but damp was getting in.
I had two fears, one trying to get the window out would cause the house to collapse from above, or the walls would pull out with it, especially as here many houses like ours are left unrendered (or parged).
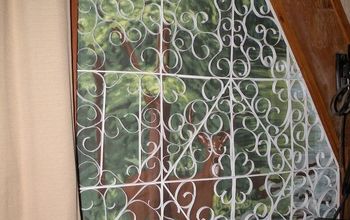
This window was ancient, I think like many other things in the house it was reclaimed and fitted when they built the house.
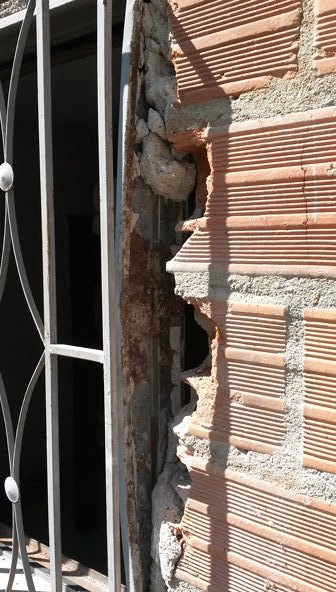
I need not have worried about the window being hard to get out, the metal frame was the same width as the wall, and the mortar went into the frame.
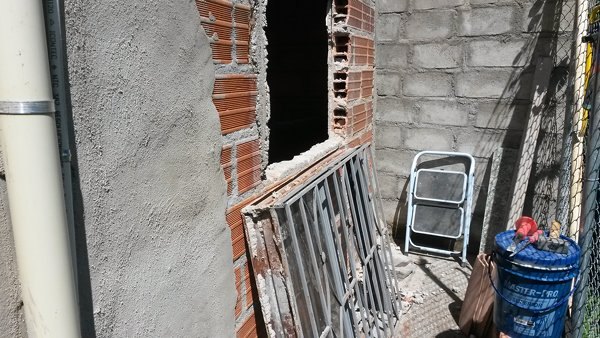
As you can see, the walls are not very thick, and are hollow which makes them susceptible to breaking up.
I couldn't use an angle grinder to cut the brickwork, without getting into trouble with SWMBO, because of the furniture in the bedroom, which could not be removed, therefore it was done with lump hammer and cold chisel.
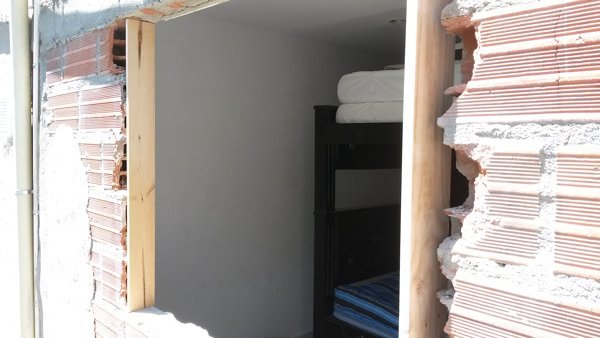
That done, the new window slid into place, and after shimming the frame to ensure it was square, I used expanding foam all round the frame, waited for it to dry, trimmed the foam, and then used silicon mastic to seal it.
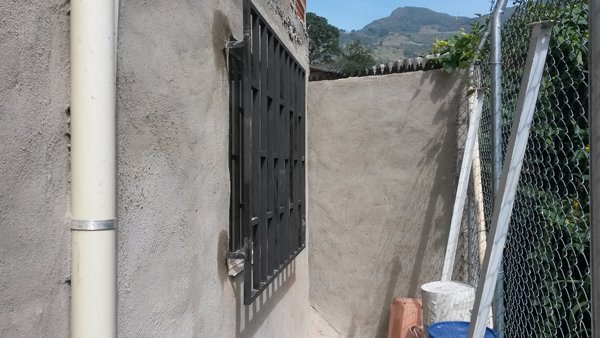
I cut through my new render into the wall and let the support bars of the security grille into the wall, then mortared up and re-rendered around the 4 supports.
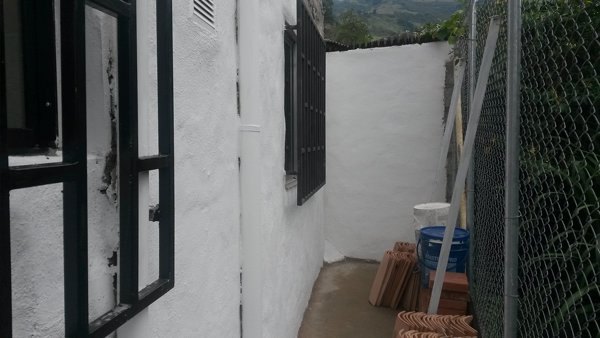
Finally it all had a coat of paint, and I was ready for a long break!
Want more details about this and other DIY projects? Check out my blog post!


Frequently asked questions
Have a question about this project?