


DIY Desk Calendar With Instructions
Hello there,
My wife wanted to have a table calendar for her office, so she can use again and again. She drew me the size on a piece of cardboard. So I had a clue to the sizing and could begin. The pictures below is where you can see how I did it. You can do this easily and the calendar is almost free if you have the materials at home.
My wife wanted to have a table calendar for her office, so she can use again and again. She drew me the size on a piece of cardboard. So I had a clue to the sizing and could begin. The pictures below is where you can see how I did it. You can do this easily and the calendar is almost free if you have the materials at home.
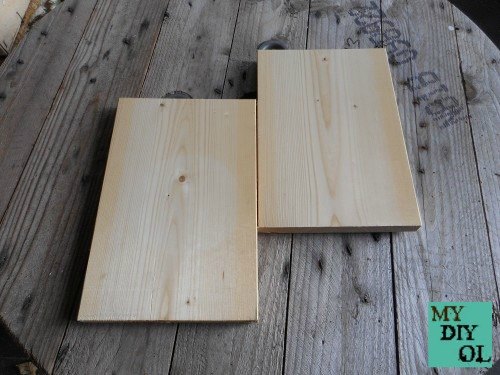
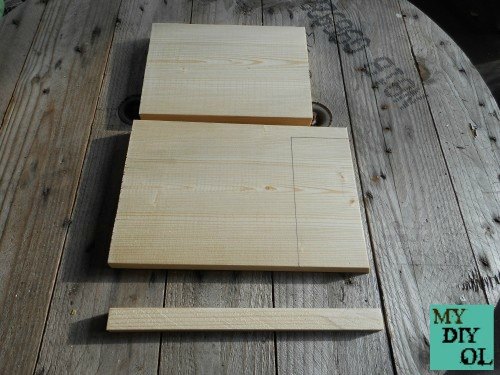
These two boards are my basis for the table calendar.
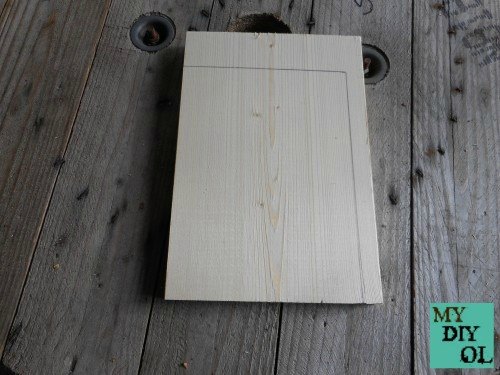
On the first board I have recorded the measurements for the area of the calendar, and sawed it accordingly.
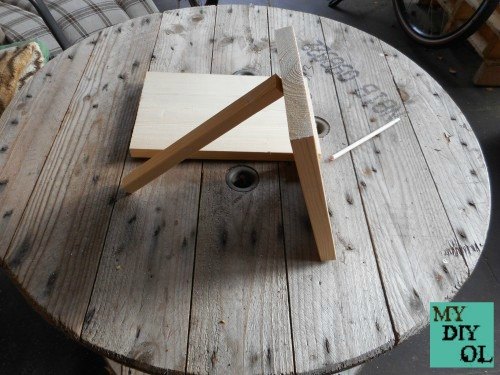
After I cut the first board, I put it to the second board next to draw an angle, because the calendar should have a slight slant.
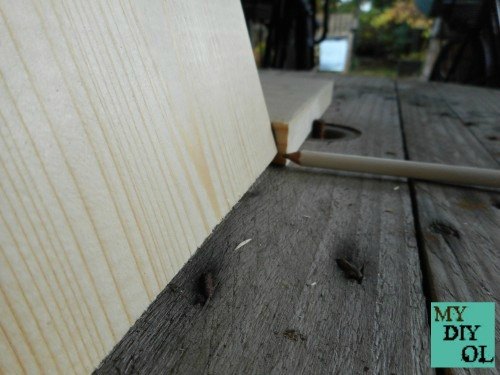
Detail

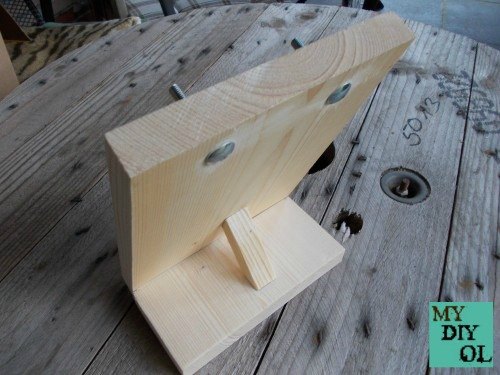
After making the mark I sawed the angle with my chop saw. My angle is 23 degrees.
After I cut the angle, I drew how to measure of the rest of the calendar and sawed them. From the narrow piece of the bottom of the picture also a little extra support as you can see on the following image.
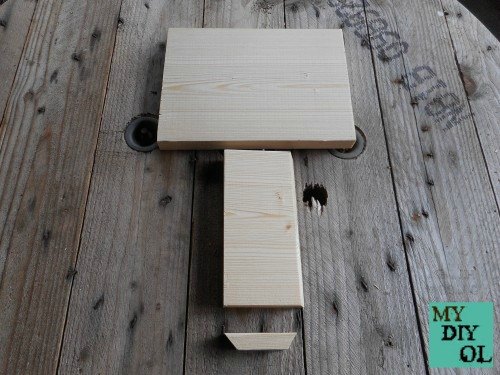
So look at the three parts of the calendar from when they are finished and sawed.
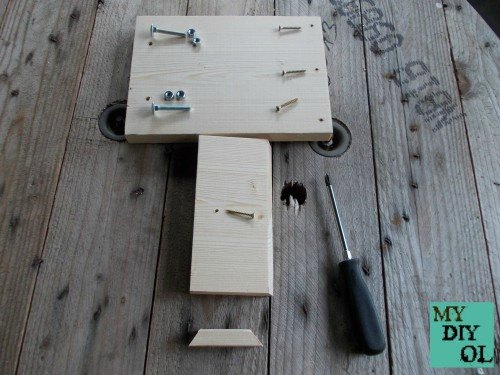
The next step is to pre-drill holes for the mounting of the calendar.
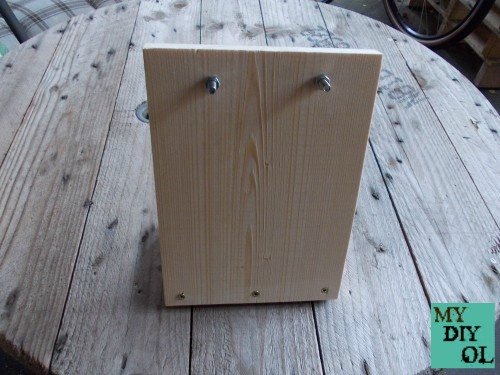
Everything was done and now we wanted to print the calendar page templates.
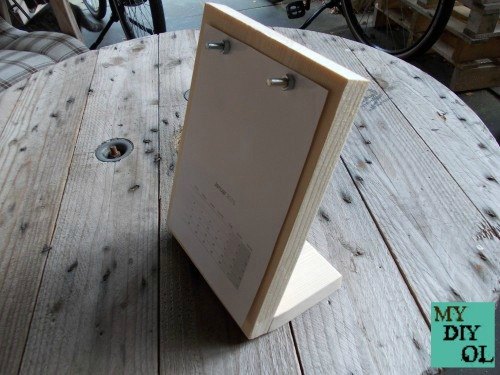
They are on the internet thanks to the many bloggers including many different kinds on their blogs. My wife will stick in the open space of the calendar pages and images of her choice, so she gets even more advantage.

Want more details about this and other DIY projects? Check out my blog post!
Comments
Join the conversation
2 comments
-
Wow this is really cool! Thanks for the great tutorial :)


Frequently asked questions
Have a question about this project?