


DIY Before and After: Coffee Table
$50
3 Days
Easy
Don't dispose unpresentable and old piece of furniture, it could be a beautiful detail in your home with just a little bit of money and lot of love and will. I decided to make an old, non-interesting table into luxury, but also and shabby chic coffee table.
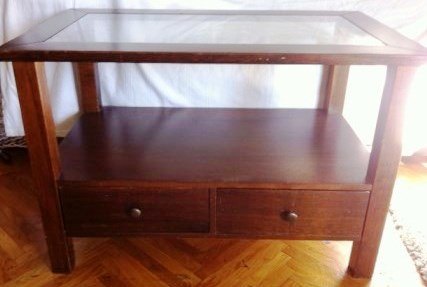
Before
Firstly, I removed glass from the top of the table and old, metal handles. I gently sanded, washed and dried the table to remove any earlier varnish and paint.
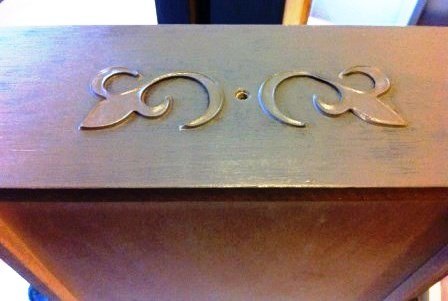
I put 3D ornaments around the handle with stencil and plaster for wood.
I put primer before the main paint.
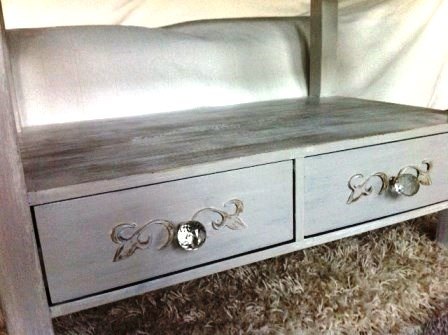
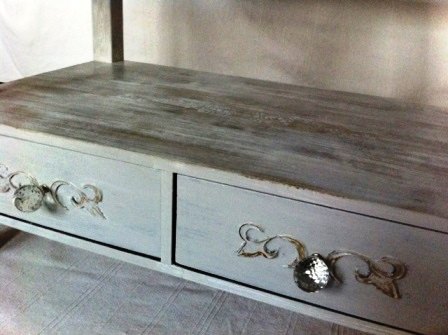
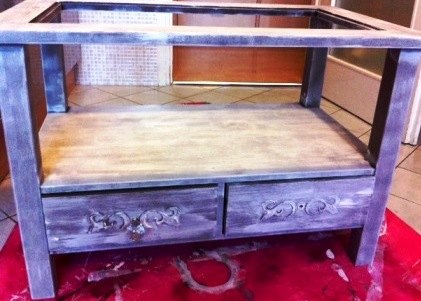
Firstly, I coloured the table with gray-brown acrylic paint for wood. After the paint dried, I applied white acrylic paint. I scraped the edges a little bit with sand paper to reach the shabby chic effect.
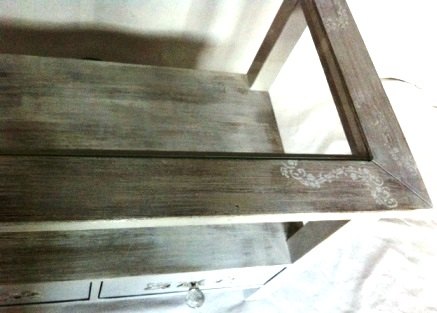
At the end I painted some details in white colour on the corner of the table, put some gold patina on edges and 3D ornaments and waxed the whole table with a clear wax.

Want more details about this and other DIY projects? Check out my blog post!
Comments
Join the conversation
4 of 14 comments
-
I'm not quite sure whether I like it or not. I find it a bit bizarre to say the least! I would have liked to see the entire finished product, but just a bit of it. This is a 'no' from me, sorry. :-(
-
I think it's beautiful....love the color, and the handles


Frequently asked questions
Have a question about this project?