


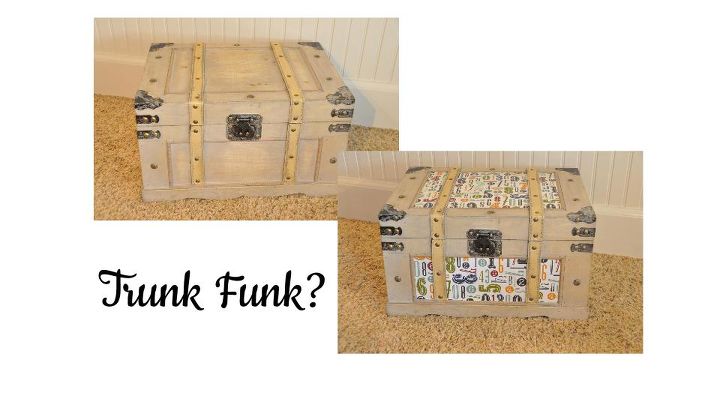
A SUPER Easy Way to Update a Storage Trunk
We recently moved -- such a dreadful way to start a post, sheesh -- but it's the truth. There's never a dull moment between packing, cleaning, sorting through unwanted clothes and toys and then unpacking and cleaning some more. I find it rather painful really! We have moved five times in our nine year marriage.
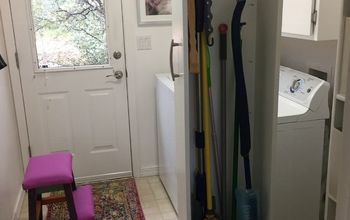
When we finally got into the new house, one of the first things we did was downsized our entertainment center. With a 14-month-old, we needed to find something that would keep little fingers from playing with all the electronic gadgets and we needed to find it quick! So we bought a smaller media cabinet with doors (hallelujah) but that meant we didn't have room for our DVDs.
When we finally got into the new house, one of the first things we did was downsized our entertainment center. With a 14-month-old, we needed to find something that would keep little fingers from playing with all the electronic gadgets and we needed to find it quick! So we bought a smaller media cabinet with doors (hallelujah) but that meant we didn't have room for our DVDs.
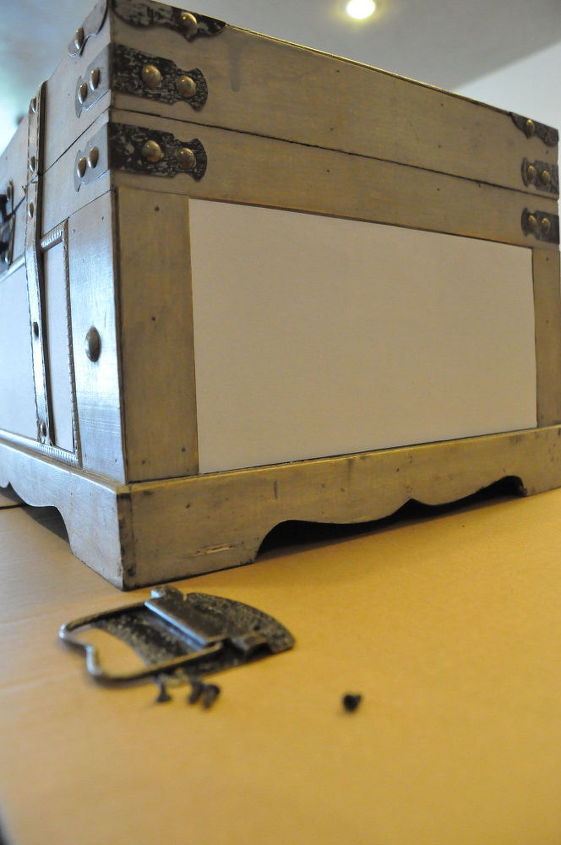
Project time! There was just one small problem -- I wasn't exactly sure what I wanted. So in order to receive some inspiration I ventured out to my favorite craft store - Hobby Lobby! I knew I would find what I needed and sure enough, Hobby Lobby didn't disappoint. I found these beauties that I thought would be perfect as a DVD holder and it would be great at keeping all those kid movies out of sight.
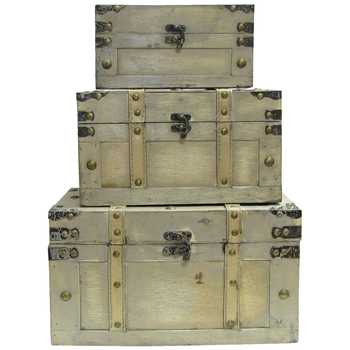
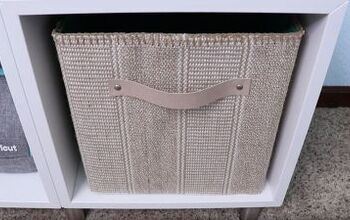
I actually didn't buy the entire set. Just the bigger one. I wanted to make sure it would work. I'm pretty sure I'll be making another trip to Hobby Lobby for the other two just because I'm in love!
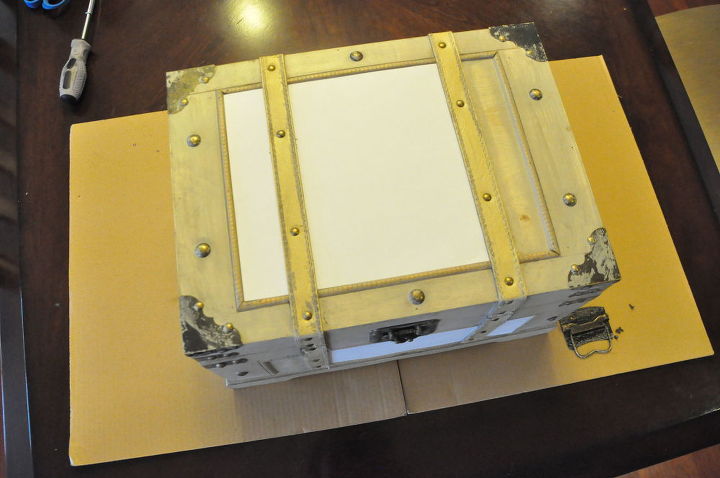
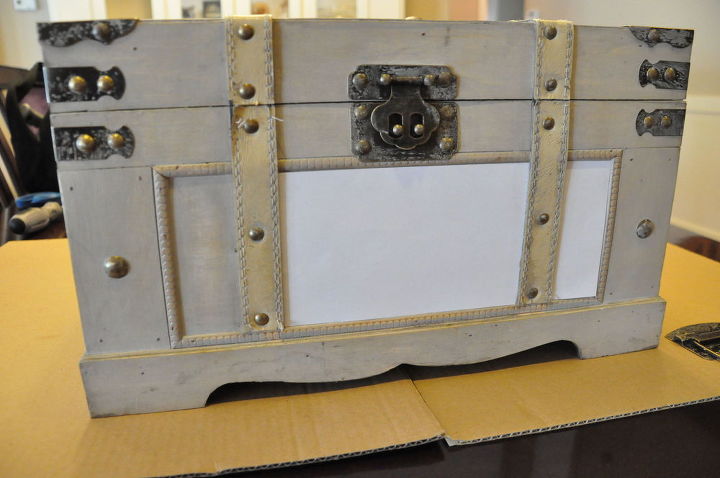
Since the sides of the trunk had handles, it took a little more time to create a template for it. I took the handles off (I checked to make sure they came off before I bought it), and then marked on the template and the scrapbook paper where the screws holes were. This made it a lot easier to put the handles back one once the trunk was all done.
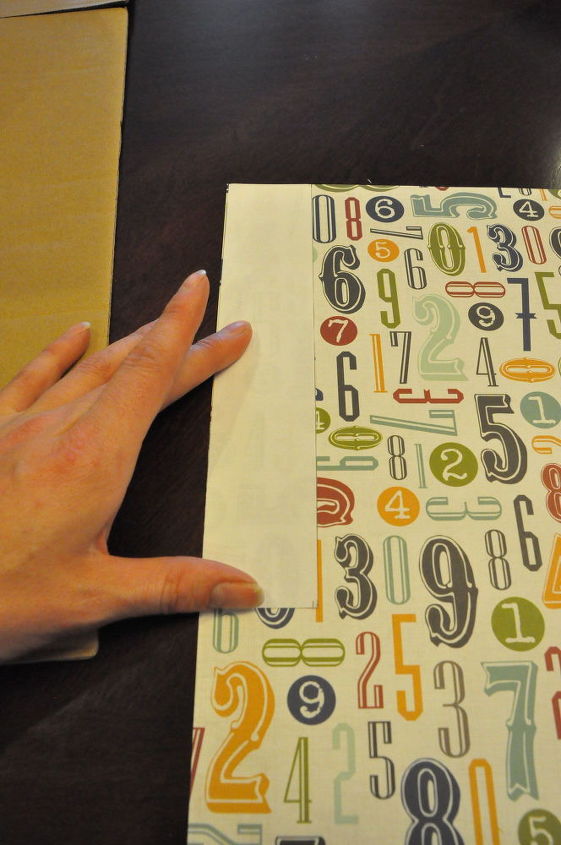
Then came the fun part. I love seeing what I had envisioned come together! At this point in the project, I traced each of the template sections onto the scrapbook paper. And again, made sure each piece fit just right.
For the full tutorial on how we updated this storage trunk visit or to get inspired with some of our other DIY projects visit dreamsandmidnightjabber.com.

Want more details about this and other DIY projects? Check out my blog post!
Comments
Join the conversation
1 comment
-
The paper is funky and it brings out the hardware and structure of the trunk. From plain to just plain fabulous. Great job.


Frequently asked questions
Have a question about this project?