


Antique Trunk Project

by
Marcela Pena
I love transforming antique trunks! This time I had been researching eastern styles: Thai, Japanese, Chinese, and wanted to make something like that. Collected dozens of photos and combined ideas and the materials I could find...
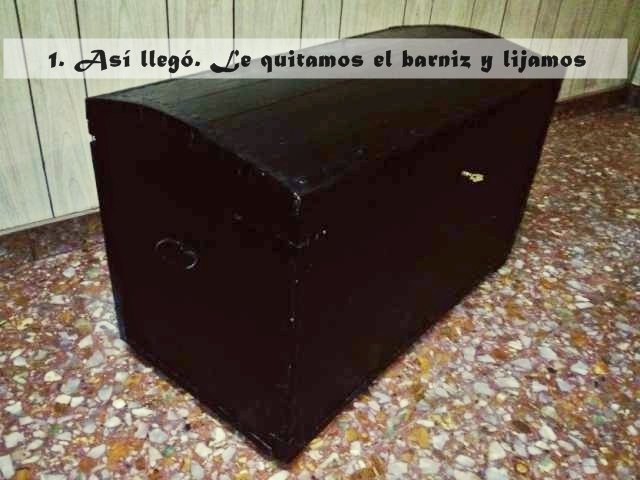
This is the trunk I had. As usual, first thing was sanding it all to take off that awful dark varnish.
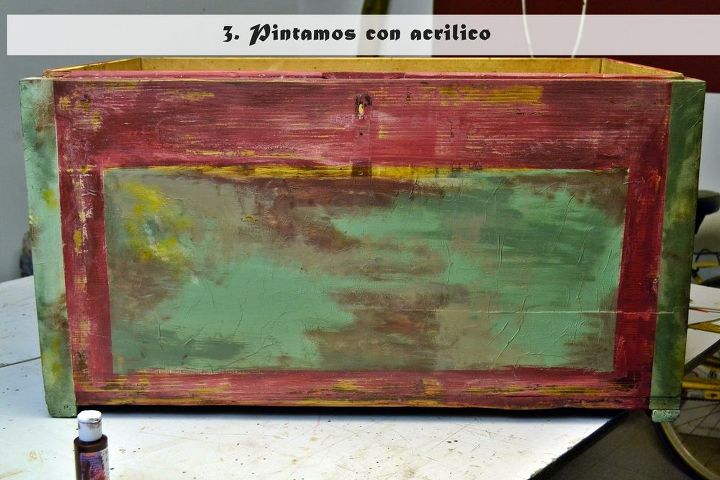
I had decided on a combination of greens and dark red. However, this first attempt is always disappointing. But I decided to give it a chance and continued....
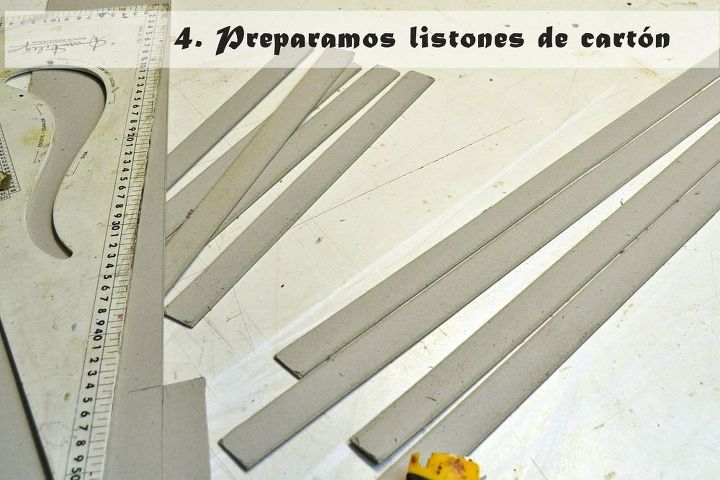
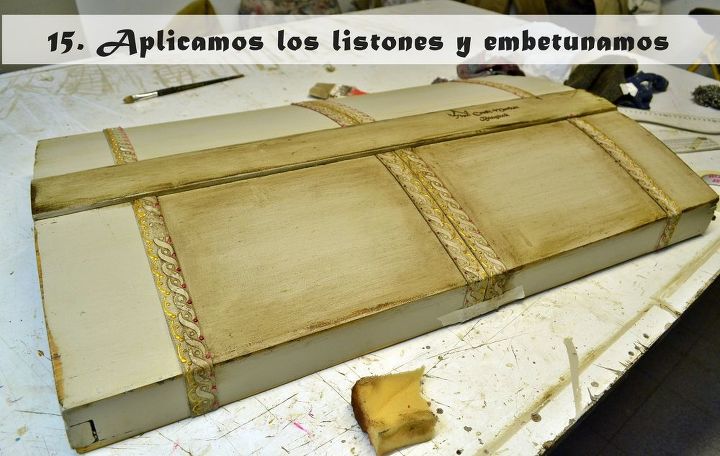
I wanted to add richness by adding some stripes. Original eastern trunks have them made of wood, but mine would be cardboard.
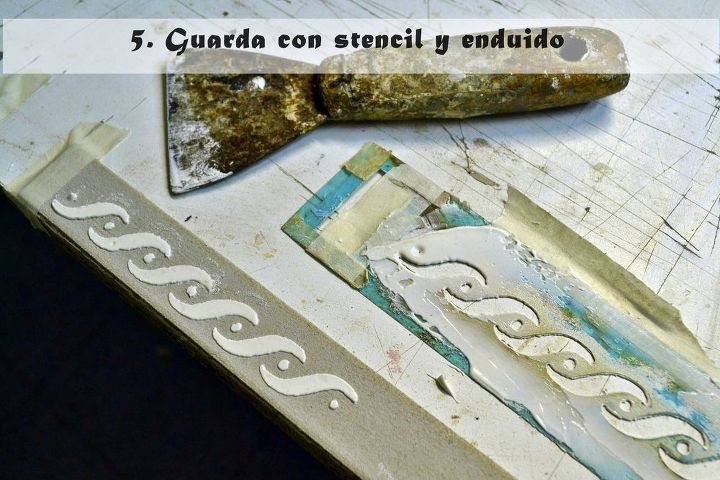
Used raised stencil technique (stencil and plaster)
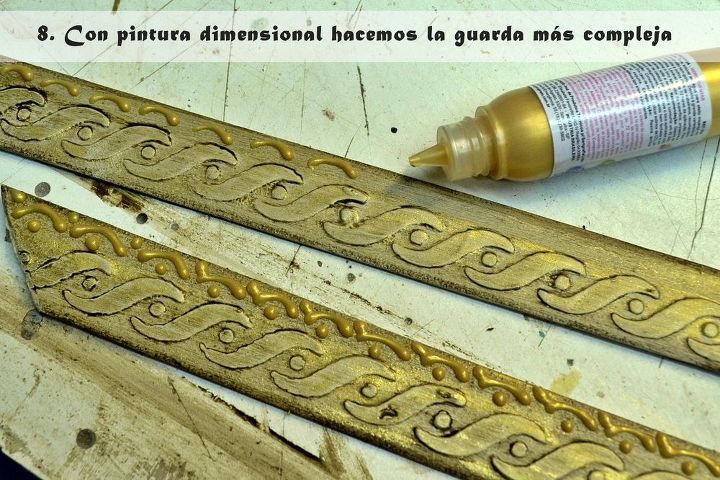
painted, used dark wax and finally decorated with dimensional paint.
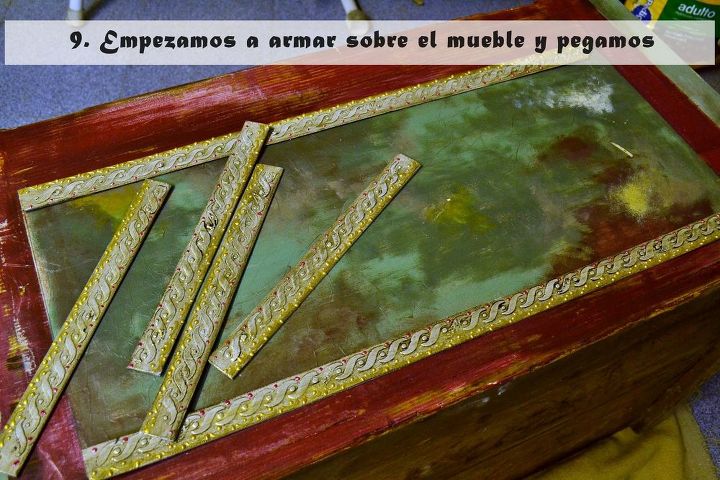
Glued decorated stripes to trunk body, limitating colorus with them
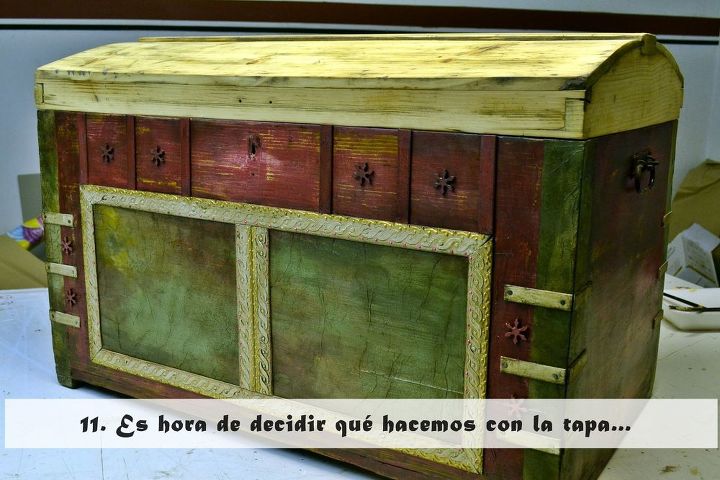
And now I had to decide what to do with the lid...
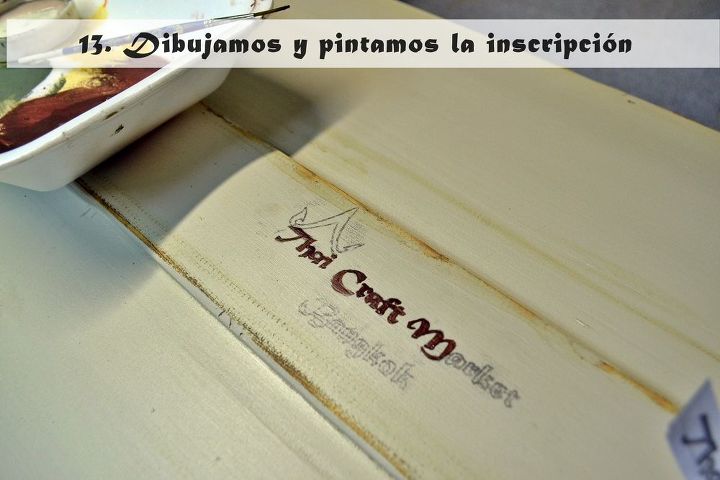
Painted it old white and added lettering simulating a Thai craft.
Used dark wax to make an old style colour and glued some ohter stripes.
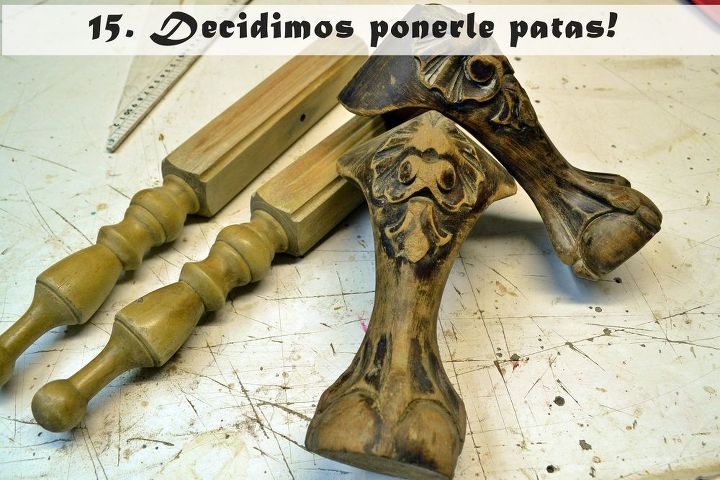
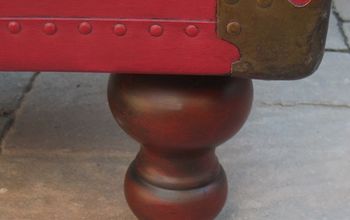
I wanted to raise the trunk from floor by adding legs. I had these two beautiful wooden legs from an old piece. I can use them in the front and use some other simpler piece of wood for back legs.
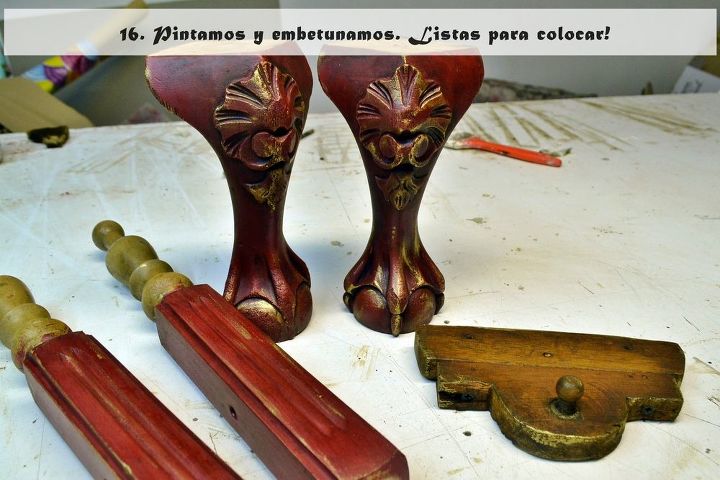
Legs painted! The wooden piece you see on the right is part of some antique furniture, I dont know what it was exactly (I collect every wooden part that is left from previous projects!) but I liked its shape to put in the front closure of muy trunk

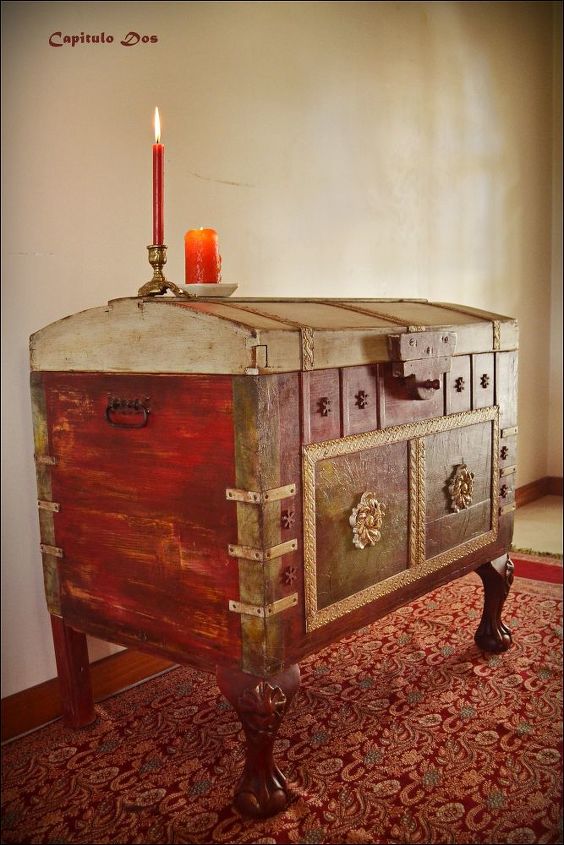
And here is the finished piece. I enjoyed working on this project so much!
Want more details about this and other DIY projects? Check out my blog post!
Comments
Join the conversation
2 of 10 comments
-
Definitely inspired. Hope to try this soon. Thankyou
-
Thank you Mary!


Frequently asked questions
Have a question about this project?
So inspiration . Getting that old trunk out. How to subscribe to your web