DIY Blanket Trunk

When we were finishing our master bedroom makeover I knew I wanted somewhere to store my "collection" of throw blankets, pillow covers and bedding. I have a wooden vintage trunk that I absolutely love, but it is too small for my needs. So, I decided to DIY one based on that vintage trunk.
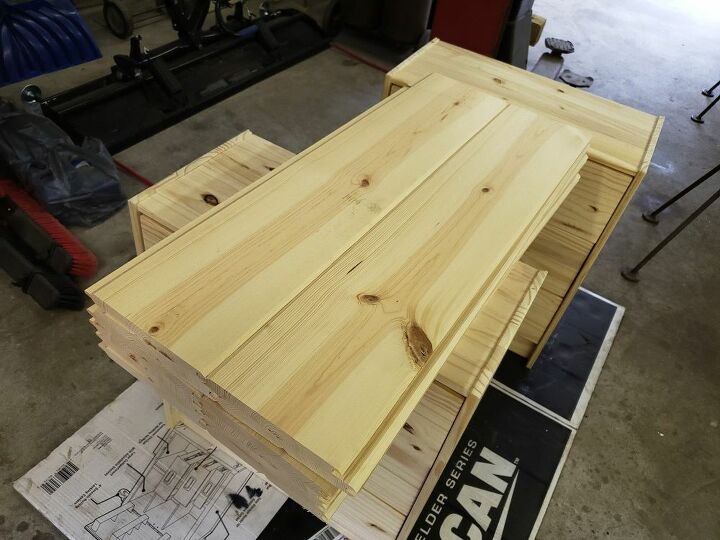
I started by cutting the tounge & groove boards with a miter saw to the desired length, which for me was 32 inches. I needed 12 boards at this length to create the front, back, trunk bottom and the lid top.
Material List:
• 6 - 1x5x8 tongue & groove boards
• 1 - 1x4x10 #2 pine board
• Miter Saw
• Pneumatic nail gun (2" nails)
• Pin nailer ( 1/2" pins)
• Large clamps
• Wood glue
• Minwax Gray stain
• White paint (mixed with water)
• 3 Hinges & 1 latch
Then I cut the tongue & groove boards for the sides of the trunk with the miter saw, my sides were 12.5".
I then put the cut tongue & groove boards together and measured the size I wanted the bottom of the trunk.
We used wood glue on the tongue parts and once placed in the groove, we added pin nails to a few of the joints to help the glue hold. Then we added the bottom boards for the front and back of the trunk. Those get nailed on with the 2" nails. Make sure to keep your nail gun straight so you don't have a nail blow out the side of the trunk.
We used clamps to help hold those boards to the bottom of the trunk when nailing.
After the bottom boards are on we attached the side boards between the two bottom boards. These are attached with the 2" nails again.
We repeated the above step and attached the second side to the bottom if the trunk. Then we placed the top boards on the front and back of the trunk.
We then cut the 1x4x10 #2 pine board for the bottom portion of the lid. I cut two at 32" for the front & back and two at 20.5" for the sides of the lid.
We also cut the remainder of the 1"x4"x10' pine board into handles. The addition of the handles also gives the side if the trunk stability. Our handles are 2"x22".
We also added some strips to the inside of our trunk lid and the bottom of the trunk.
This is what our trunk looks like inside when finished.
We lightly sanded the while trunk and then I decided to paint the inside of the trunk with this white spray paint I had leftover from another project. You could also trim the inside of the trunk with cedar.
With the trunk and lid finished, I decided to stain it first with Minwax Gray stain.
After the stain dried, I watered down my white paint so it made a watery white wash to use over the stain.
I kept adding white wash until I got the desired look I wanted. This is what my trunk looked like before adding hinges. I decided to use 3 antique hinges to my trunk.
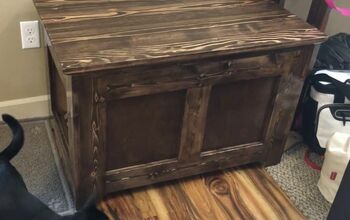
This is the finished vintage inspired blanket trunk in my master bedroom. It holds all my bedding, throw blankets, and pillow covers. You will notice there isn't a front latch. I'm on the hunt for just the right one. Until then, it's still functional and gorgeous.
Enjoyed the project?
Resources for this project:
See all materialsComments
Join the conversation
-
-
 Staci Marie
on Aug 14, 2020
Thank you!!
-
-
-
 Dl.5660408
on Aug 11, 2020
Well done!
-
 Staci Marie
on Aug 14, 2020
Thank you!!
-
-
















Frequently asked questions
Have a question about this project?
Great Trunk I have a small cabin 2 bedroom use to be a Beach House. But now been here 12 yrs tried to down size but still no room in my room any Ideas anybody ? I need HELP !!!! PLEASE
Great project, your paint finish is perfect. An additional touch could be rope handles and a stencil? It's still beautiful just an added thought if you ever want to change the look later on.