


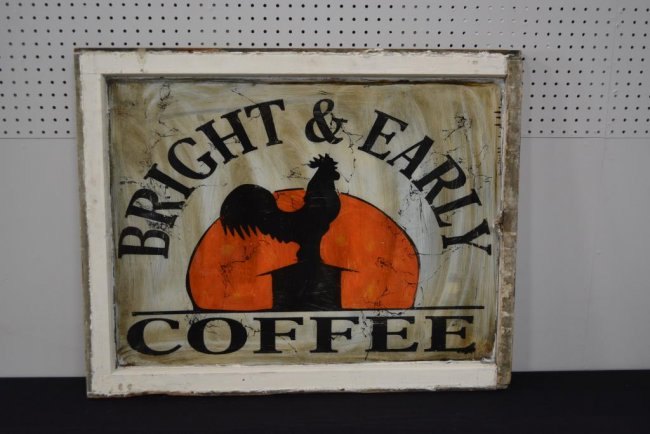
DIY Antique Window Advertisement

by
Jen Burns
3 Materials
I have seen the original antique painted window in shops and on Ebay but never could find one for the price I wanted to pay.
1st Dibbs Auction for an antique window
My friend Connie of Renaissance Lady posted a tutorial of how to use Unicorn SPiT colored stains on glass.
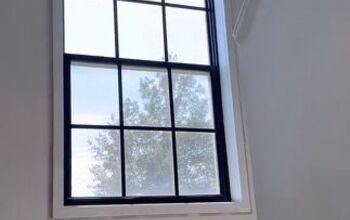
So I grabbed an old window which I had already tested for lead based paint on. This one was safe, but some are not so please pick up a cheap test kit for anything that may have been painted/sealed/finished before 1978.
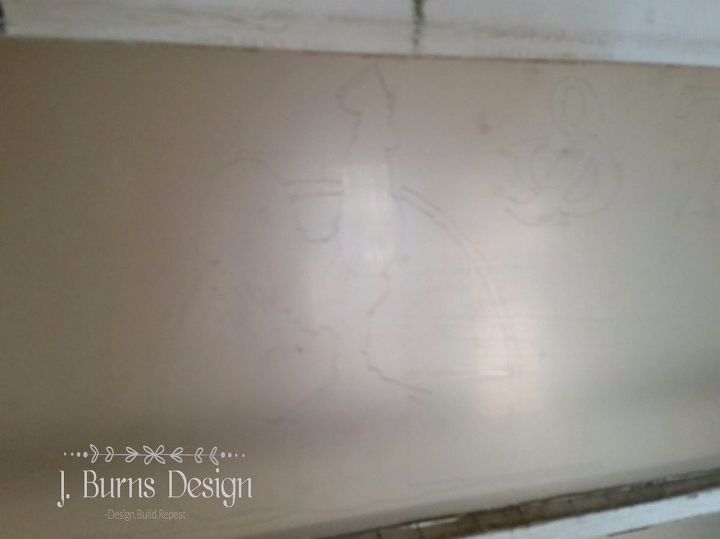
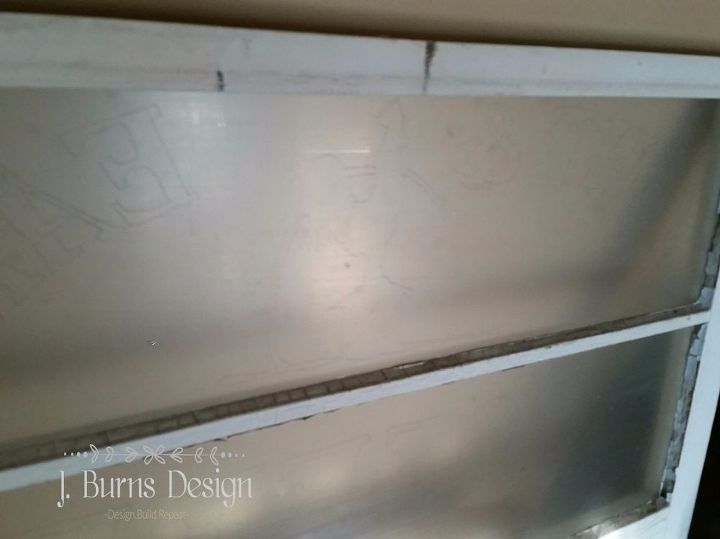
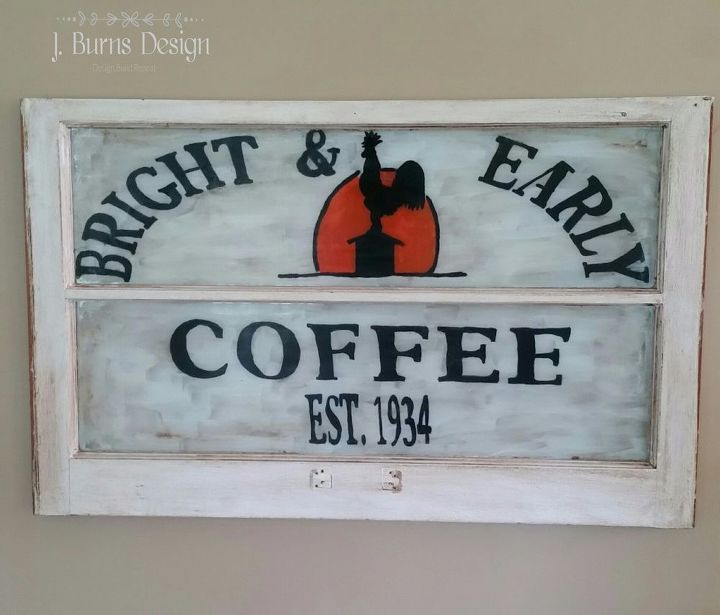
I painted one coat of Mod Podge regular matte. And using the photo of the antique window which I enlarged and flipped horizontally roughly to the size of mine. I traced the image with a drafters #6 pencil. Just lay you photo under the window with the mod podge side facing up to lightly draw on.
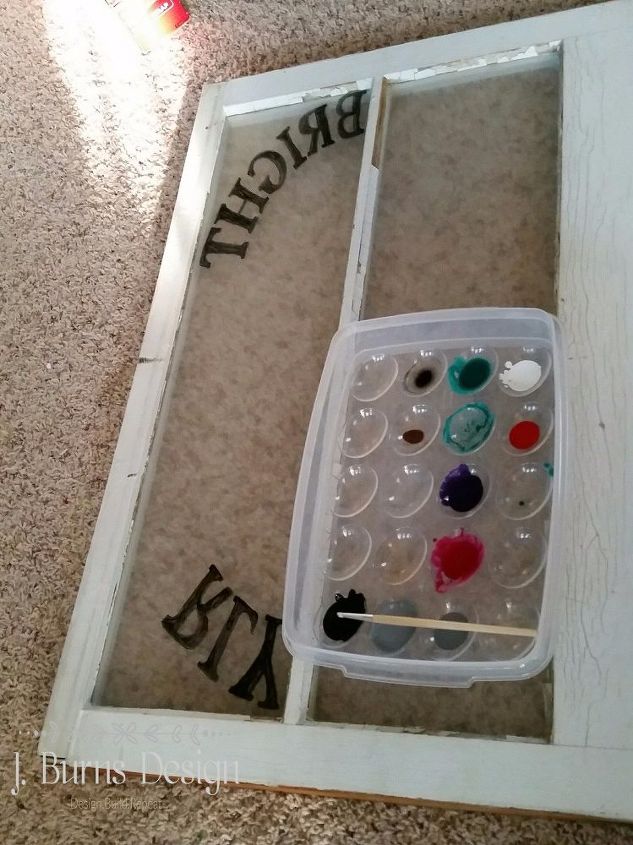
I use one of the Easter Egg trays from Walmart to hold my colors and mix if needed.

I did a couple of coats of Unicorn SPiT to get the look I wanted for the letters and rooster.
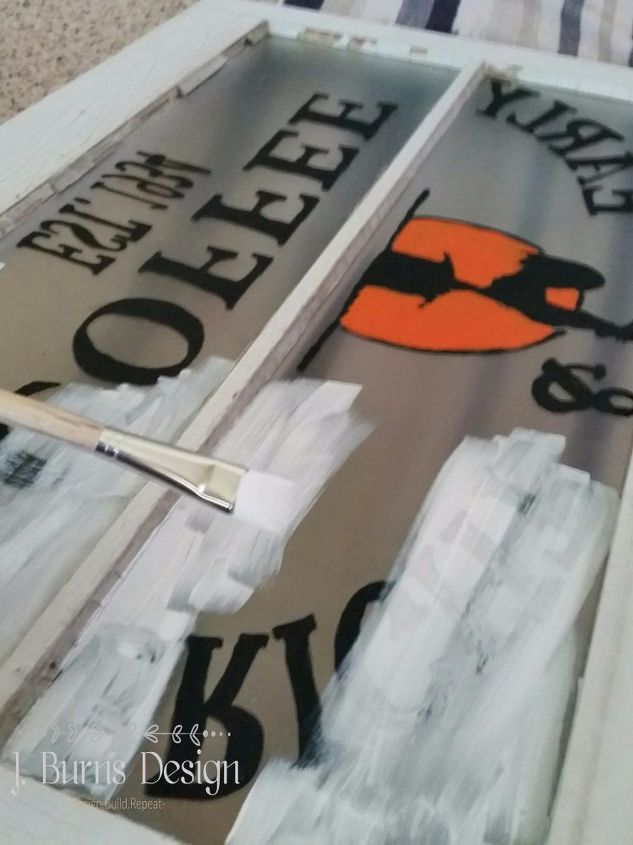
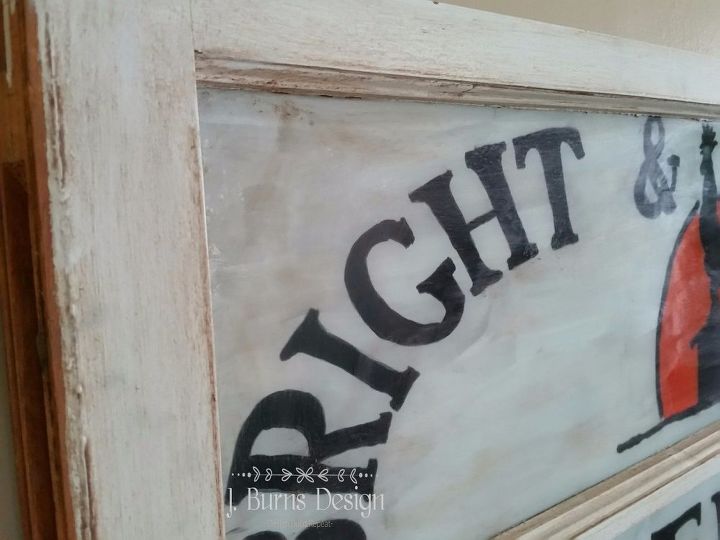
Then for the background I wanted an authentic look so I quickly brushed White Ning on pretty haphazardly.
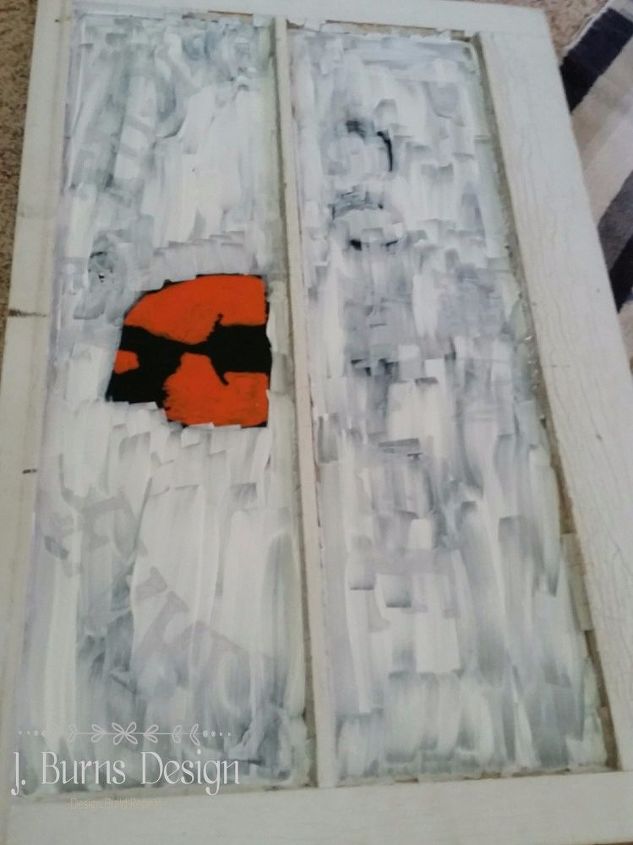
Once it was dry I touched up the spots I may have missed.

I gave the entire window a few coats of spray shellac and let it dry.
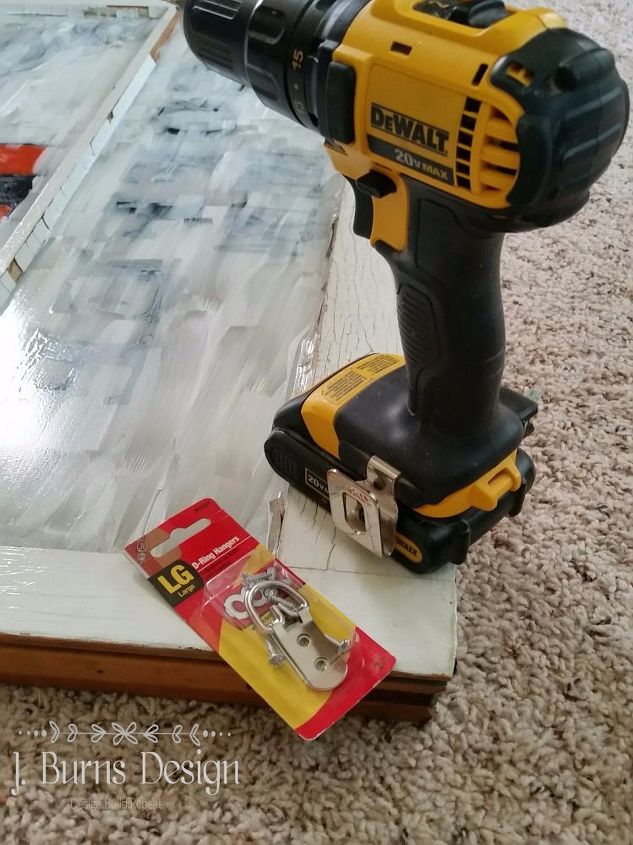
Using large D-ring hooks I premeasured for hanging in the wall studs (normally 16" on center) for a 32" span on my hooks. This makes sure each hook can be hung with a screw into your wall stud for safety.
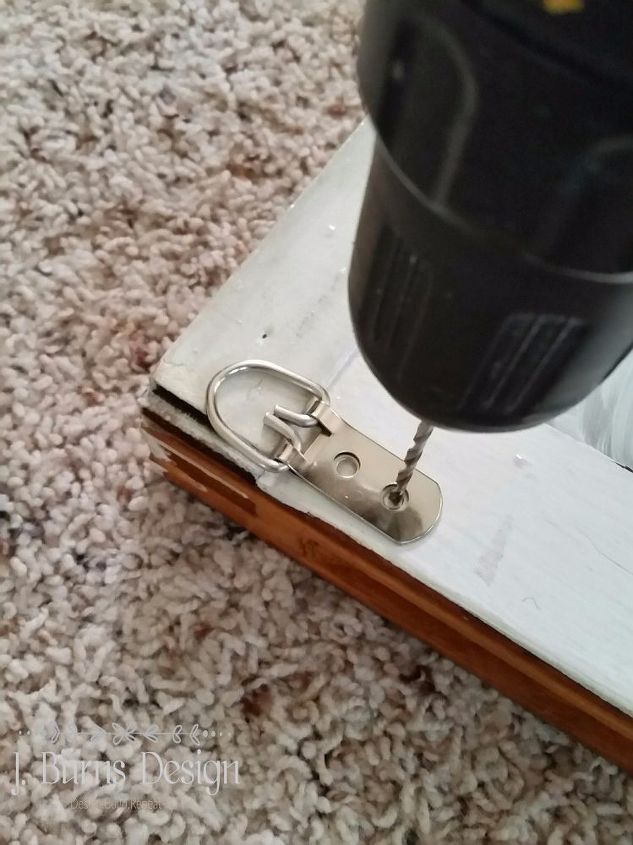
Pre-drill your holes.
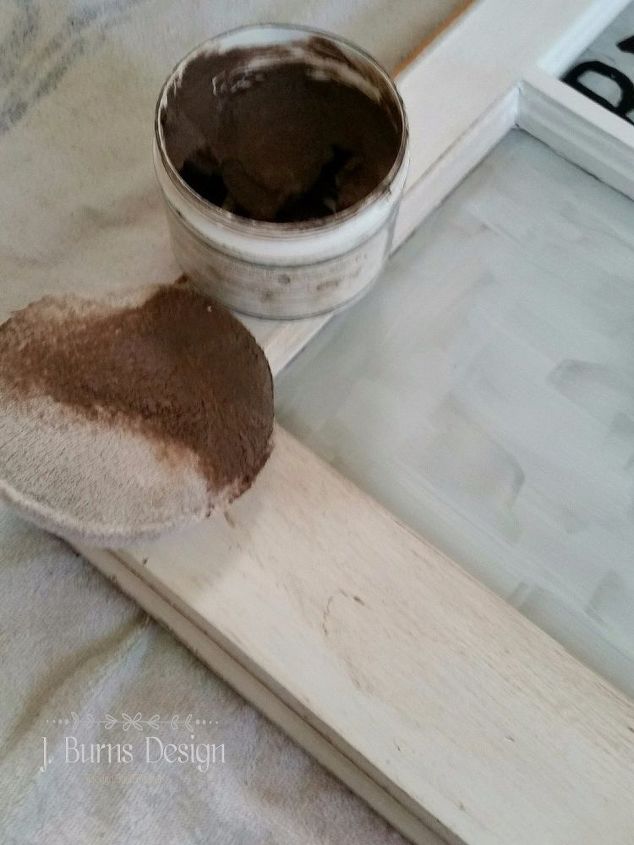
Dark wax
To give an antique look.
Want more details about this and other DIY projects? Check out my blog post!
Comments
Join the conversation
2 of 8 comments
-
Love all your stuff Jen!!
-
Super cute!


Frequently asked questions
Have a question about this project?