


DIY Gnome Garden

by
Tara Marie
I will show you how we made a gnome garden from start to finish!
I love miniature models of things. So it is not surprising that I am kind of obsessed with little fairy/gnome gardens. I could NOT WAIT until my kids were old enough to help me make a gnome garden. I was having a great time buying little bridges, chickens and grills. I created a whole Pinterest board pinning adorable ideas.
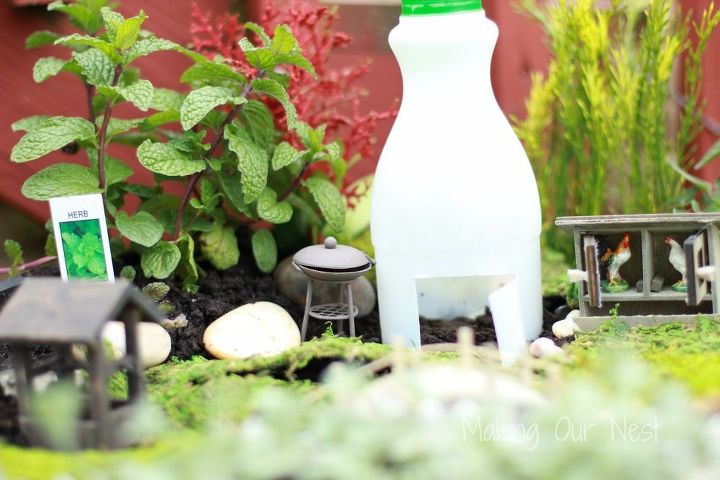
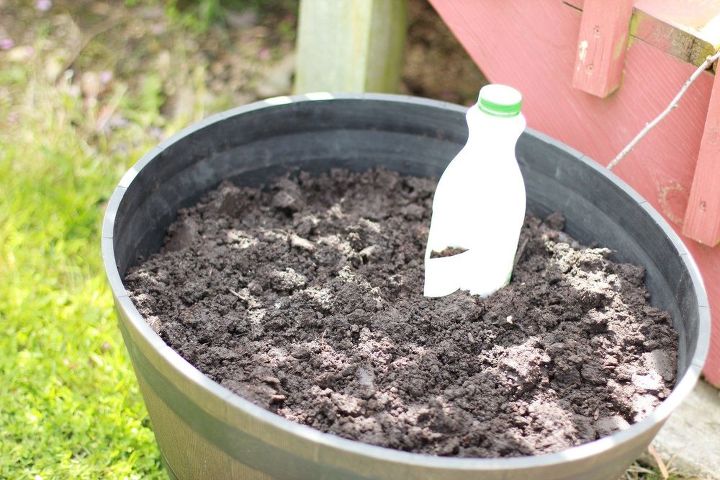
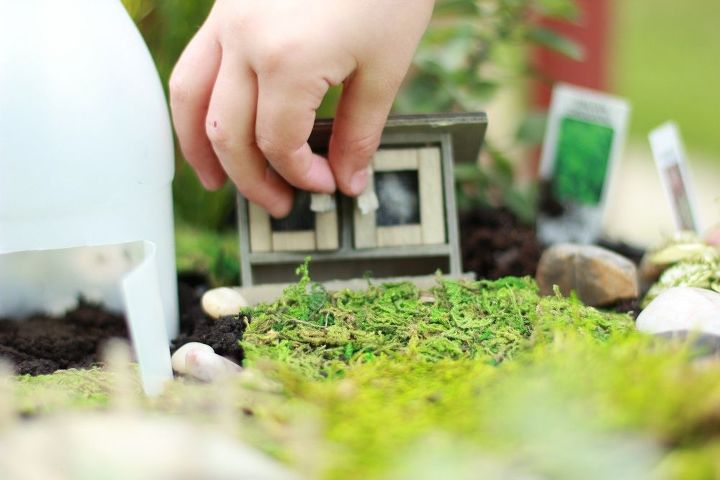
Once the soil was covering the wood, I placed our "house" (an empty chocolate milk jug that I cut the bottom off of and cut a door in the front) in the planter.
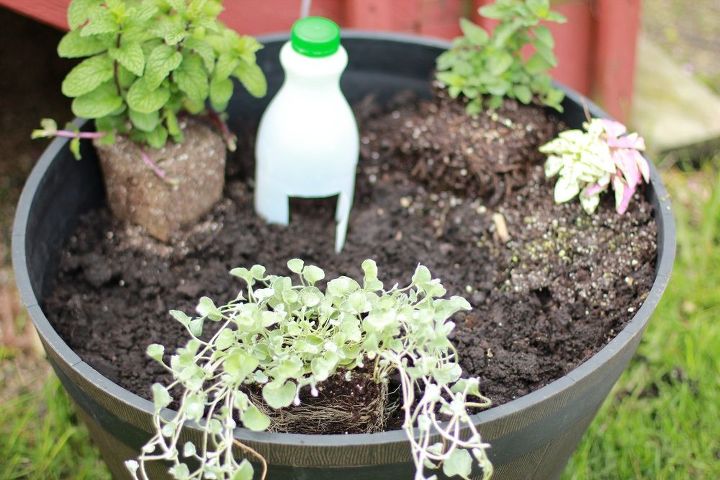
Then we placed the plants were we wanted them. We kept them at the edges so they would not be directly over the wood. The only plant that I really cared about was the mojito mint. If all else fails, maybe the mint will go crazy and take over the planter and I would be forced to drink mojitos all summer (one can hope!).
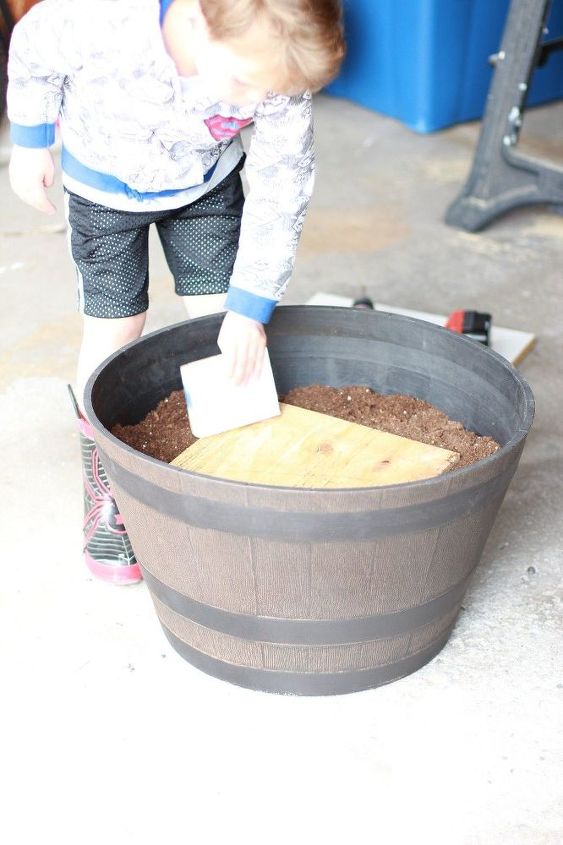
Once I knew where to put the plants, I removed the "house" and then will filled the planter with the rest of the soil. We placed the "house" back in the designated spot. Then we laid down the moss. I stuck in 2 fake plants in the very back, behind the "house" in the sad event that no plants made it, at least here would be those fake plants making it look like something was growing. Then we placed all the accessories that we bought.gnome garden


And the gnome garden is complete! And I am happy to report and one month after planting this, all the plants are alive and thriving!!
Want more details about this and other DIY projects? Check out my blog post!
Comments
Join the conversation
2 of 26 comments
-
That is so cute, I've been toying with making one, now I think I'll just have to do it! Thank you, and your little helper too.
-
Where's the gnomes?


Frequently asked questions
Have a question about this project?