


DIY Coffee Serving Tray and Marble Coaster Tutorial
2 Materials
1 Hour
Easy
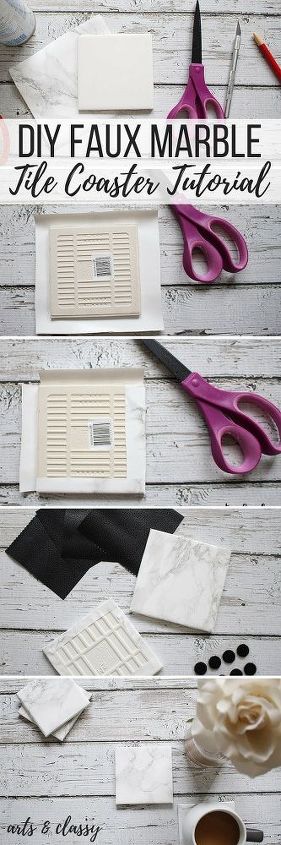
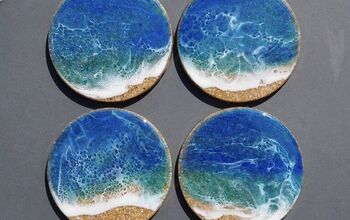
I am so happy that summer is finally here!! The days feel longer because of daylights savings time, and I am staying more inspired regularly! I still can’t believe how many more DIY projects I have around the house. I am in the process of redecorating my little apartment front patio, and I would love to try and create a quaint little outdoor sitting space. I went to the Home Depot blog for inspiration for this project. Since that was my inspiration I decided I needed to create a cute little tray that could be used out on the patio for maybe coffee in the morning. I also decided to create a cute set of faux marble coasters to go with it. FIRST PROJECT, I COMPLETED MY TILE COASTER FAUX MARBLE DIY. Supplies needed for this project: – 4”x4” Ceramic tile squares – Marble contact paper – Scissors – Black suede contact paper – Felt circle with adhesive on back
My next inspired project was to create a little coffee serving tray . I decided to use plywood for this project and some vintage art deco furniture drawer pulls to use as handles for the top of the tray. Supplies needed to make this tray: – Plywood piece. I kept mine small at 18” x 12” 2 handles. I chose vintage furniture drawer pulls – Spray paint – to paint the handles gold. – Cordless drill – Drill bits – 4 Screws for furniture pulls – Stencil creme – I used gold and a fun peacock green. – Circle stencil – Sponges – Wood stain – Sandpaper – Paint brush – Circular saw with wood blade – Screwdriver
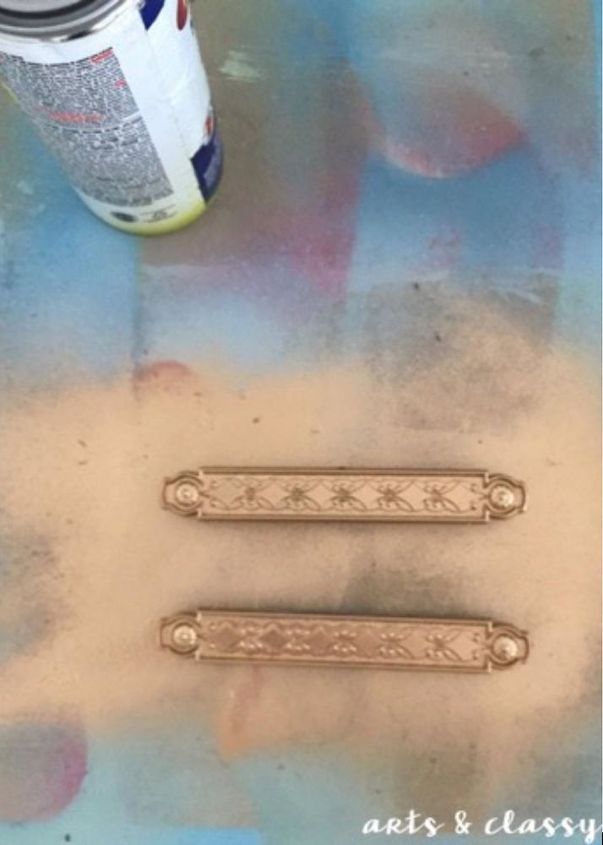
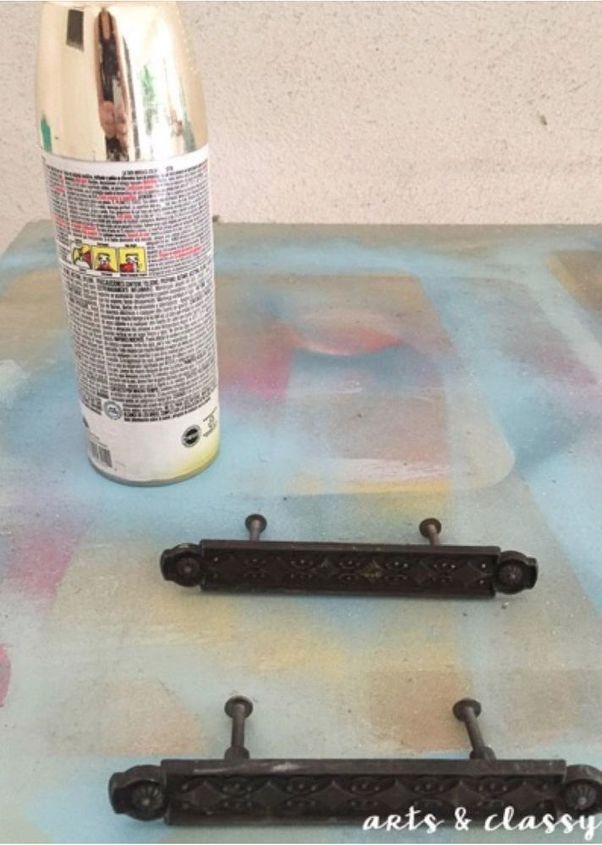
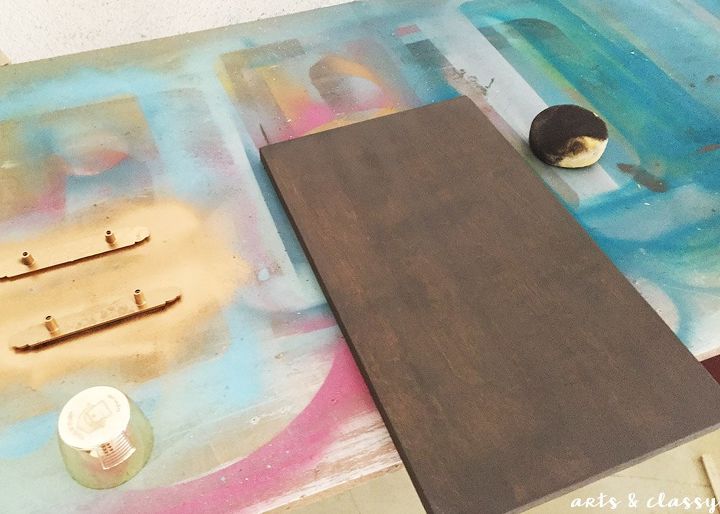
STEP 1 I spray painted my furniture pulls with gold!
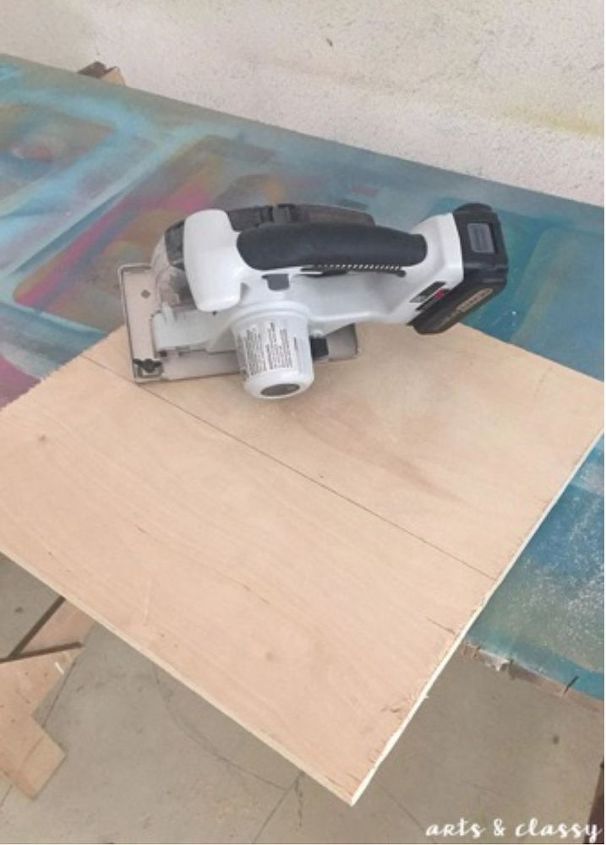
STEP 2 Cut your piece of plywood with a circular saw. You can also have this pre-cut at the hardware/lumber store.
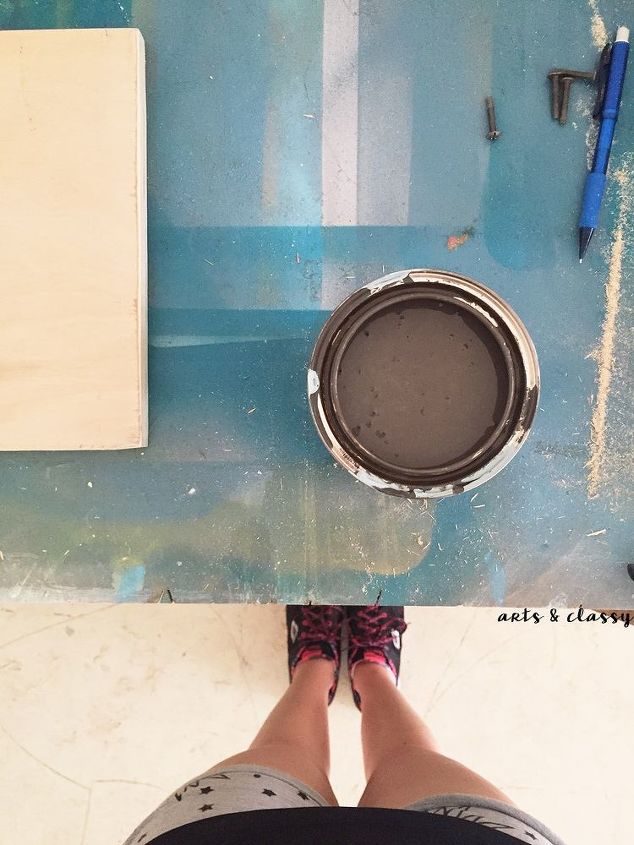
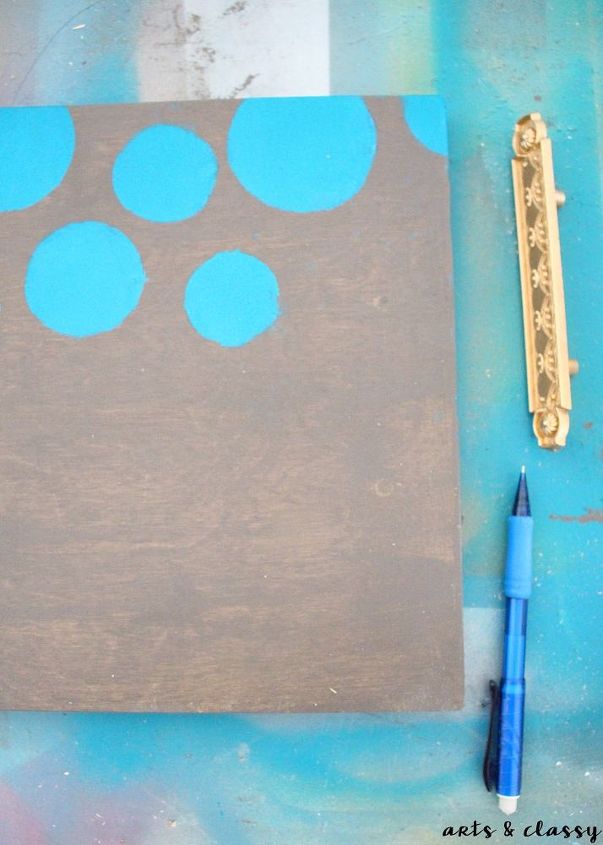
STEP 3 Stain wood with whatever stain you like. I chose a darker shade
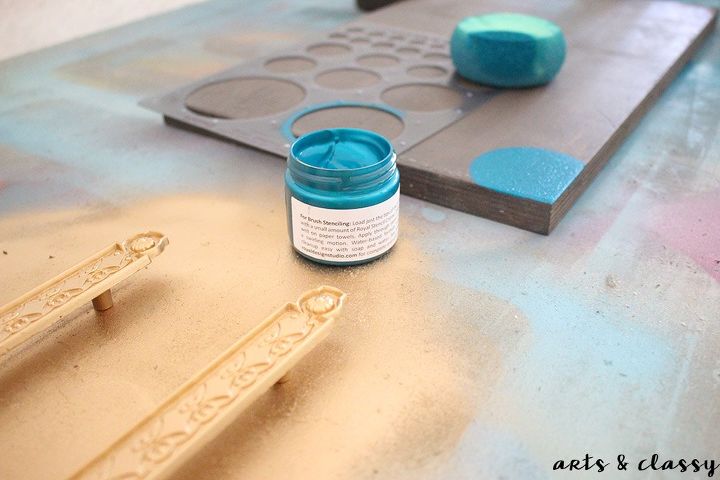
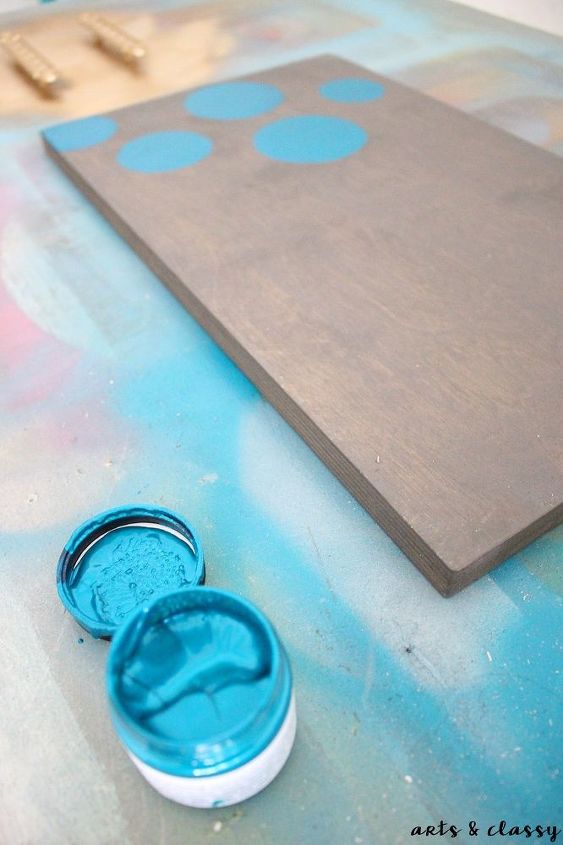
STEP 4 Take the circle stencil, stencil creme, and sponge. Create a polka dotted pattern.
STEP 5 Measure out where the holes for the handles will go.
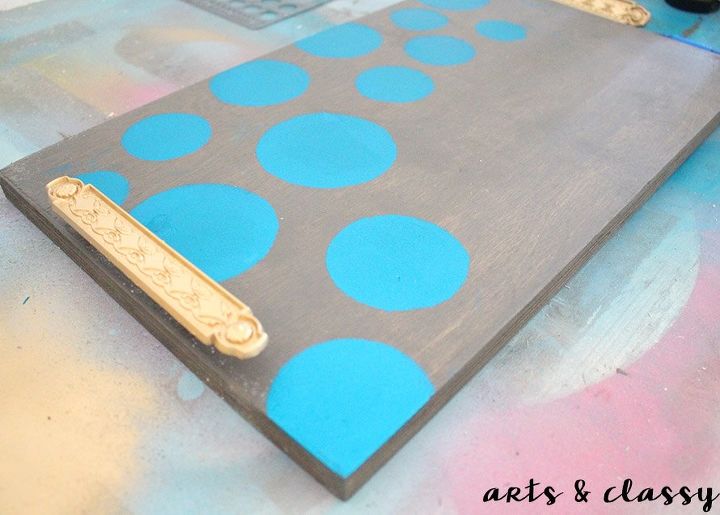

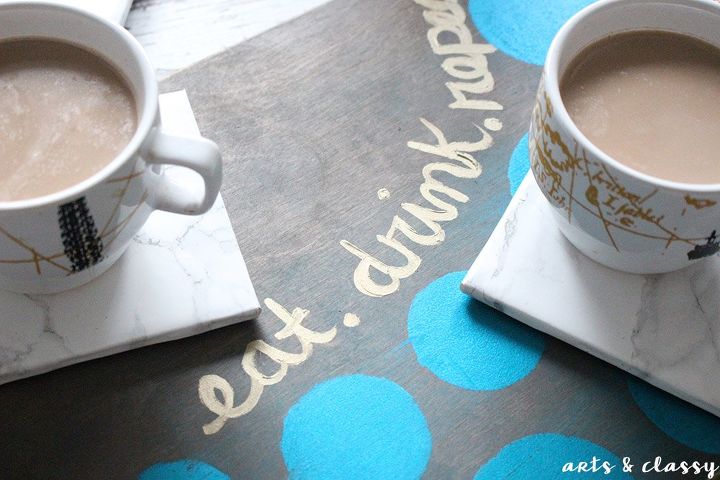
STEP 6 After assembling the handles on both sides of the tray, Use a paint brush with another color to write: Eat. Drink. Repeat. Let it dry. Take sandpaper and age the wood stain, edges, and the stencil job to give it a vintage look. Wipe down the tray and make sure all the surfaces are smooth.
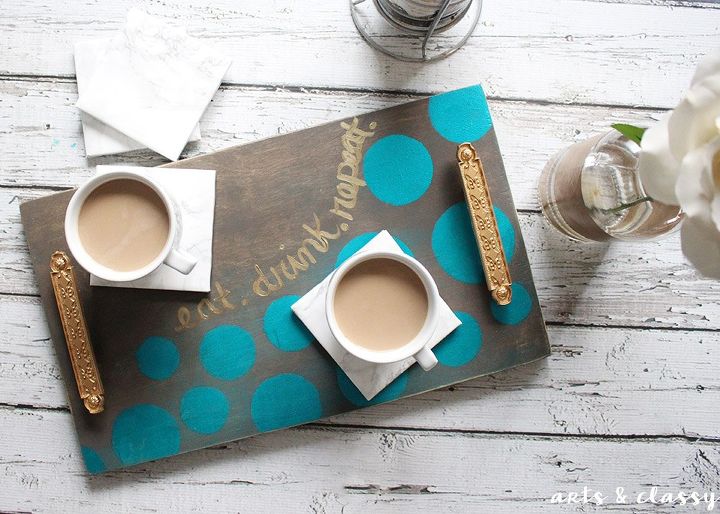
STEP 7 ENJOY the new tray and classy coasters!
What did you think of these projects ? Let me know in the comments below.

Want more details about this and other DIY projects? Check out my blog post!
Comments
Join the conversation
2 of 33 comments
-
A paint pen would perhaps be faster??? Also I'd probably use a fool-safe polyurethane coat.
-
Wow! This turned out so gorgeous!
 I especially love the color scheme


Frequently asked questions
Have a question about this project?