


Crackle Painted Wood Halloween Decor
Decorating my home during all the different holidays is something I look forward to doing each year! Halloween particularly… But I usually stick with more of a fun and whimsical decor scheme rather than the spooky and creepy stuff. I decided that for this year I needed something a little different. So I made these crackle painted wood blocks to use on my mantle this year! Remember when crackle painted decor was all the rage in the earlier 2000’s? I think it needs to make a comeback! Unless it never really went out… or was never really ‘in’ either… ha. Just sharing what I happened to notice I guess! But I really do want to make more crackle paint decor items (specifically for my gallery wall…) to put in my home. It adds a really great finish to a project that makes it look better then handmade! I was nervous about how it would turn out on this particular project, but was super happy with the results. Here’s how you can make your own set of crackle painted wood Halloween blocks!
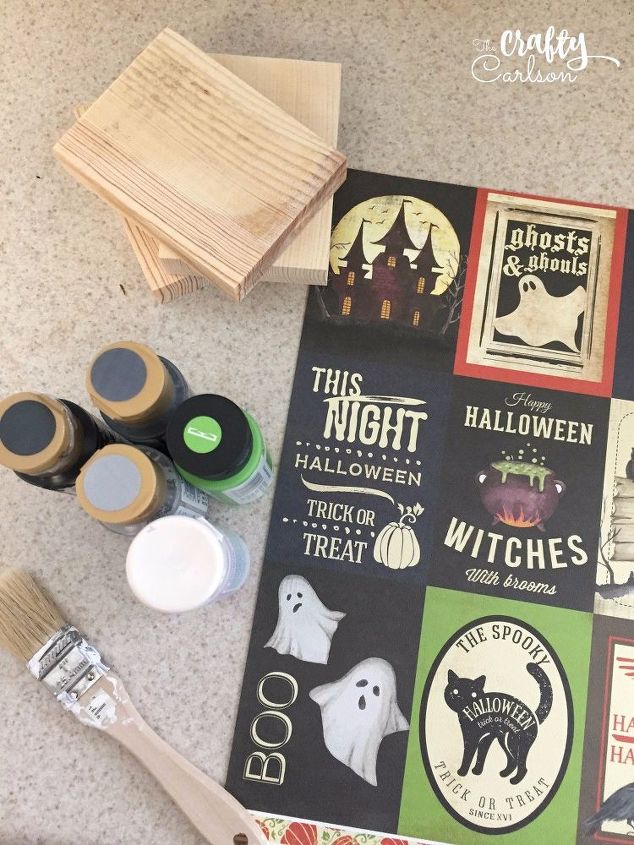
First you need to gather up all your supplies. You will also need to cut as many designs from your paper depending on how many blocks you want to make. Head over to my blog to see a full detailed list of supplies you will need!
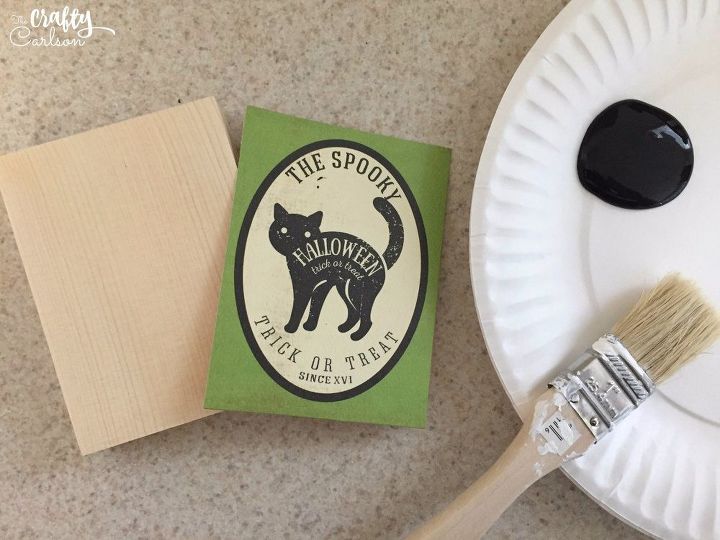
Start by painting the blocks. You will need to layer the paint in order to get a crackle affect! It's actually a really cool process, but it does take a bit of time. So start by painting the base coat on each wood block. I matched the paints I used to the paper that was going on each block.
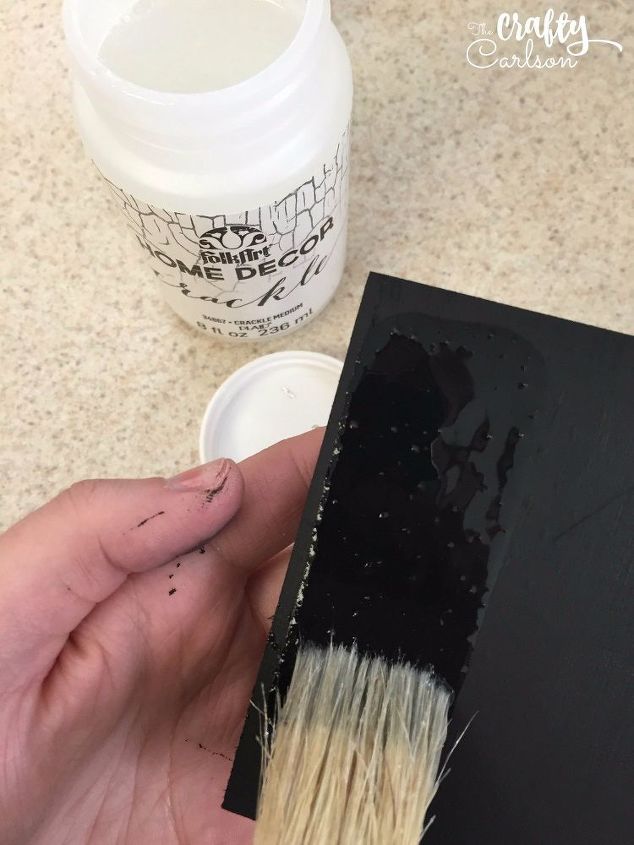
Once the base coat is painted (in this case, black) you will need to apply the crackle medium. Don't go over previous strokes or the affect won't work! And remember that the base coat is the color you will see through the cracks after the entire block is finished.
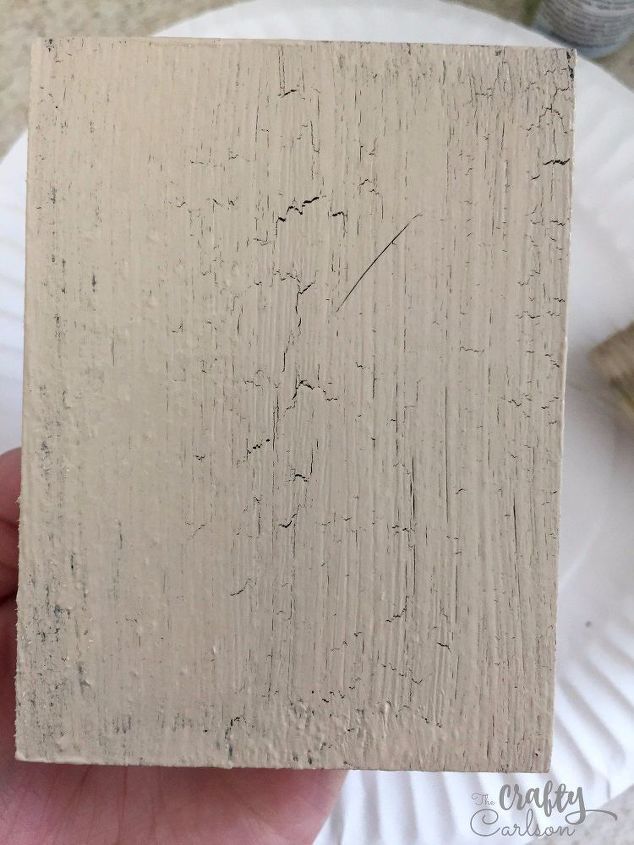
After the crackle medium is completely dried you can paint the top coat! Don't paint over any previous strokes! This will make your paint look like you accidentally smudged it.... like I did on my first block. :( But you really can't tell! I was just extra careful painting the other two blocks. You can see here that the crackling happens right away after applying the paint!
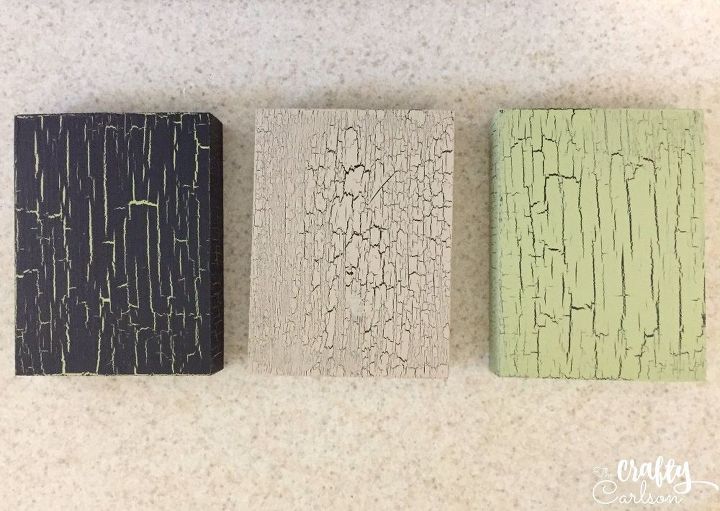
Here's what all my blocks look after being painted, crackled, and dried.
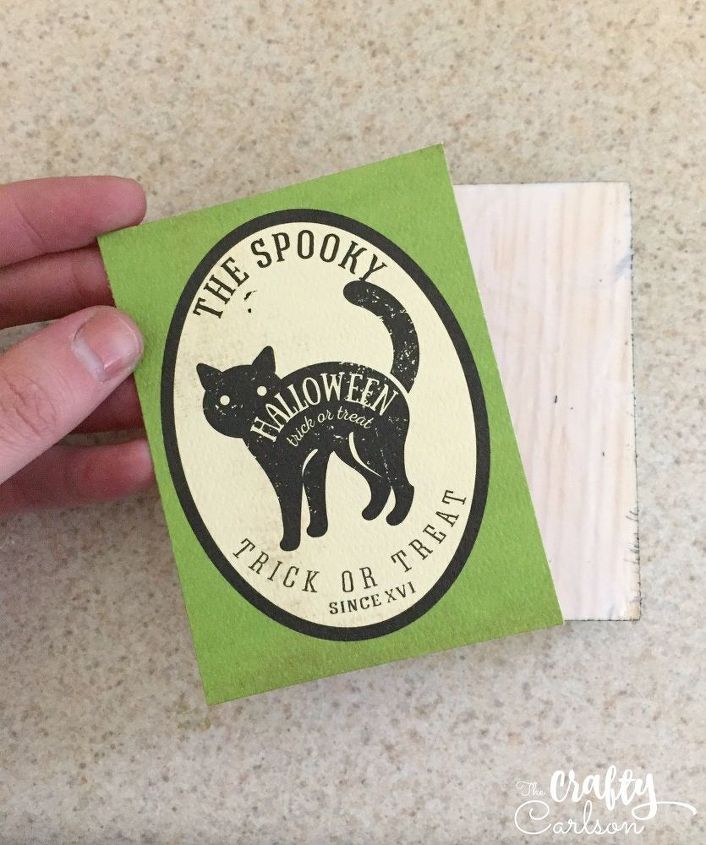
Now you can glue the paper panels to the front of each block! To do this, I just like to put a bit of tacky glue on the wood and smear it to all the edges using my finger. Then I put the paper down all lined up and press from the middle out to all the edges to smooth out any bubbles.

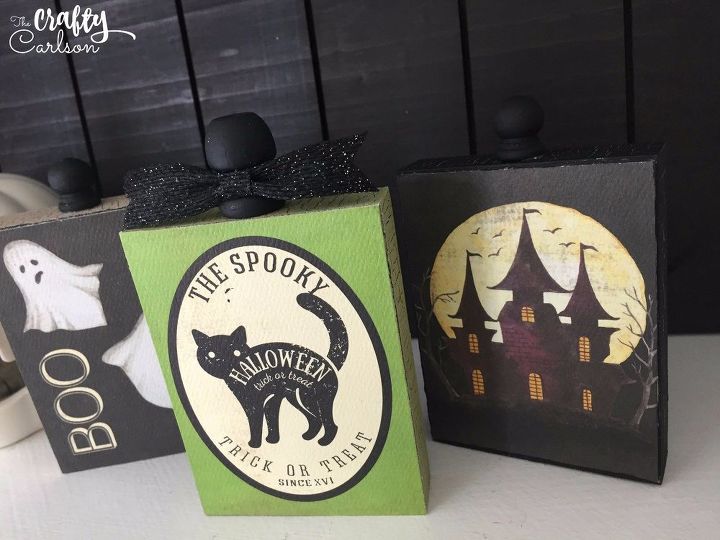
At this point you can either leave the blocks how they are, or sand the edges a little! I just trimmed the paper as needed and left the edges sharp like this. You can also add embellishments like knobs and ribbons to the tops of the blocks! That really takes them to the next level.
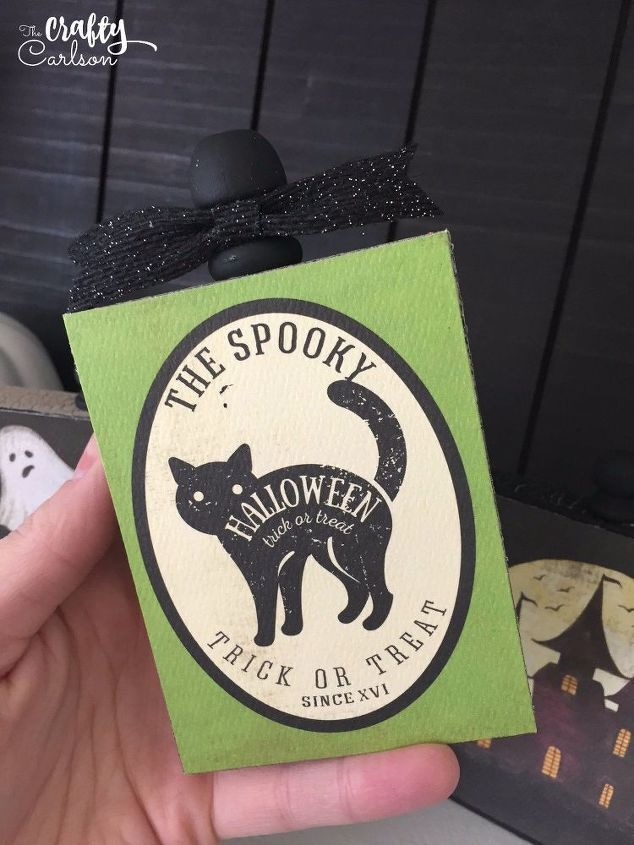
I added a black knob to each block and put a black glittery ribbon around only one of the blocks. I knew from the start that this green one would be displayed in the middle of the set so I wanted to keep things simple.
And that's it! This craft takes a bit more time because having to paint in layers and the drying time. I am so impatient for things like that! But this craft was so worth it.
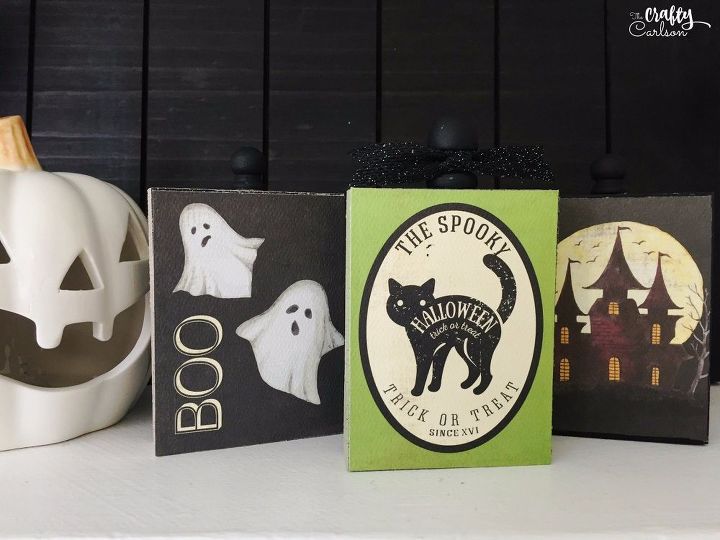
Here's another shot of the set with my super spooky white jack-o-lantern!

Want more details about this and other DIY projects? Check out my blog post!


Frequently asked questions
Have a question about this project?