


DIY Boho Industrial Stool

by
Zest it Up
If you have followed us along this Zesty journey for any length of time, you are probably WELL aware that we are some pretty darn junky girls. I mean, not many entrepreneurs can claim dumpster diving as one of the components to starting their business. But, yes, that happened! Sam and I leaning over with legs in the air, pulling out finds that we knew we could Zest. Fast forward four years, and we are still at it! Albeit, there are fewer dumpsters and maybe a few more trips to cool spots like Restore, the thrift store for Habitat for Humanity.
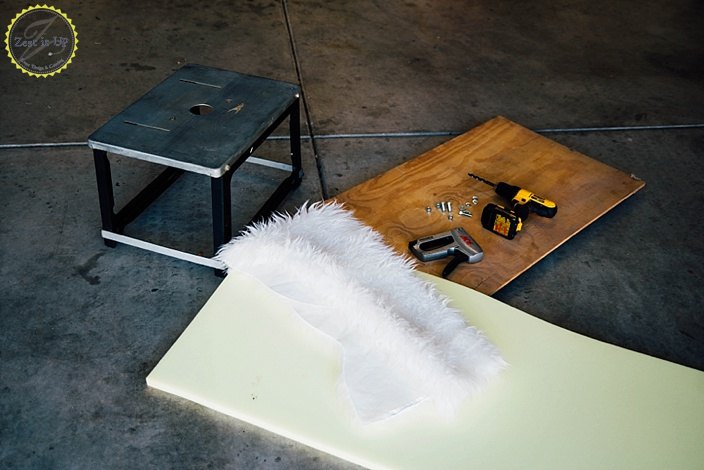
On our last trip, we discovered this pretty cool metal thing-a-ma-jaggy that cost us only $10. We knew we could turn it into something cool…so here is our little transformation.
On our last trip, we discovered this pretty cool metal thing-a-ma-jaggy that cost us only $10. We knew we could turn it into something cool…so here is our little transformation.
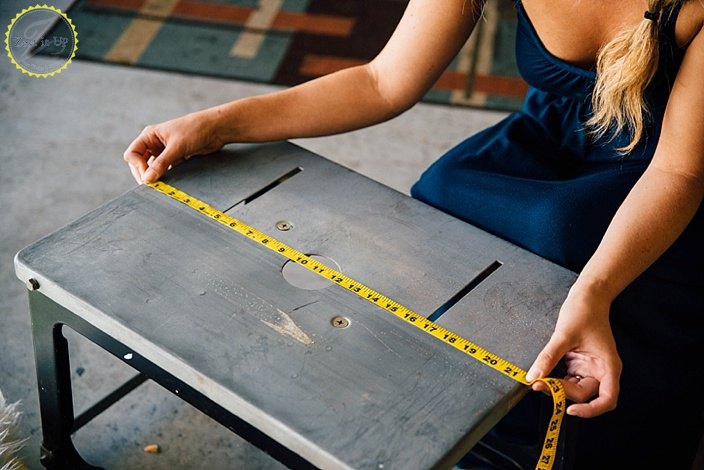
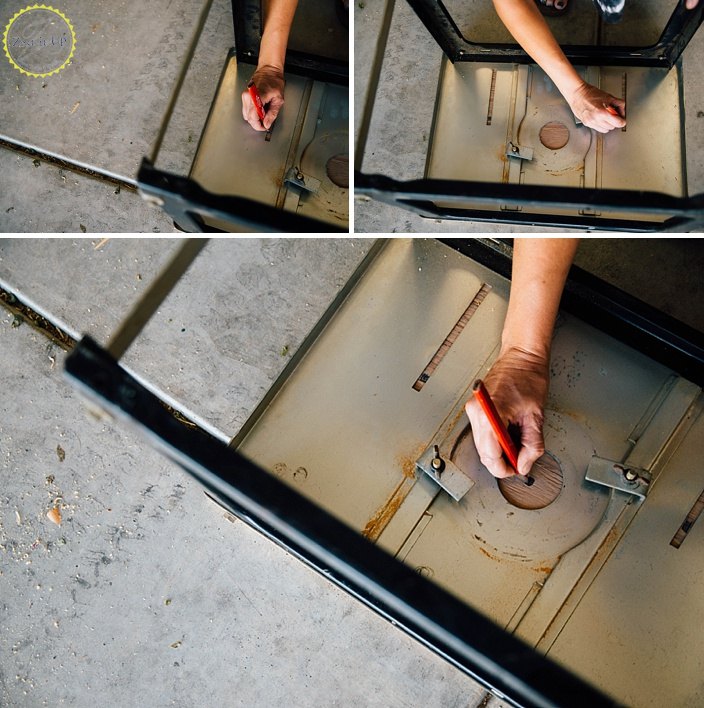
This is a measure twice, cut once type of a situation! Find out how wide and long the top of your chosen base is, and then measure out your plywood to fit.
Using a T-square ruler will help you keep right angles and not pull your hair out with frustration.
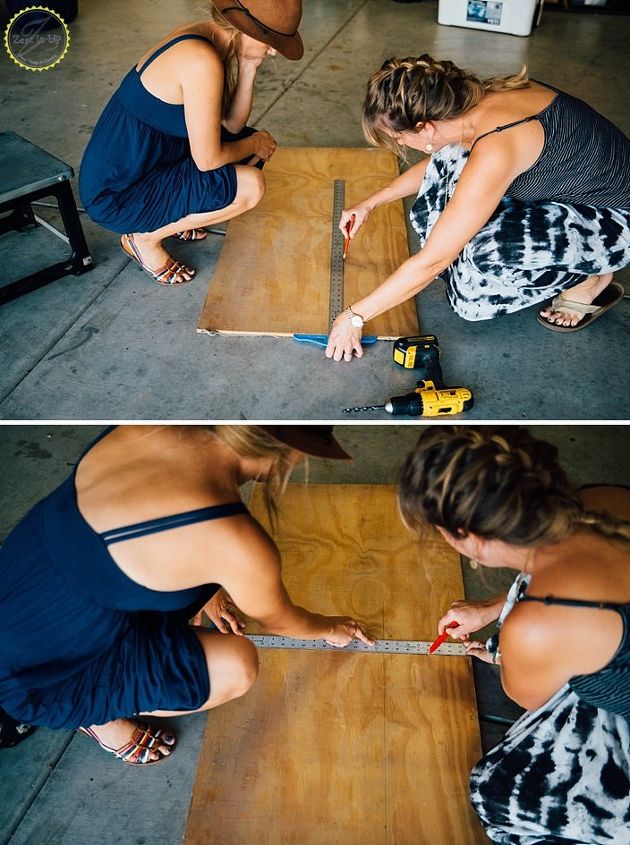
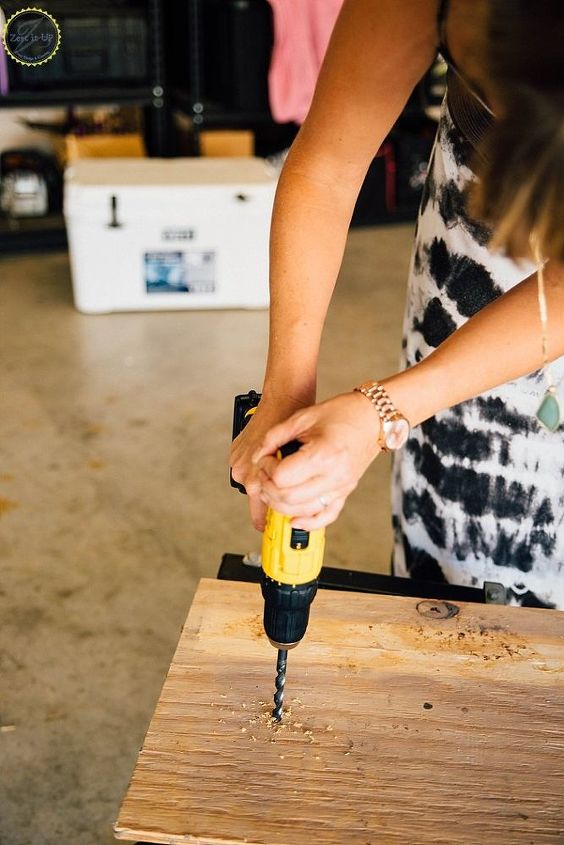
I used a tablesaw for this bit, but you can use whatever cutting device you are comfortable with…ummmm don’t I look confident!?! LOL
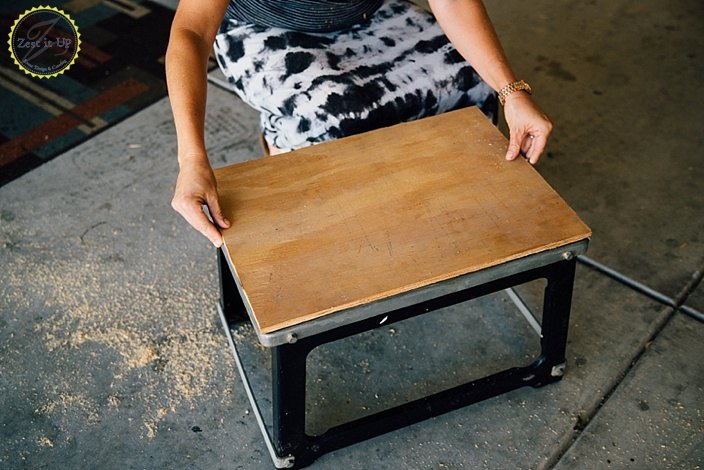
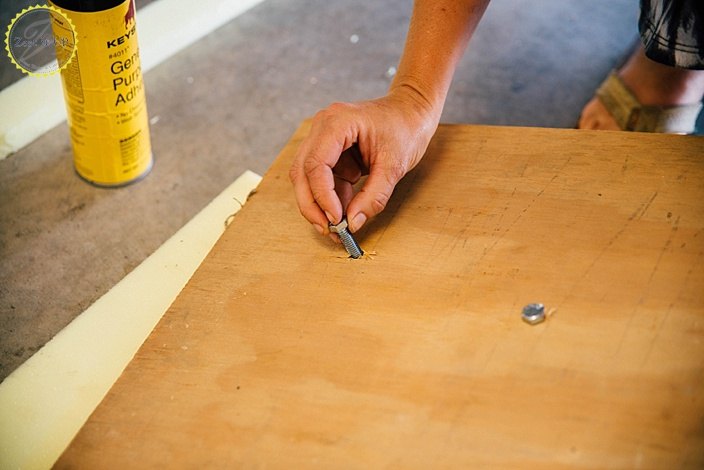
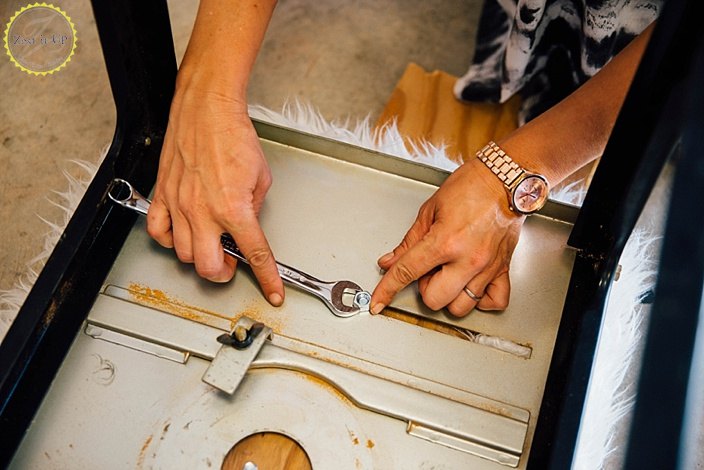
Next up, it’s time to attach the plywood. Fortunately for me, I had preexisting holes in my metal top. If you have to drill some holes, it shouldn’t take that long. Basically you want to have three holes lined up through the metal and through your plywood. The idea is that I do not want to screw the top on, because nobody want to sit down and get stabbed in the booty! Instead, I chose to bolt it down.
Now, that I have holes lined up, it’s time to measure out my foam. Since I wanted the foam to be cushy, I chose to cut two pieces with an exacto knife to size and glue them together.
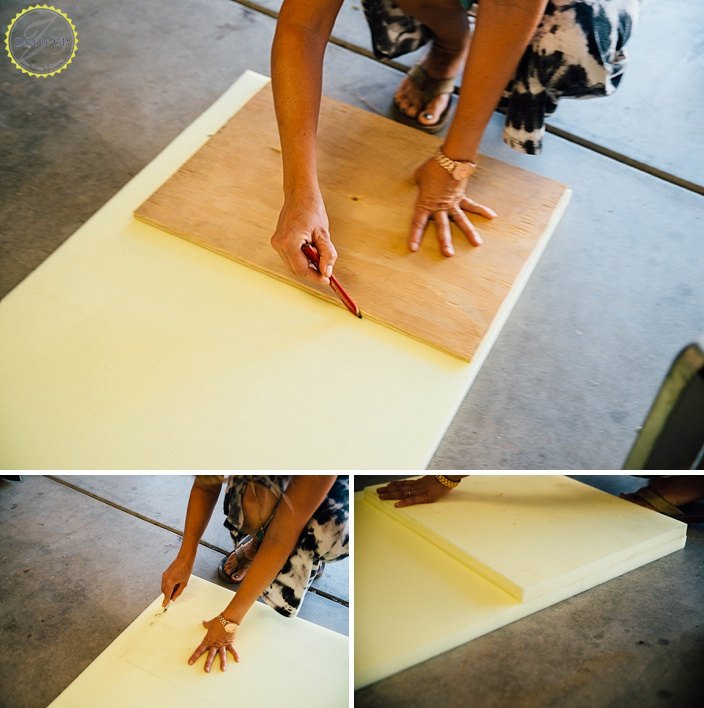
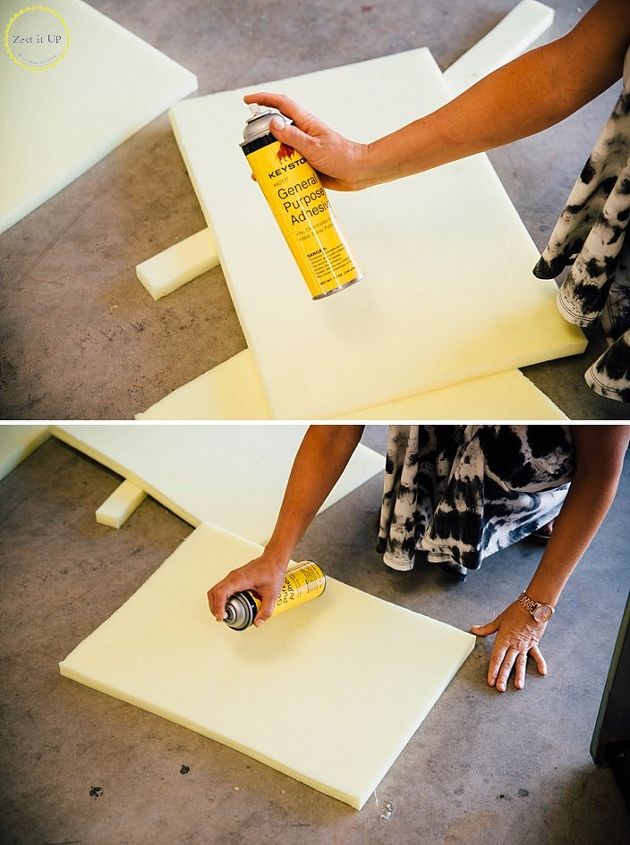
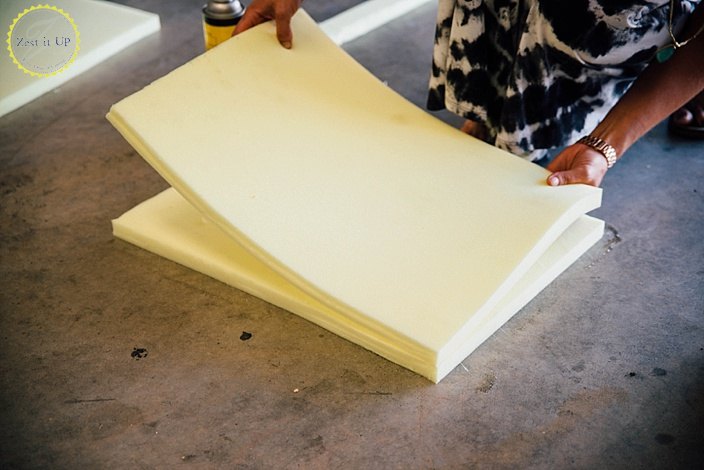
All set! Time to put the bolts through the holes in my pressboard and then glue the foam down on top.
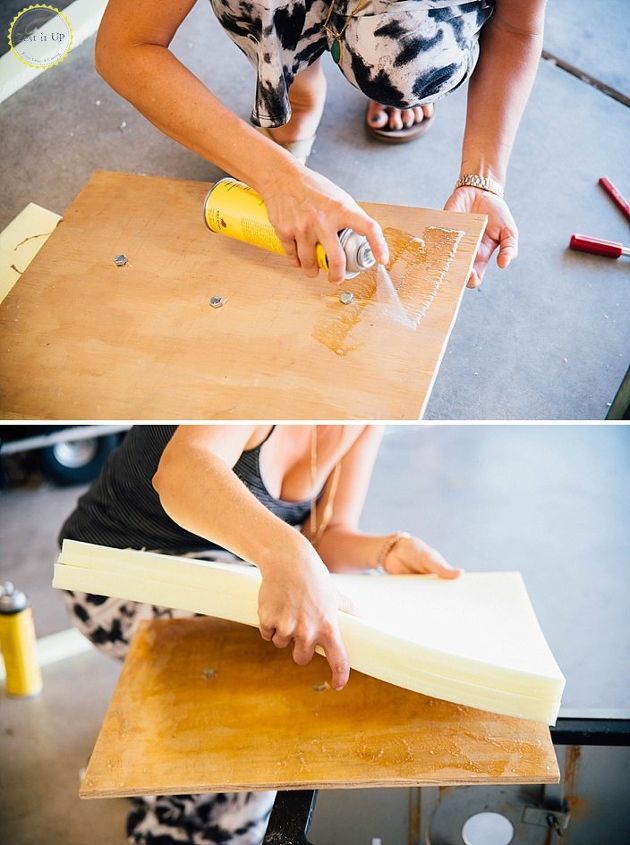
Now I have foam on one side, and the other side has the bolts jetting out.
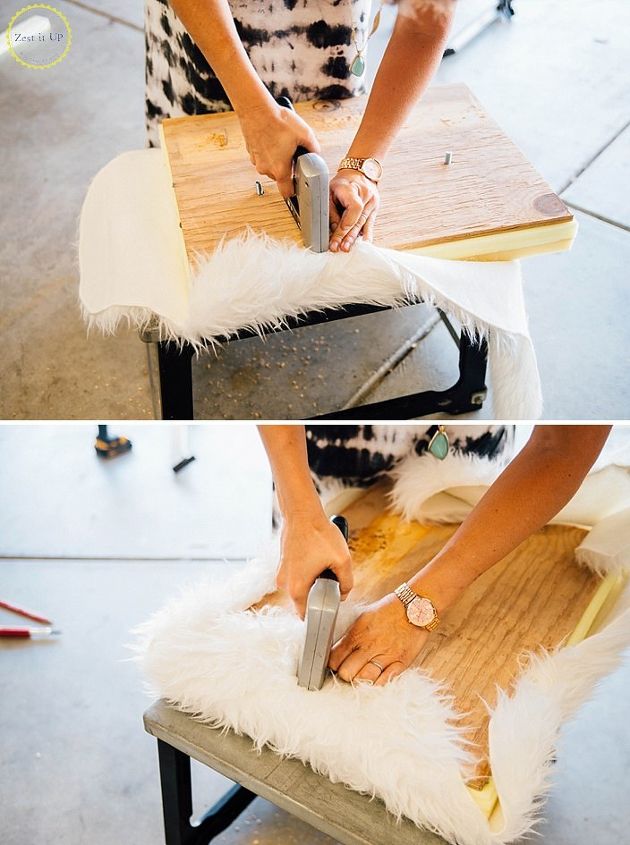

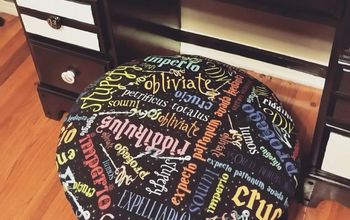
Time to staple down the fuzzy, furry fabric that I picked up at Ikea.
All that is left is to flip it over and seriously pat yourself on your back! LEGIT!
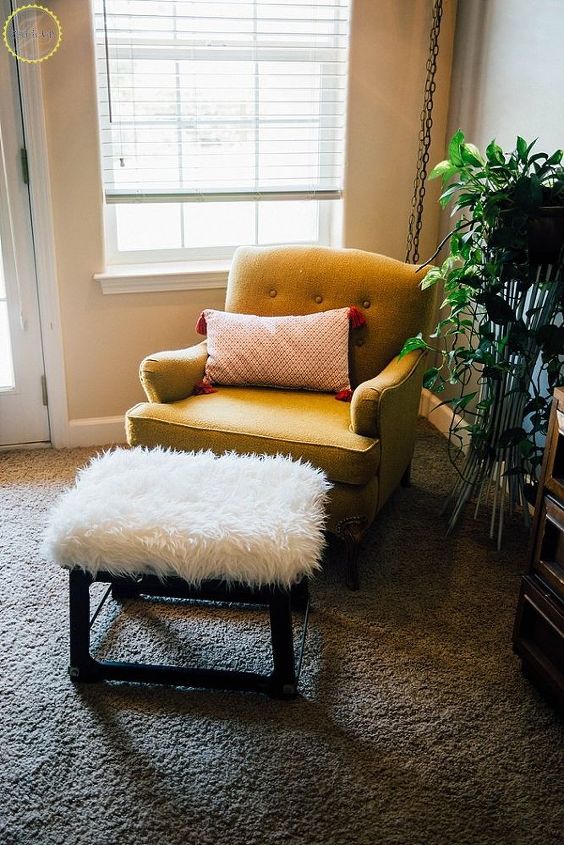
This cutie is going to make it’s way on over to our new Zest HQ once we are done renovating our new space. Hahaha, in fact, get ready for a lot of renovation posts coming your way soon!
Want more details about this and other DIY projects? Check out my blog post!
Comments
Join the conversation
2 of 24 comments
-
That is really pretty ....I did a little wooden stool that I got at a yard sale for 50 cents and made my friend a cute little stool out of it ...I painted it then I added the foam and batting then some furry material she loved it ...
-
so cute, thanks for the share!


Frequently asked questions
Have a question about this project?