


Messy Entryway Makeover

by
Tova Pearl
I'm embarrassed to even post this photo, but this was our messy entryway BEFORE.
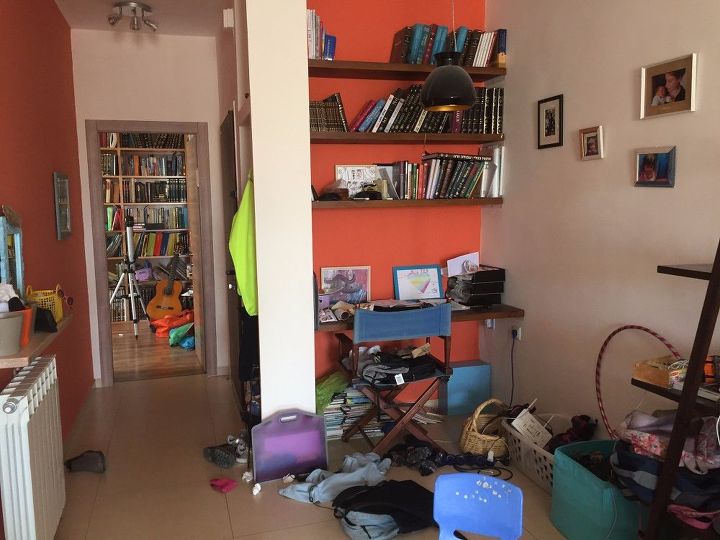
Clearly the first step was to konmari absolutely everything: This means you pick up each object and decide if it gives you joy. If not, you toss it. We threw out 6 garbage bags of junk!!
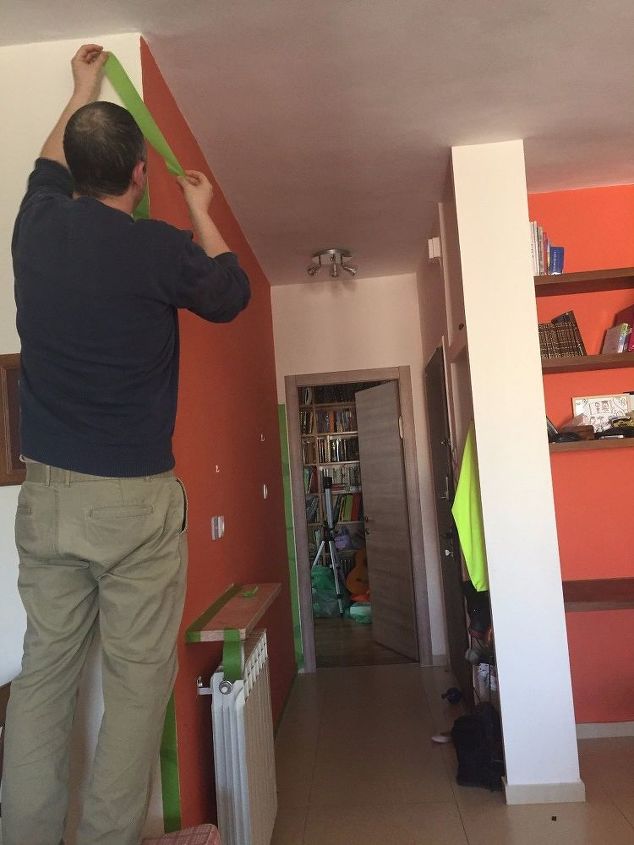
Next step was a color refresh: previously the walls were originally a nice shade of deep red but unfortunately (i can only guess because of the quality of the paint) had faded to a muddy orange. Gross.
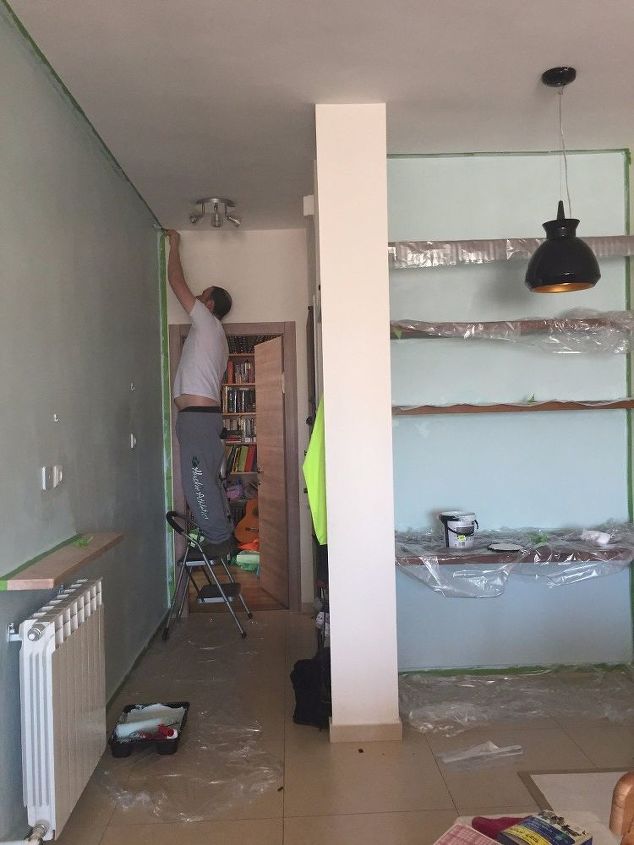
We taped off all the edges with frog tape and painted with a bright and fresh minty greenish blue-ish pastel to reflect more light into the area.
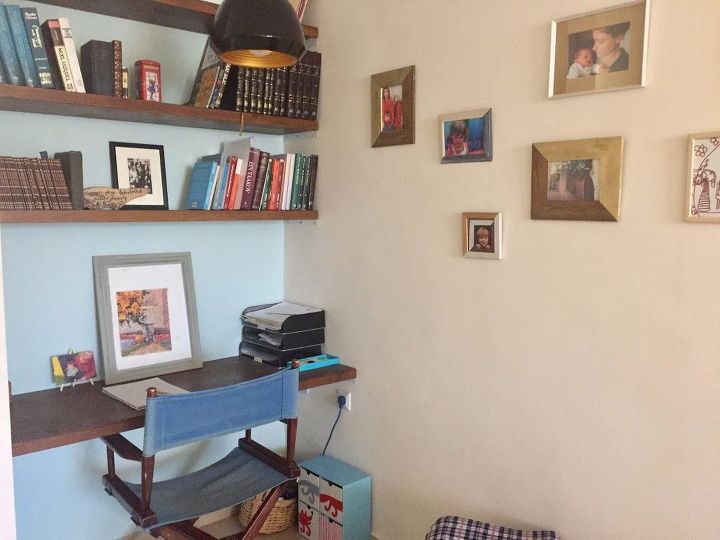
While the paint dried the next day, I decided to add some photos to the wall to create a little gallery area with some of the kids' drawings, which would hang above a new arts & crafts table that we could put in the new cleared out space.
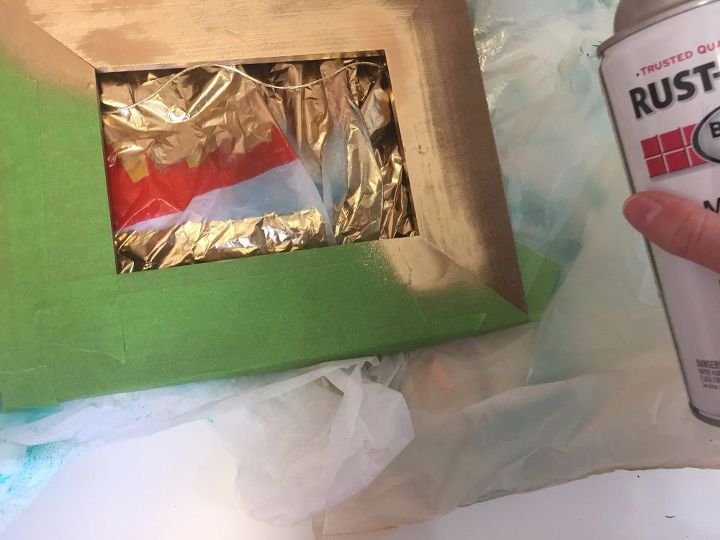
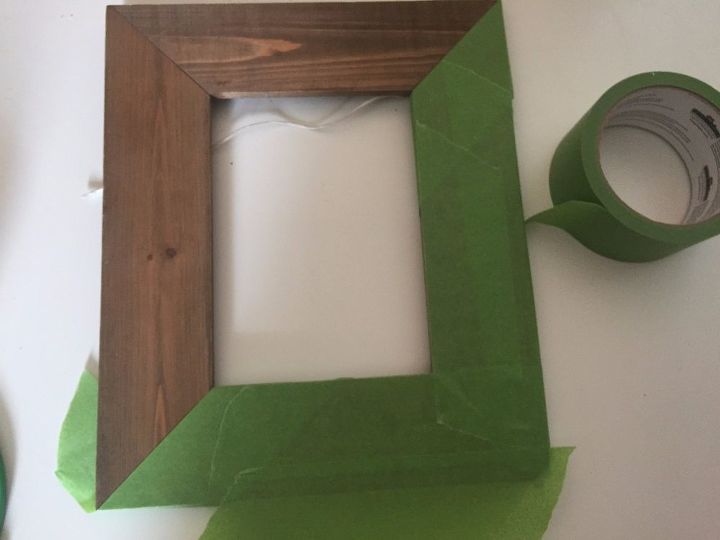
I took some cheapo frames, taped off half of each one and spray painted gold to accent. Inserted the photos and hung.

And voila! the new cleared out space with a little gallery wall AFTER.
I know you all have more sophisticated methods for making gallery walls but this is mine: just eye it 
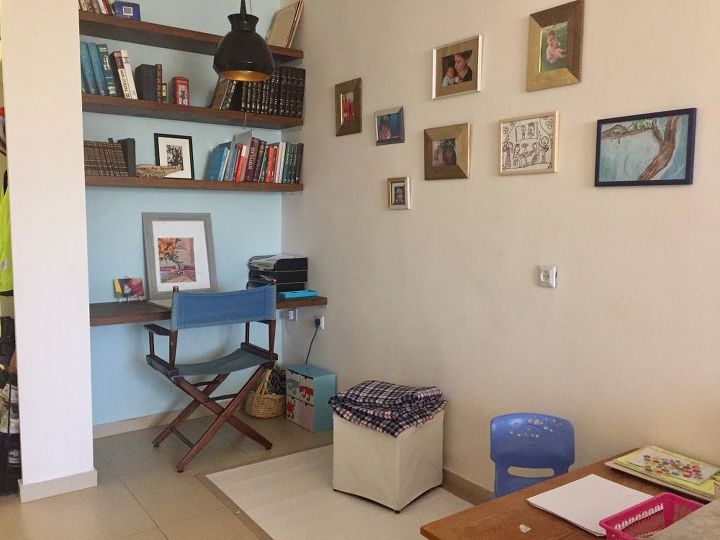
I even found an old painting of mine to frame too! You just never know what's lying under layers of clutter...... At the right is a kids table with paper and art supplies. (aka a repurposed coffee table :-)
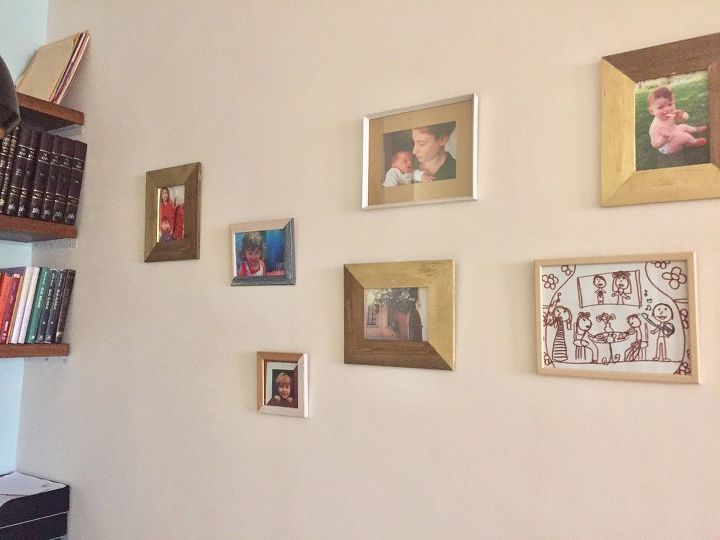
Some of the photos and kids artwork, with the newly painted gold frames. Hope you enjoyed!
Comments
Join the conversation
2 of 40 comments
-
I like your plan and the end result is great ,I will try this in my home thanks.
-
Awesome job!!!! Congrats!!!


Frequently asked questions
Have a question about this project?
What did ya do with the bag of junk you threw away? I hope there wasn't anything in there you could of been redone for a purpose in your home?