


The Finishing Touch: Carpet Transitions
$40
2 Days
Easy
That finishing touch is important to complete the space. You know what I’m talking about… the carpet transitions!
The full article with step-by-step instructions is here. Check it out! nluvstudio.com/2017/05/16/carpet-transitions/
Not the most exciting part, but you need to take the time to install them so all your door jams, closets and other flooring connections are smooth. You can really ruin a great moment by stubbing your toe on the threshold from your lovely new carpet to the hardwoods next to them. Ouch!
If you’ve looked online or in a store, there are a lot of transitions to pick from. And, I’m not meaning just in materials such as wood, vinyl, or metal but also in types. Do you have a flat transition or maybe plush carpet to hardwood or just a little height difference but not too much? After you get past all the types, the pricing is widely different too. Some are under $10 and others like oak can be upwards of $30 a strip! If you have a lot of places for carpet transitions, that can really add up. Don’t get stressed or overwhelmed. It’s not worth it. You already did all the hard work. This is the easy final piece to bring it all together.
This final step of your flooring glory is simple and best of all, doesn’t have to break the bank! With a couple supplies and a little time, you’ll love the results. Here’s what we did to put the finishing touches on our master bedroom.
Here's the rundown on the steps. Check out the full article for all the details. nluvstudio.com/2017/05/16/carpet-transitions/
Step 1: Mix & Match, who cares!
What I needed:
- Main master door: 36″ length; 1/2″-3/4″ in. height difference
- Closet: 54.5″ length; 1/4″ in. height difference
- Landing pad to office: 61″ length; no height difference but carpet to wood
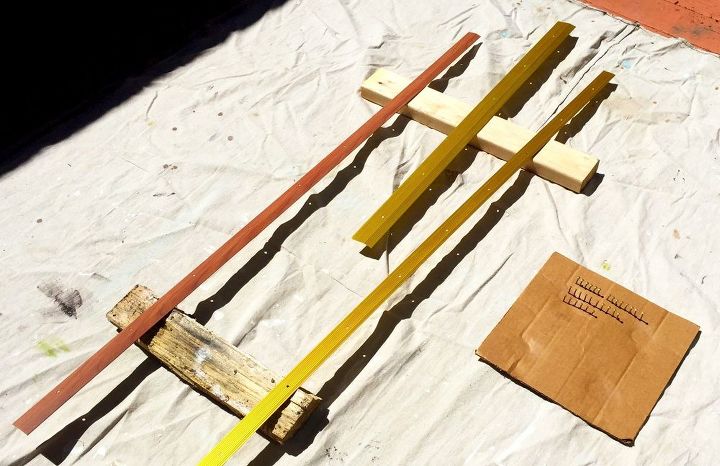
All I could imagine was a hodge-podge of materials ruining our brand new floor. I literally threw up my hands in the store and said “Forget matching these. I’ll just buy the right type in the cheapest metal version I can find and I’ll paint them to match the design.” And so I did just that.
What I bought:
- Qty 1 Medium to high carpet transition; metal, wide width, gold color (for main master door)
- Qty 1 Low to medium carpet transition; metal, regular width, faux oak color (for closet)
- Qty 1 Floor seam; metal, regular width, gold color (for landing pad)
- Qty 2 Rust-oleum® Multi-color dark brown textured spray paint
- Qty 1 Minwax® Polycrylic clear semi gloss protective finish
I left the store with one bag, three carpet transitions of various colors and sizes and spent under $40! Time to head home and turn my bag of misfit supplies into well-thought-out design features. A little creative thinking just saved me about $60!
Step 2: Measure & cut to size
Tools:
- Miter box
- Hacksaw with metal cutting blade
- Left over piece of other molding (to help add height in the miter box when cutting transitions)
- Safety glasses
- Sandpaper
- Rubber mallet
- Sponge brush
After measuring and marking the transitions, it’s time to cut. I use a plastic miter box and laid down a remnant piece of molding to help raise up the transition since they are so thin and flat. The hacksaw works great in the miter box and does quick cuts with only a little effort. After cutting all the marked lines, make sure they fit. If they do, great! Sand the edges smooth. If not, make the needed extra cuts or adjustments until they are just right.
Step 3: Scuff ’em up
Since the transitions are metal, I took a stiff piece of sandpaper @ 80 grit and scuffed them up. Even though the spray paint is for metal, I always like to create a little extra grip for best possible adhesion… especially since these will get stepped on! Take a wet rag or paper towel and wipe off any sanding dust.
Step 4: It’s time to customize
I used two pieces of wood to lay the transitions across. The wood risers help when spraying the sides. I don’t want to miss any spots and have the ugly under-colors showing through! For full coverage, I sprayed three coats of paint, making sure the transitions were dry between each coat.
Don’t forget the nails. Since the transitions are different colors, the nails that came with them are also different colors. To easily paint the nail heads, I stuck them into a piece of cardboard so they stand up on their own. This makes spraying them so quick and easy!
Step 5: Seal for safety
Since these carpet transitions are of course going on the floor, I want a little extra safety from chipping and scrapes. After the spray paint is fully dry, I applied a coat of Minwax Polycrylic semi-gloss with a sponge applicator. Not only will this help protect, it also adds a nice shine, accentuating the multi-color spray paint. Don’t forget to dab the nails too!
After applying and allowing a little dry time, it’s time to move inside for overnight drying. I moved the finished carpet transitions into my studio and rested them across a step stool to dry.
Step 6: Install & enjoy!
After the Polycrylic is fully dry, its time to install. Lineup the transitions and make sure your nails will go into the right surface. I didn’t want to nail into the adjoining pine boards so I made sure the transitions were positioned so the nails drove into the carpet and subfloor instead. Since you painted the nail heads, be careful when hammering them in or you’ll tear off the new paint! I used a paper towel over the nails and a rubber mallet to be extra safe.
That’s it – You’re done!
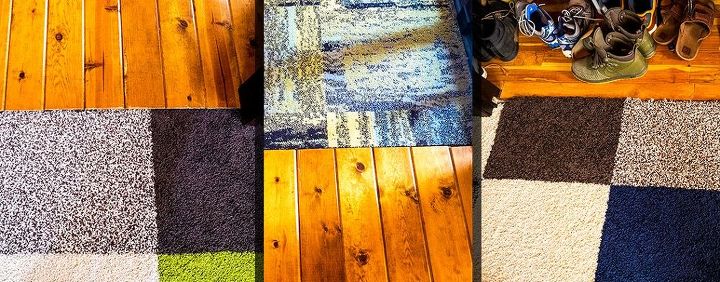
Unfinished floor transitions for master bedroom and upstairs landing pad.
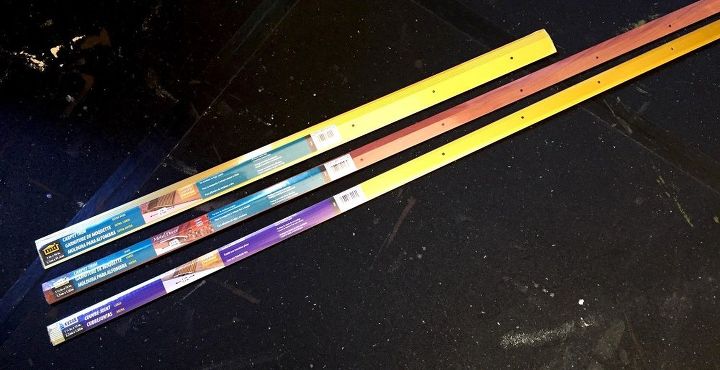
Various transitions will do the job! Mix and Match!
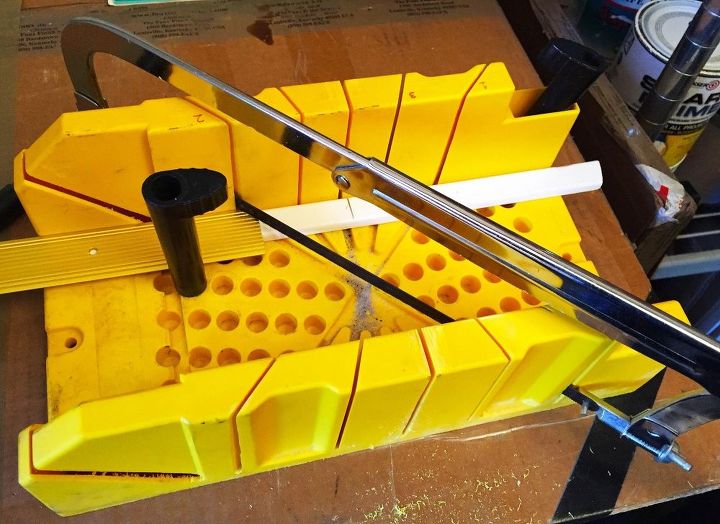
Plastic miter box and hacksaw will do the job. Use a piece of molding underneath for added height when cutting.
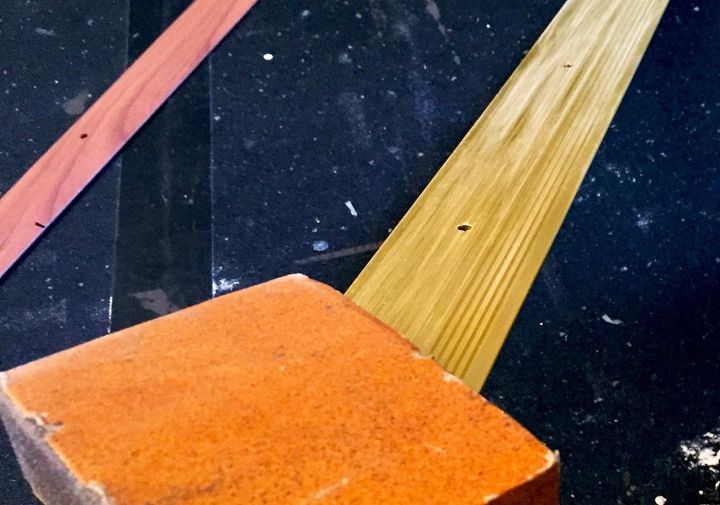
Scuff 'em up for better adhesion.
All setup and ready for paint. Don't forget the nails to spray too!
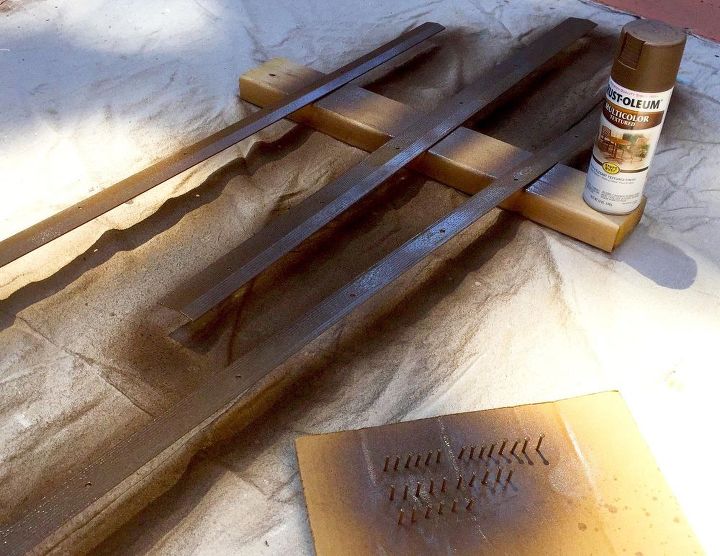
All coats are done and drying
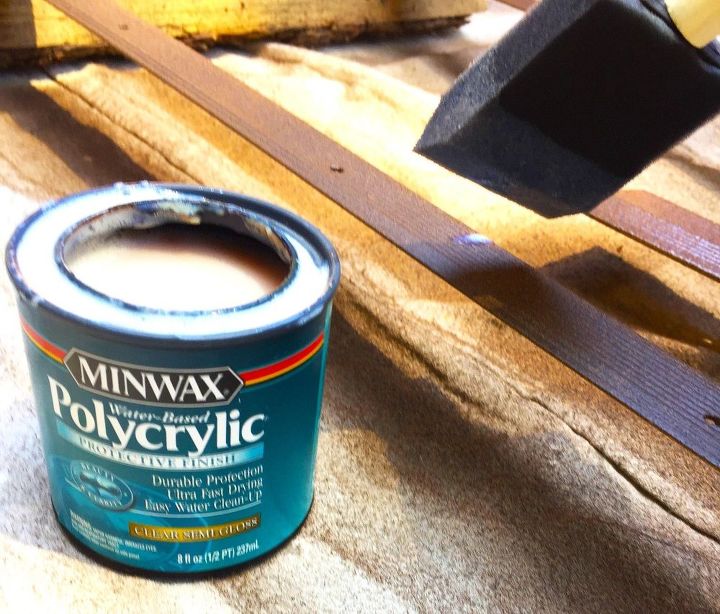
Seal with some Polycrylic for added durability

Beautiful Master bedroom transition, custom color matched.

Office landing pad transition is smooth and classy!
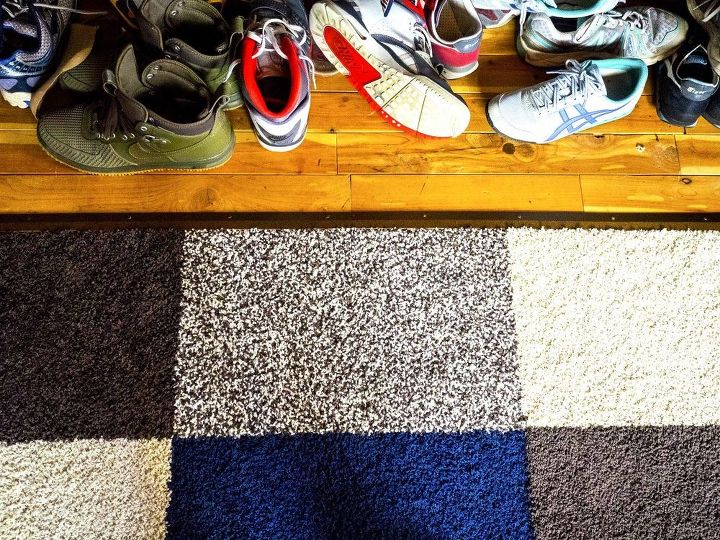
Master bedroom closet is ready for its doors.

Want more details about this and other DIY projects? Check out my blog post!


Frequently asked questions
Have a question about this project?