


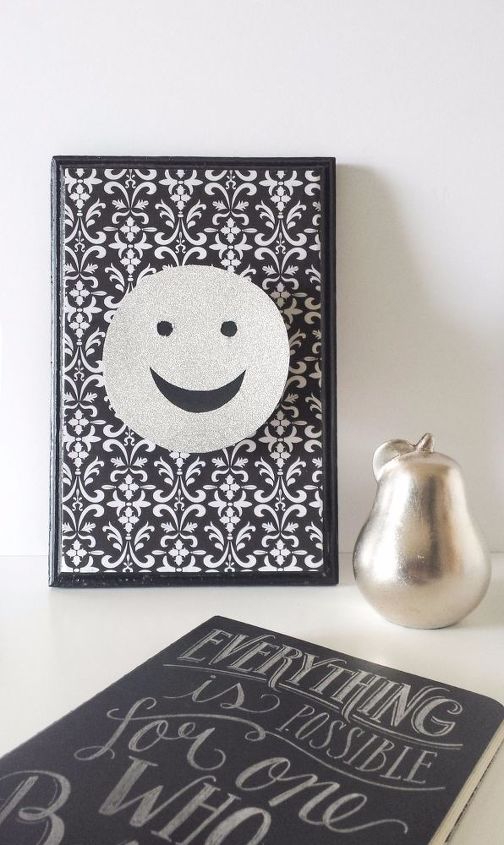
How To Make An Emoji Wall Decor DIY
12 Materials
I wanted to make a handmade feel emoji wall decor. Something that feels like digital meets handmade. This is what I came up with and let me show you how to make one.
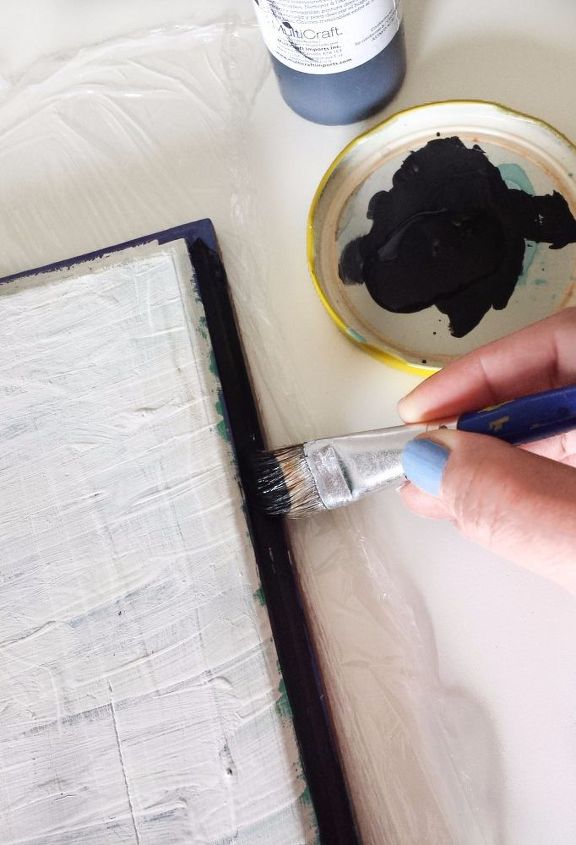
You can use any size of wooden frame you like. Paint the sides of the frame with black acrylic paint. I found this used wooden frame in the basement so this is what I used for this diy.
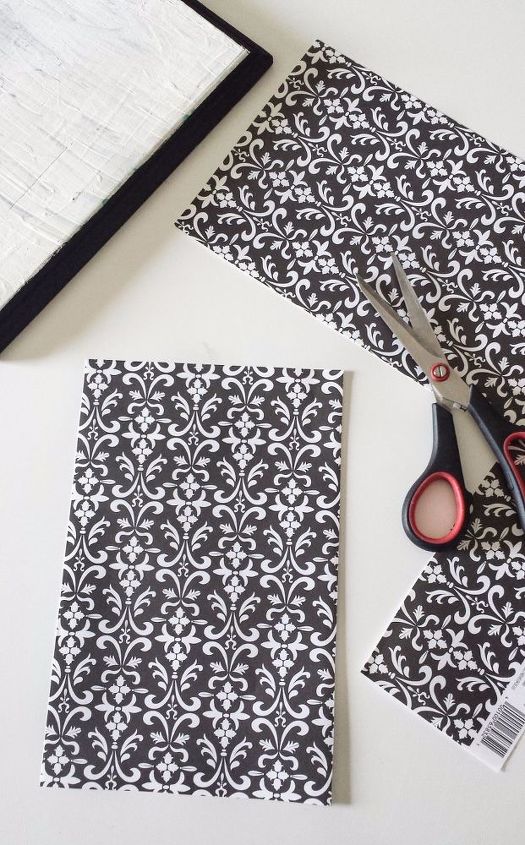
Pick a printed scrapbook paper. I chose a damask print scrapbook paper and cut it to the correct size to fit the flat base of the frame.
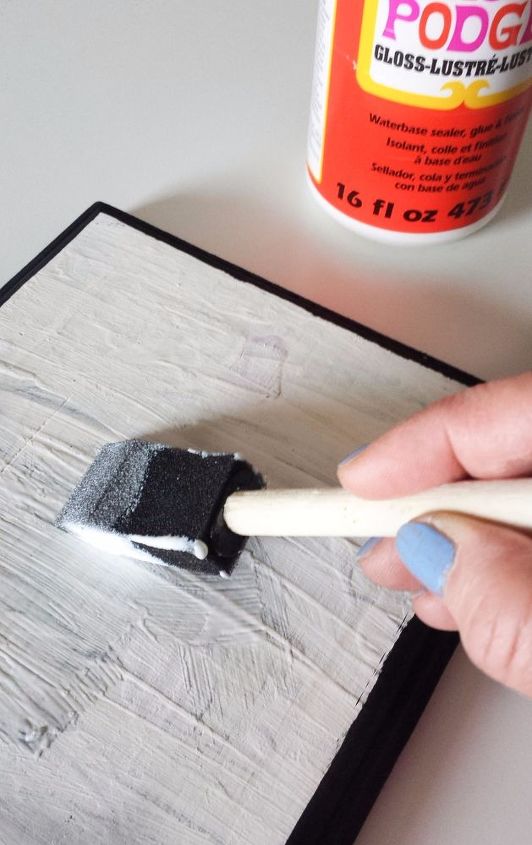
Apply Mod Podge on the frame's flat surface using a foam brush.

Place your scrapbook paper cut out on the base and flatten it using your fingers. Try to remove any air bubbles.
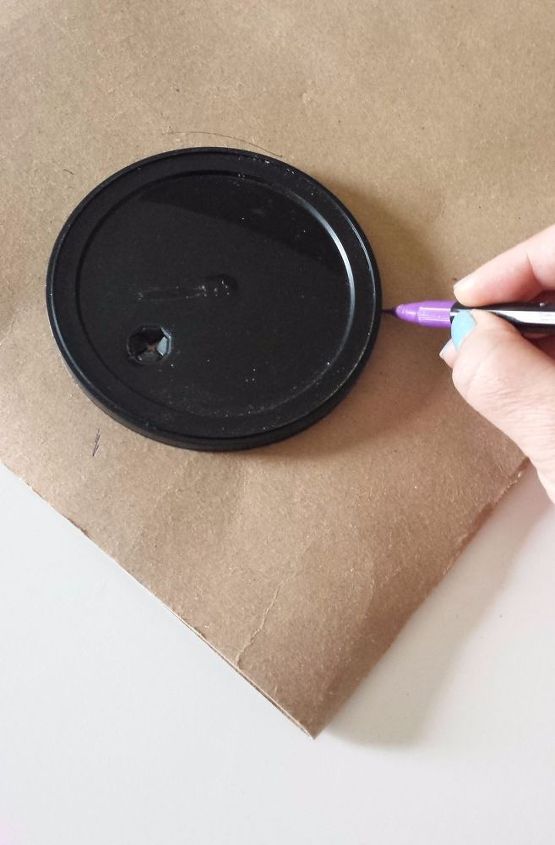
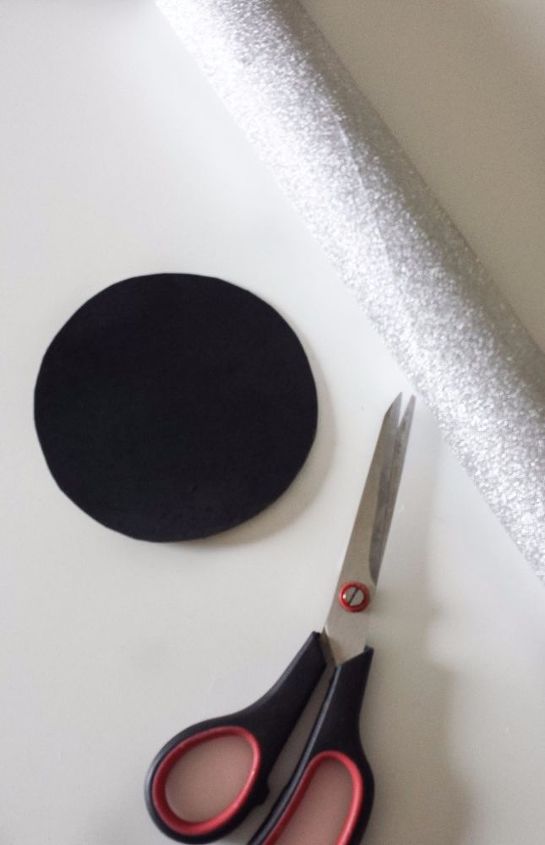
Get anything round and trace it on a cardboard and cut it out. The diameter should fit the width of your frame with ample space on the sides of it.

Paint the cardboard cut-out with black acrylic paint.
Trace the round cut out on glittered adhesive paper. I picked a silver one which goes well with the black and white damask print paper.
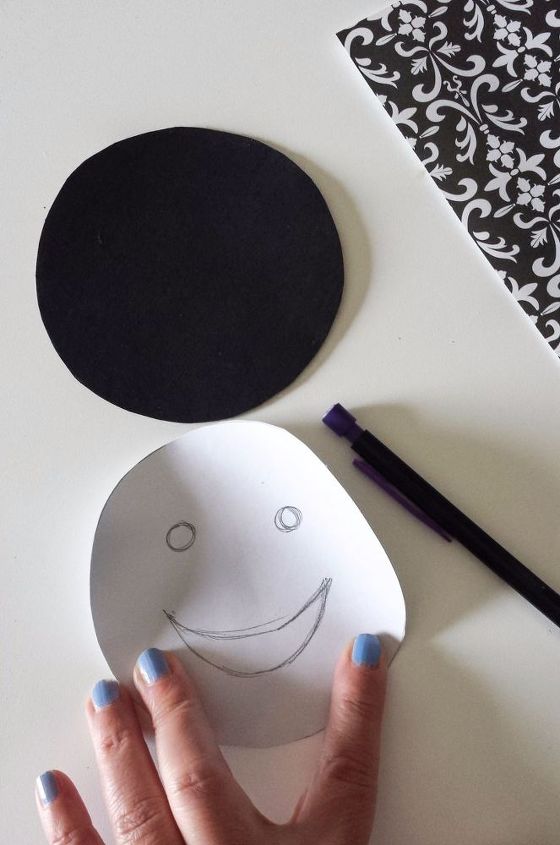
Draw eyes and mouth at the back of the glittered adhesive paper.
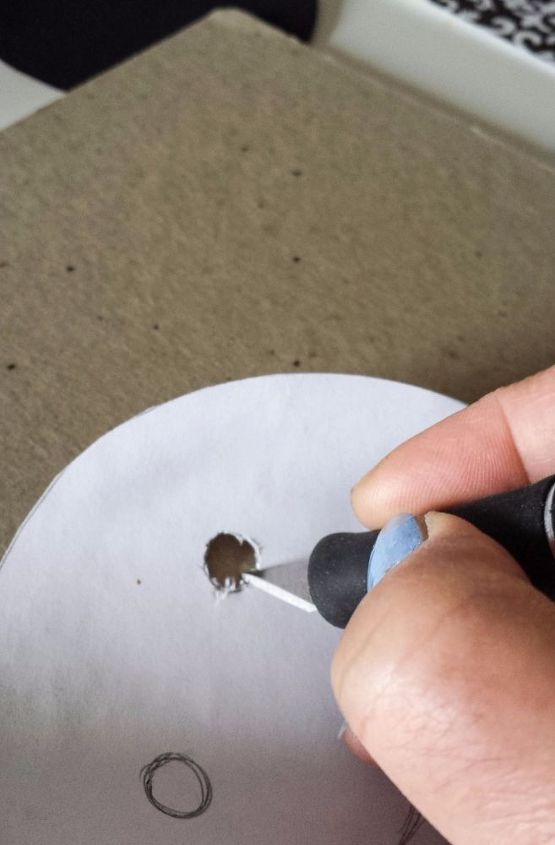
Use an X-acto knife to cut away the holes for the eyes and mouth.
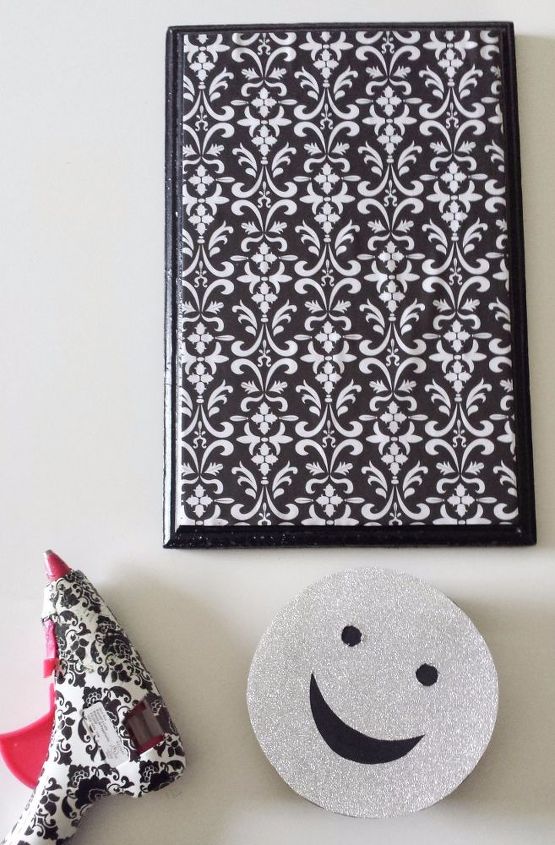
Peel the adhesive paper film and stick it to the round cardboard cut out. Then use a glue gun to attach the emoji on the frame.

If you want the emoji to have a floating effect like this one, you can check out the complete tutorial on the link below.
There you have it, an easy but lovely wall decor diy.

Want more details about this and other DIY projects? Check out my blog post!


Frequently asked questions
Have a question about this project?