


DIY Modern Step Stool

5 Materials
$10
4 Hours
Medium
Growing up, we always had a 2-step stool around for various things. I wanted one for my own household, so I made one. But with this one, I wanted it to have some modern flare. Follow along with the steps!
Take a look at the video below to see how you can make a DIY Modern Step Stool:
{
"id": "4135597",
"alt": "",
"title": "",
"video_link": "https://www.youtube.com/embed/btXX6IlyFfo",
"youtube_video_id": "btXX6IlyFfo"
}
{
"width": 634,
"height": 357,
"showRelated": true
}
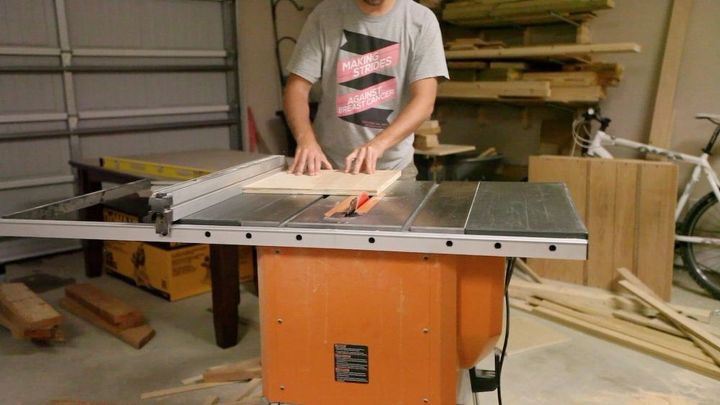
I didn't show me making the tops (also called "treads" on a staircase, so I think I will call them that here too). These were actually made from plain ole 2x4's. I had two different boards that had some interesting differences, so I resawed them and planed them smooth. Then, I arranged them in a way that I found interesting, with kind of an alternating pattern. (This will be more evident on the final shots) I glued them together like you would do when making a cutting board, and they turned out great! I was really surprised at how nice looking they were!
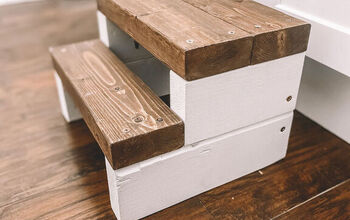
This is a photo of the other set of steps I made a while back. I'm using them as the model for these new ones. You can see a little of how the treads will look sitting on top here.
This is probably not necessary, but I always thought it was a cool little detail. Can you see the angle in the back of the steps? I asked my dad why he did this years ago, and he said it was so that the entire step was not being bumped up against a cabinet or a wall. This limits the only point of contact from a careless kid (also known simply as a kid) to just one small section near the bottom. I thought it was an interesting design element and concept, so I have incorporated it into both of the step stools I've built.
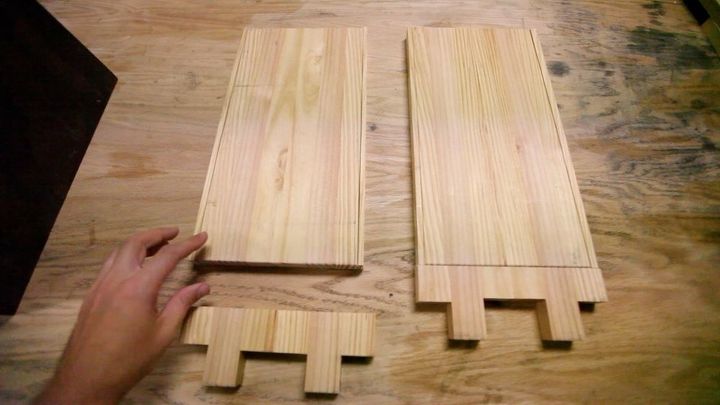
I got started by cutting my plywood that would be the sides and front of the "2-steps" to correct size. For this particular 2-step, here are the dimensions:Depth: 14 1/2"Height: 14"1st stair height: 7"Width: 14"Tread width 15 1/2"Tread depth: 7 5/8"Hole for handle: 1 3/8"
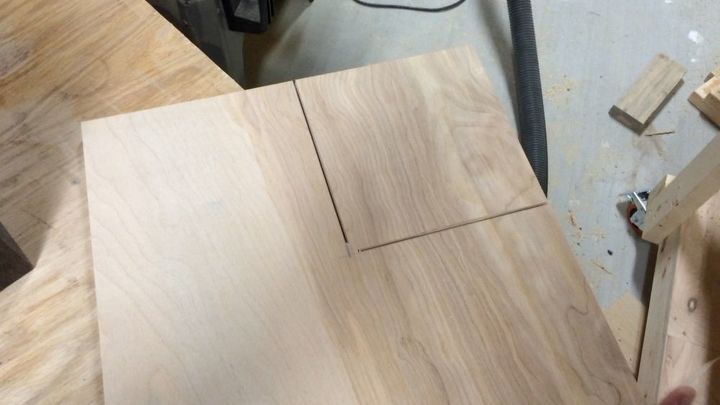
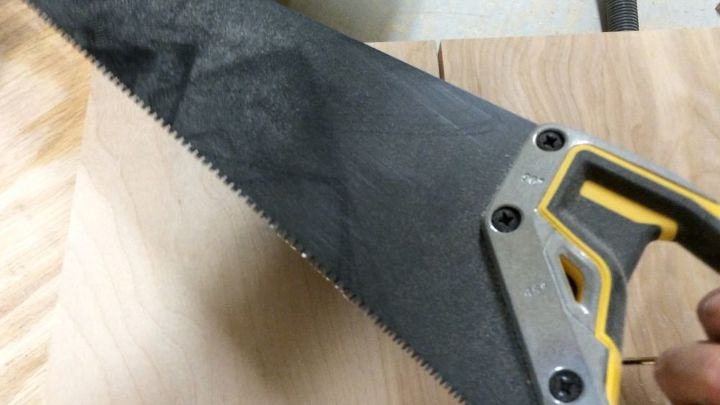
I cut out for the step using the miter saw. I find the jigsaw to be horribly inaccurate, and at this time, I didn't have a bandsaw. I finished the saw with a hand saw.
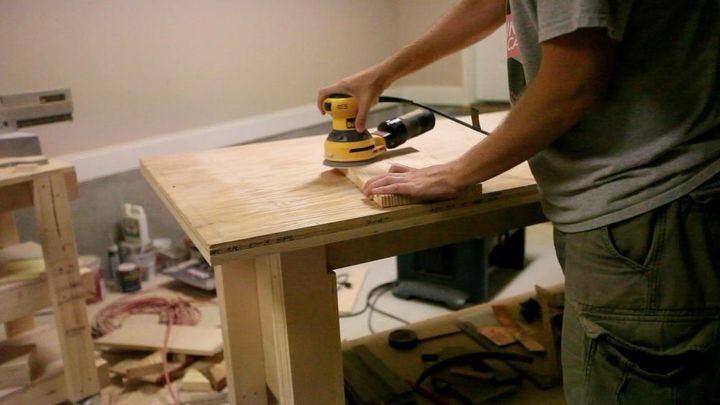
I sanded the treads and the rest of the steps.
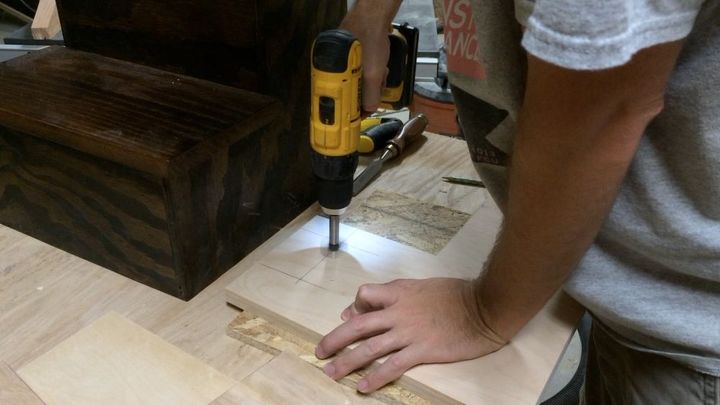
Then, I used a 1 3.8" forstner bit to drill a couple of holes that would later be connected using a jigsaw. This would make a handle.

I was not pleased with how uneven my handle cutouts were, so I put them together and used a flush trim bit on them so they would at least be even.
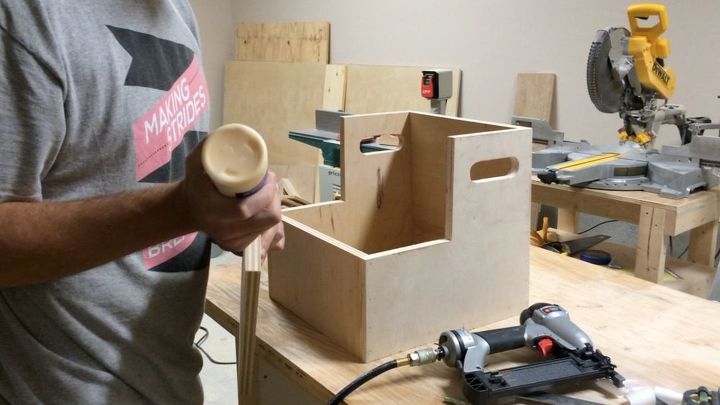
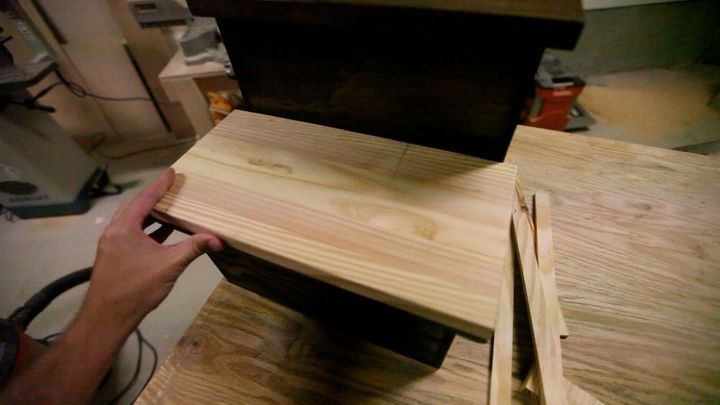
Then, I glued in the front panels and back panel. I attached them with brad nails temporarily until the glue would dry.
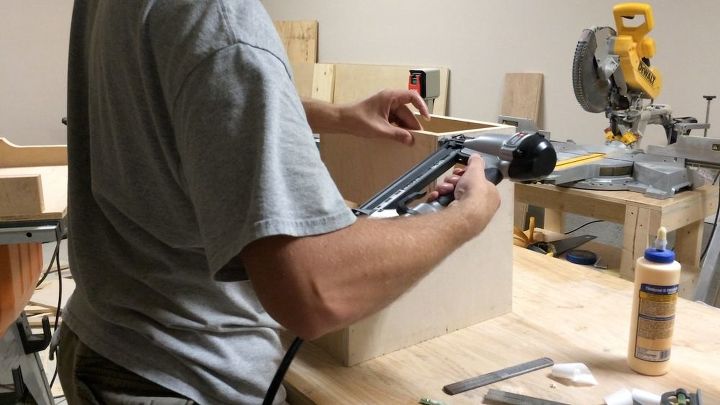
I used a 16ga brad nail gun to secure the front piece to each of the sides. These will help hold it until the wood glue dries.
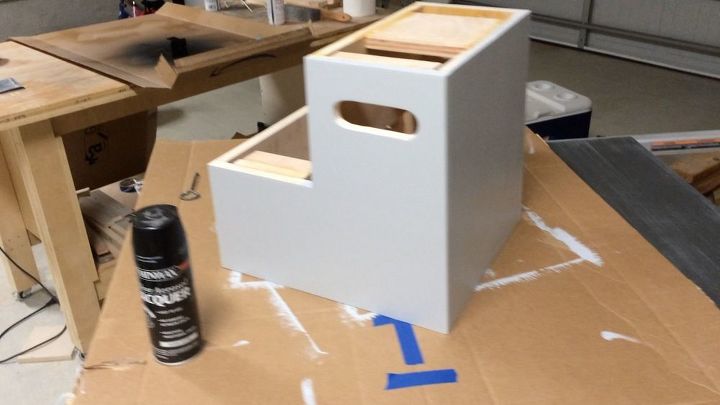
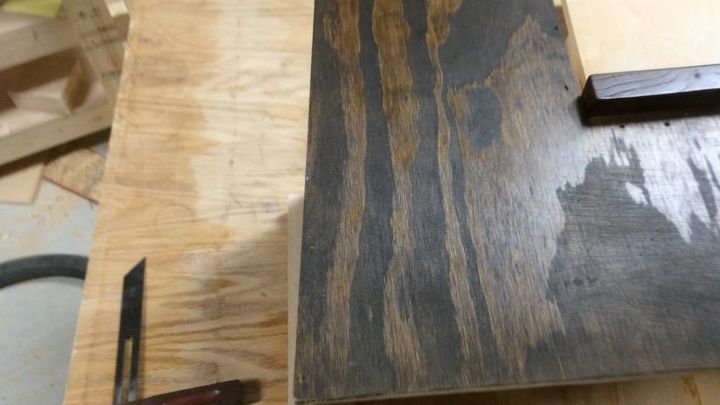
Paint the step with whatever color you choose. For this one, I went with a very light, but neutral gray. I like it, because it has a really clean, but muted color. Then, to protect the paint and the top, I used a few coats of clear spray lacquer.
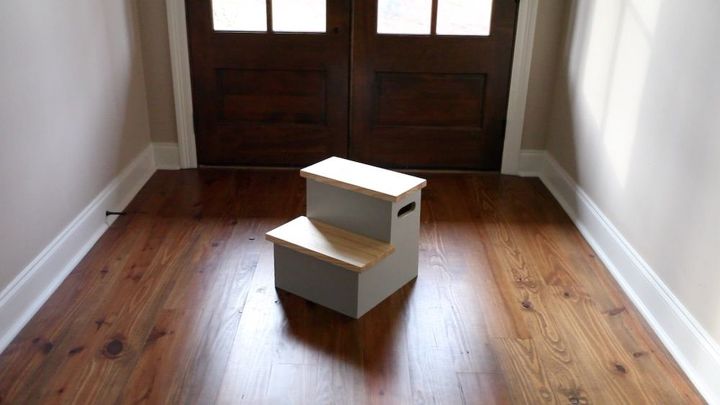
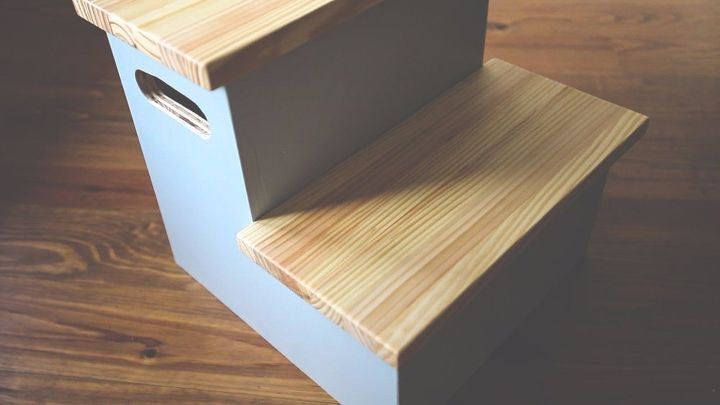
And here is the final product. I really love how the 2x4 tops came out with nothing but some clear lacquer on them. It kept the raw look of the pine without yellowing them too much.
Thanks for following along! If you build one, I want to see it. Tag me on Instagram @Brudaddy!
If you want to see more projects like this, visit my website at http://www.bruceaulrich.com/
Comments
Join the conversation
2 comments
-
Thank you for sharing this with me too! You did a great job!!


Frequently asked questions
Have a question about this project?