


Dining Room Table Makeover

by
Krista Beck
3 Materials
$20
5 Days
Medium
I've always wanted the farm table look! My table is already distressed looking at the daily beatings it has taken from 4 kids has just added to the look. But still . . . . . it needed a change. I've had my out building full of palettes just waiting to be used. I finally made time to get it done!
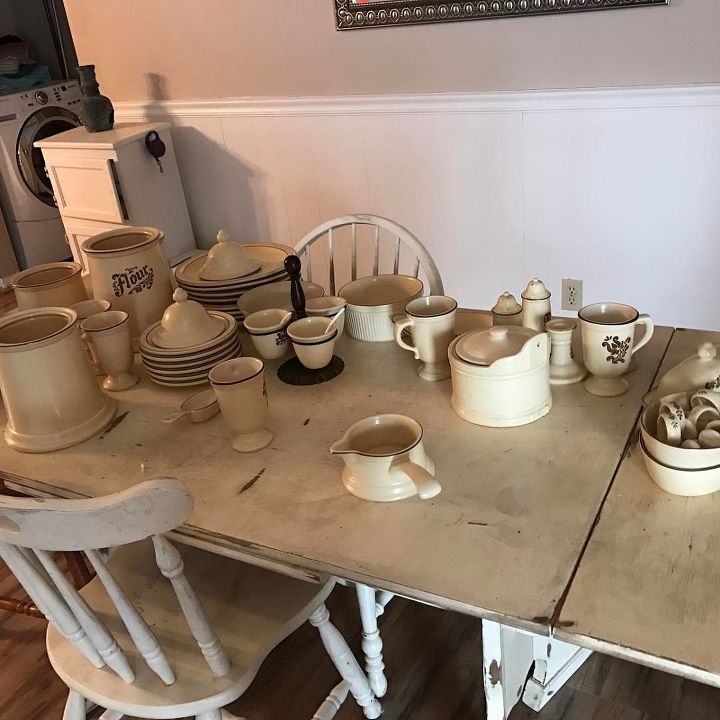
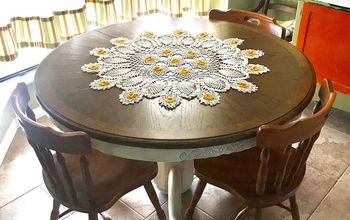
This is what my table looked like before. The dishes aren't always out! Lol! My step-mother gave me her mother's dishes and I was so excited I needed a picture of them. But this gives you an idea of what the top of the table looked like originaly.
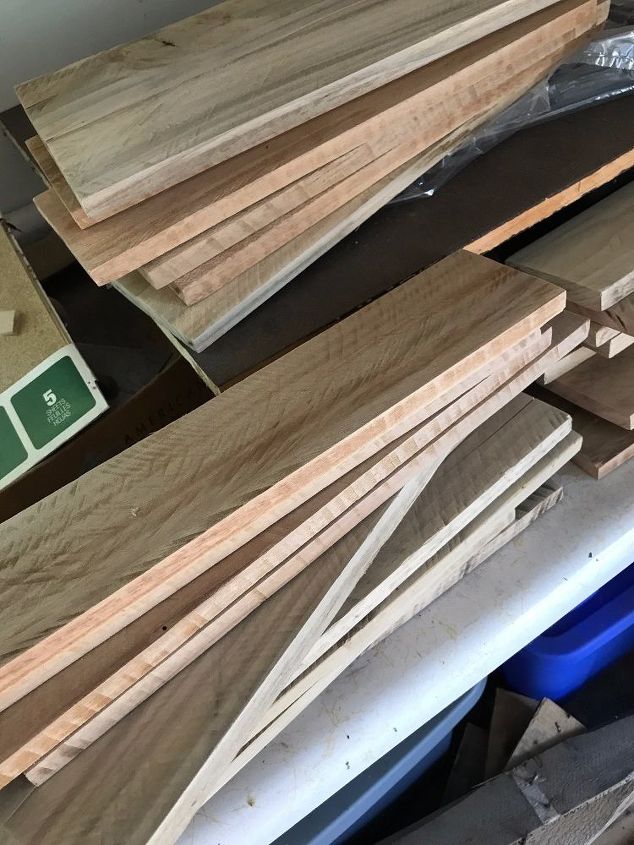
I took the palettes and cut them apart. I did not do the same size, as I really wanted the staggered look. I sanded as I went along. I did sand both sides as I wasn't sure which boards would fit better together. And, the sides had different "designs" and color after sanding. I wanted the options.
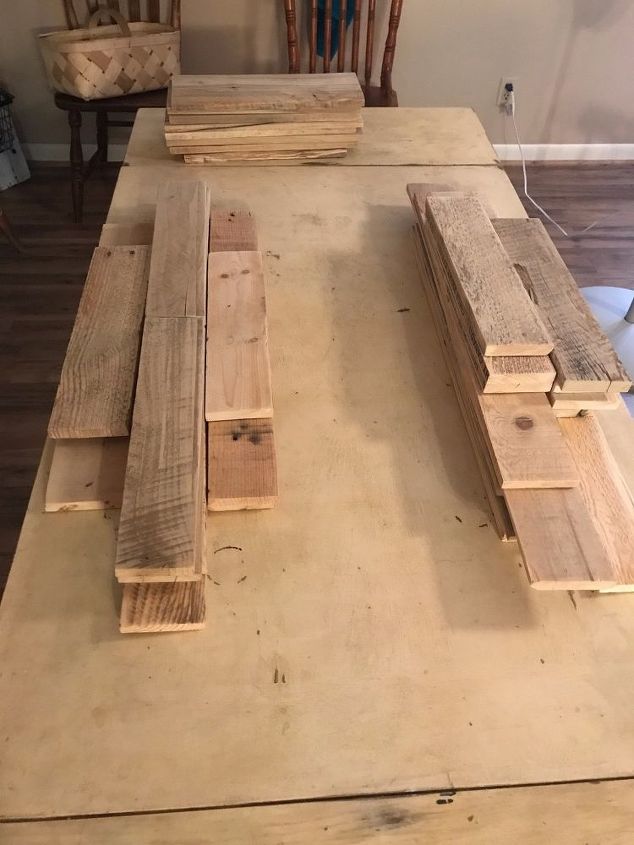
After all my palettes were cut and sanded I stacked them up by width and then by size. You also get another view of my beat up table in this one.
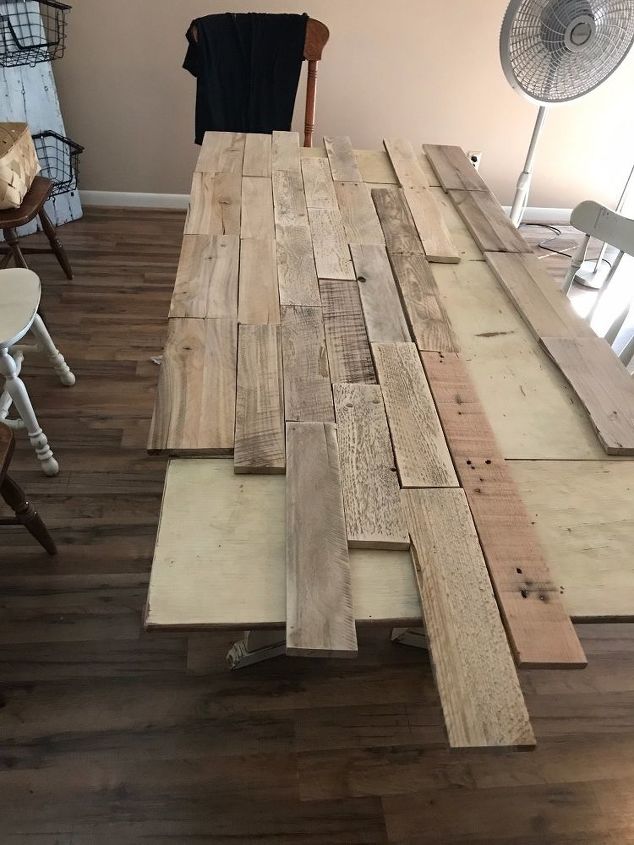
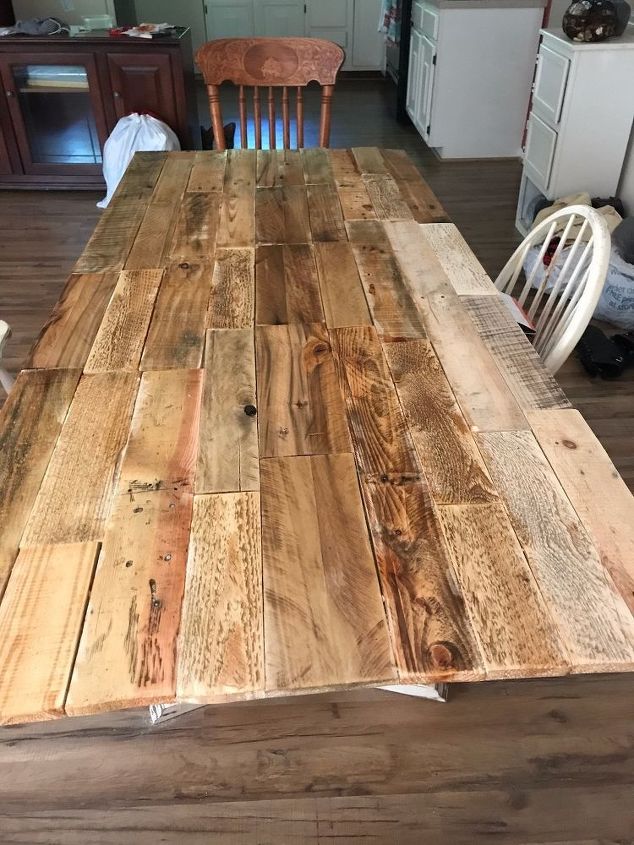
Next step was to start laying out the wood until I was happy with the results.
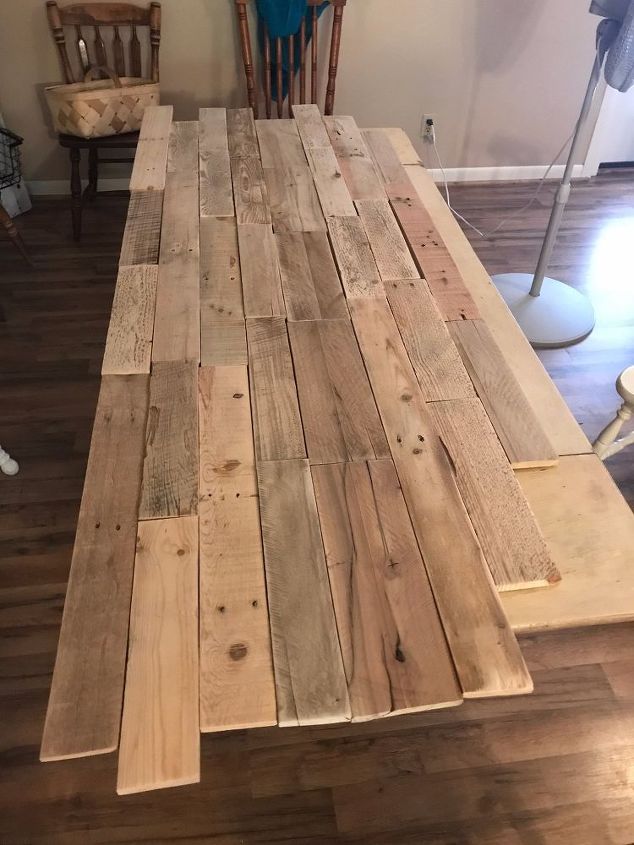
Coming together nicely!
Now that I had it all laid out, I need to cut my ends of evenly and then fill in the gaps on my table.
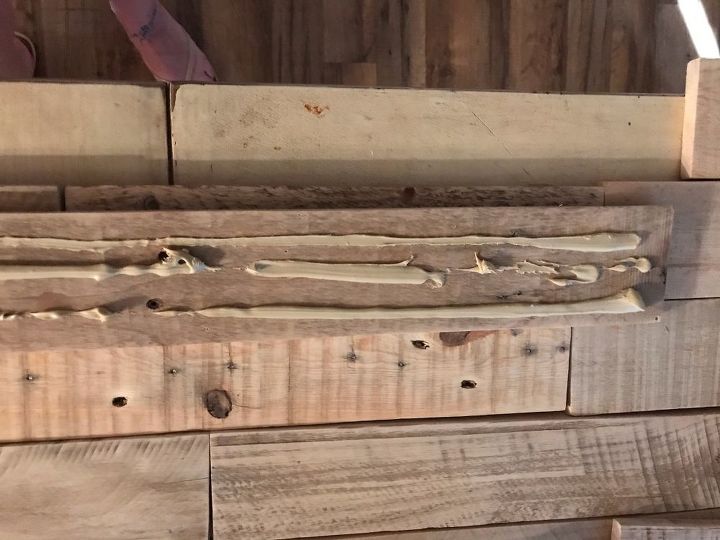
I used a heavy duty liquid nail to adhere them to the table. I am still looking for some nails with some funky heads on them to nail into the boards, but I haven't found any that speak to me yet.
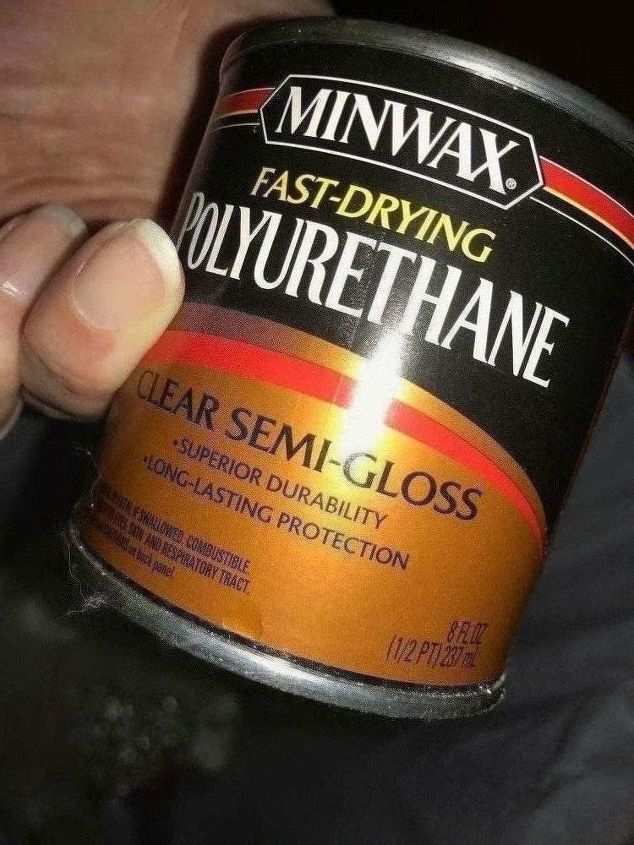
I used a semi-gloss clear stain to bring out the natural wood.
I took this to show the difference between the natural wood (on the right) and after applying the stain. Love it!
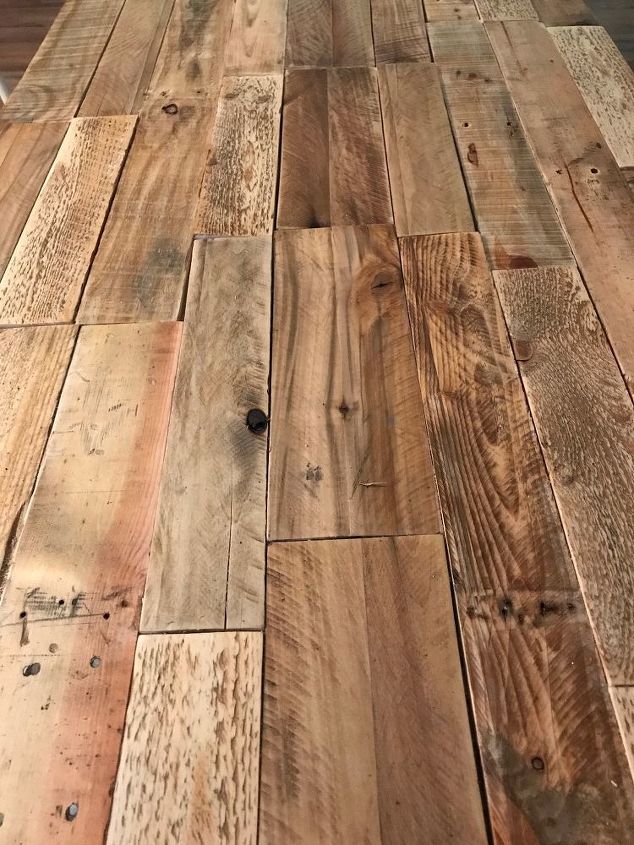
This is just a close up after the stain to show the different grade and colors.
It's not a perfectly flat table, but for me that is just part of the charm.
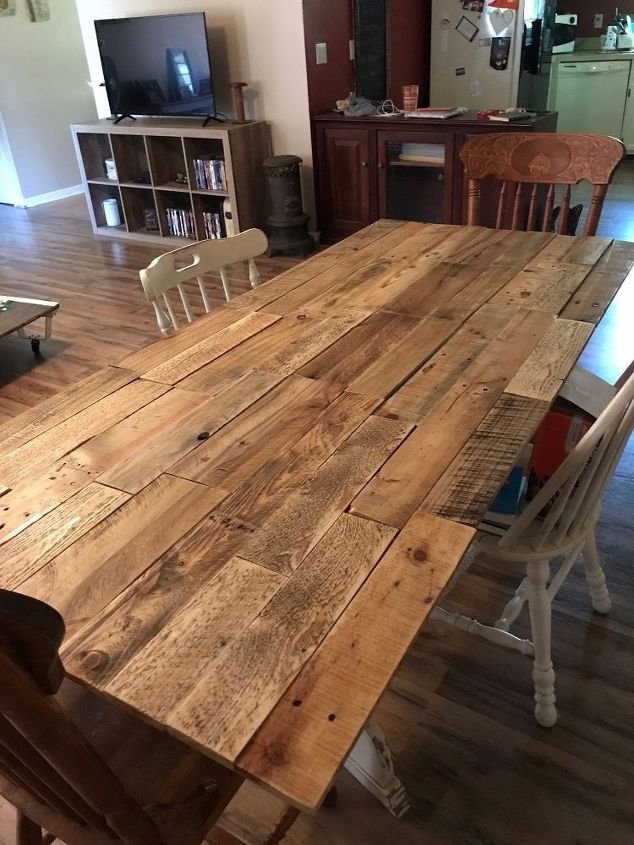
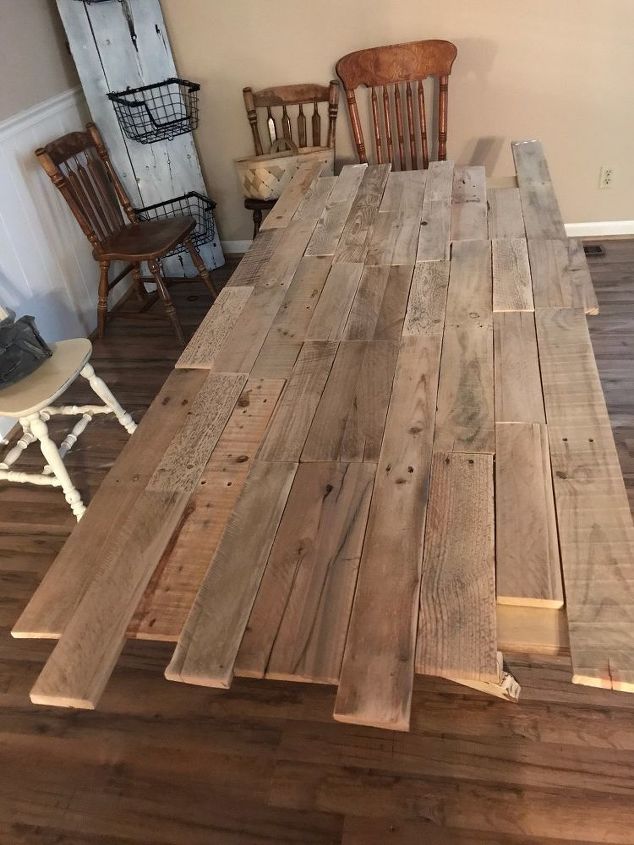
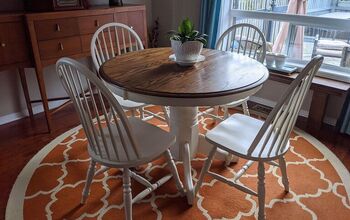
And it's done!
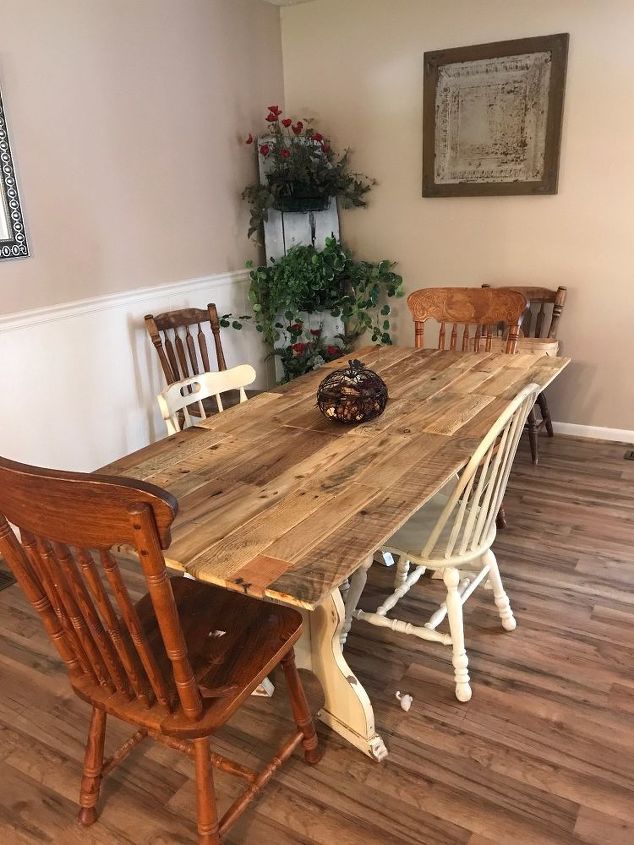
Here is the finished product.
I know that I will come back and fill in the cracks of the table. I wanted to let the wood acclimate to the climate in the house and I need to decide how I want to fill in the cracks. For now though, it's perfect!
Comments
Join the conversation
3 of 7 comments
-
So pretty. Would love to be able to do this to an old table..
-
This reminds me of the olden days. Chairs never matched. Table was a rugged lookin' metal, square place to eat. In a crowded kitchen with a wood stove. It was a humdinger area. Great memories at Grandma's though. GREAT viddles. I love the table, btw.!!


Frequently asked questions
Have a question about this project?
Did you come up with a solution to fill the spaces yet?