


My Kitty Display Shelf

by
Jennifer
2 Materials
45 Minutes
Easy
Good Morning Hometalkers!
A couple of months ago or so I was dusting the living room when I knocked over one of my collectables. It didn't break but it made me realize that I needed to put them somewhere else (it had happened before). Well I have so many that I decided I would do something with just the little ones, a shelf just from them! I call it the Kitty shelf! I should have made it bigger!
This is what I did...
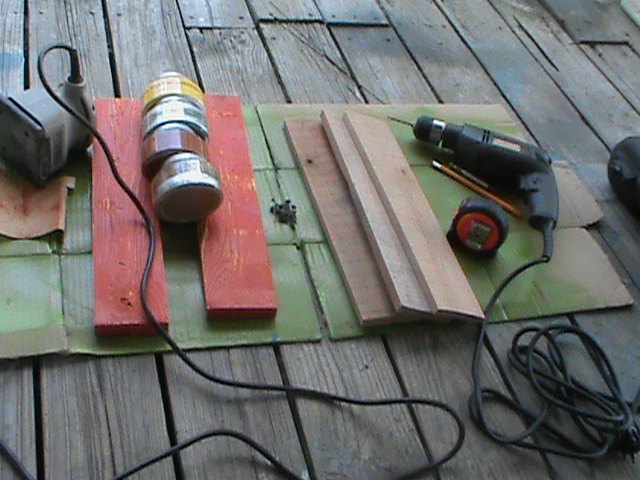
I gathered up some pieces of scrap wood. The orange pieces are from a project I just didn't like when it was finished so I tore it apart.
Sometimes I will make something that just doesn't match what it should have looked like in my head
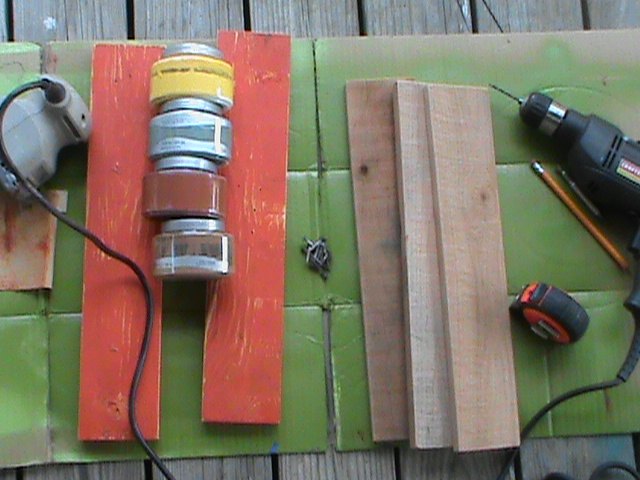
The other 3 pieces are leftovers from a pallet project I already posted (bar/ console table). I sanded down all the pieces first. The wood was already cut and even. Another step done
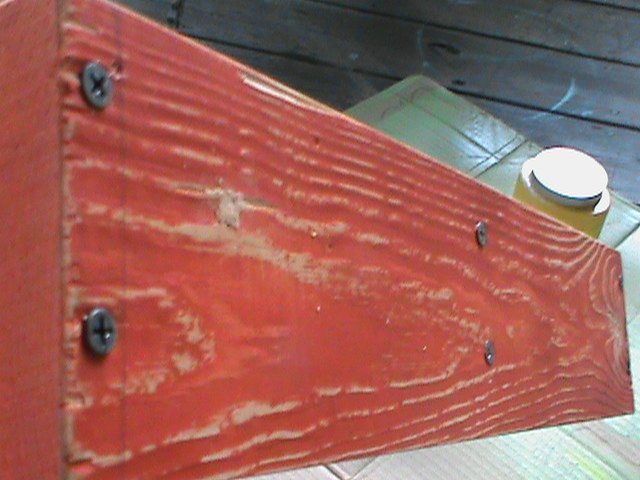
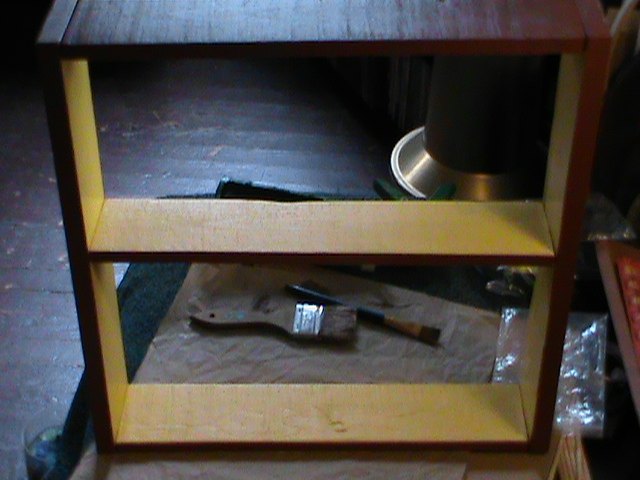
I wasn't worried about sinking (hiding) the screws into the wood. This is just a small shelf from me! I did want it to be sturdy and level so it had to be squared and you can see the pencil marks here. 2 screws for each shelf and then both sides =12
I did want it to be sturdy and level so it had to be squared and you can see the pencil marks here. 2 screws for each shelf and then both sides =12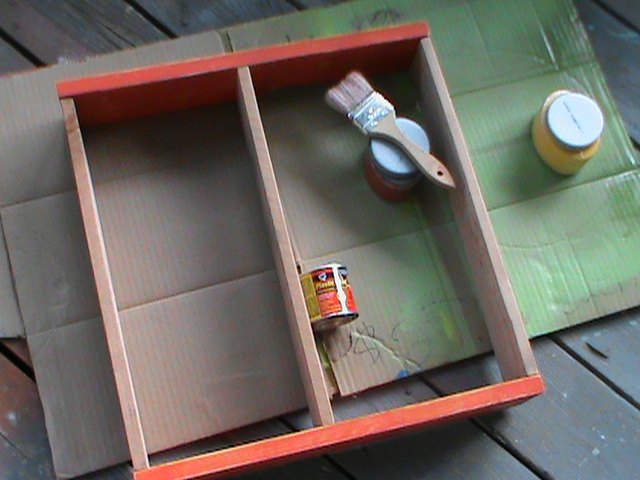
Now all that needs to be done is painting. Oh, I did use wood putty on some holes in the orange pieces of wood because of the earlier project they were used in.
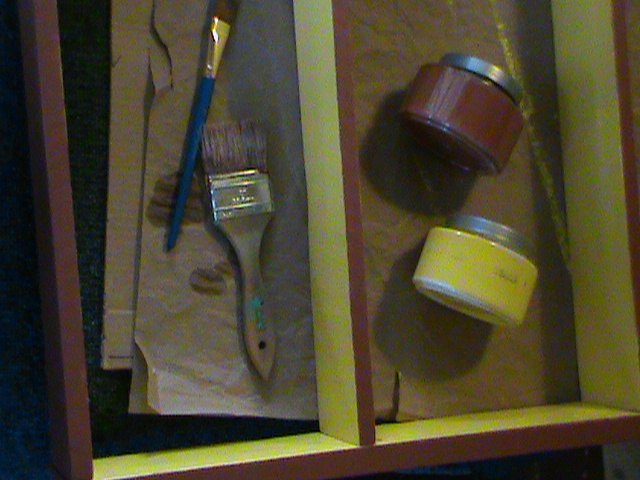
I decided on the colors. I trying to bring more color into my very brown/neutral living area, yellow is pretty and looks great with brown!
I didn't put any hangers on the back just 2 nails in the wall. All finished!! Total time 45 minutes with drying time and on the wall it goes!
with drying time and on the wall it goes!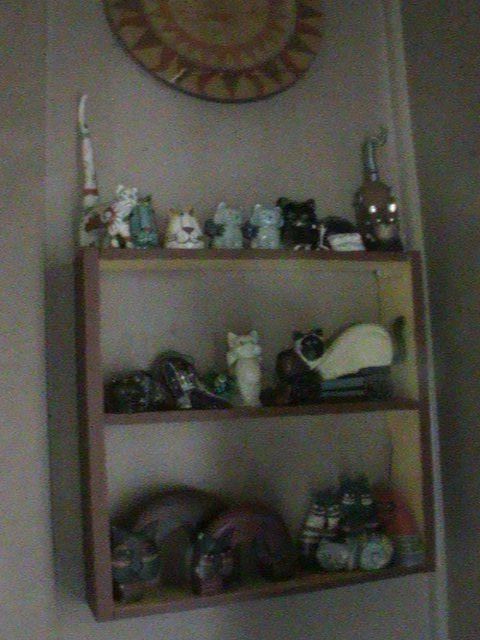
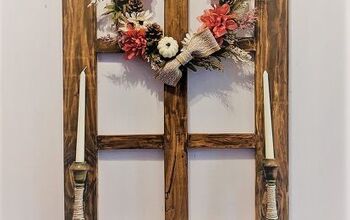
This is the shelf, with little kitty collectables, hanging on the wall. I have another curio cabinet with larger kitty collectables and they were over shadowing the little ones but not now they have their own place.
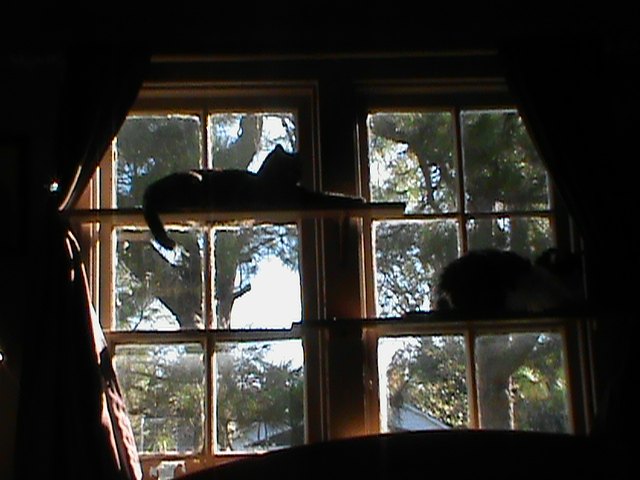
I was trying to get a picture of the real kitties but they just wouldn't pose for the camera. They love sitting in the window so I made shelves for them too!
All comments are welcomed! Thanks for looking!
 out people!
Comments
Join the conversation
3 of 5 comments
-
I'm making $96 an hour working from home. I was shocked when my neighbour told me she was averaging $120 but I see how it works now. I feel so much freedom now that I'm my own boss.. Go this site and start your work.. Good luck... http://www.Jobzon3.com
-
Exactly what I was looking for!! Interestingly, it’s for the same exact reason,my Kitty collection has now surpassed my Volkswagen,and my Penguin collections(tho many of those were sadly lost in a house fire).


Frequently asked questions
Have a question about this project?