


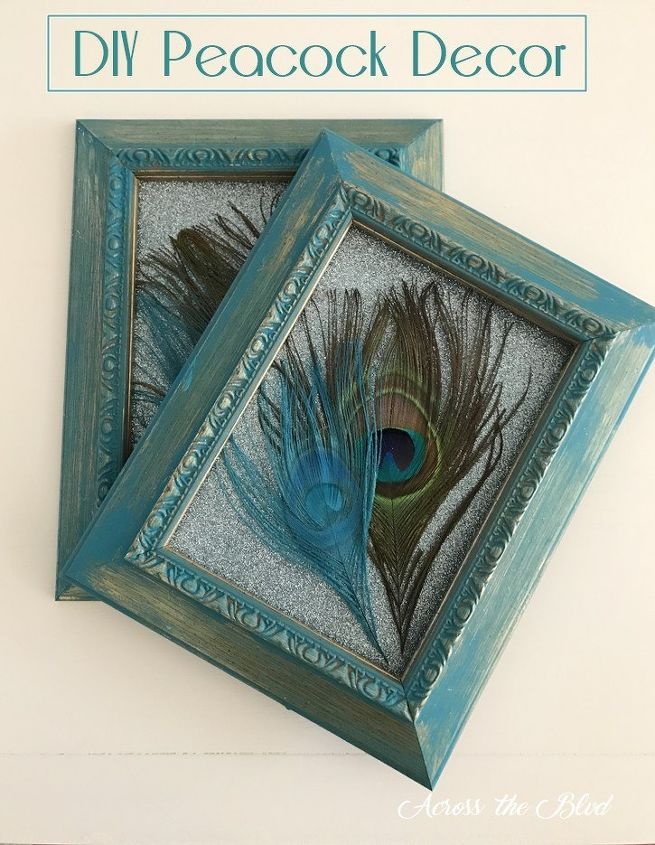
Simple DIY Peacock Decor
4 Materials
$4
30 Minutes
Easy
While I’m giving a face lift to my office/craft room, I’ve been looking for ways to include budget friendly decor pieces. Using a couple of old frames and some peacock feathers, I created two pieces of wall art that will go well with the theme of the room. This Simple DIY Peacock Decor was quick and easy to put together.

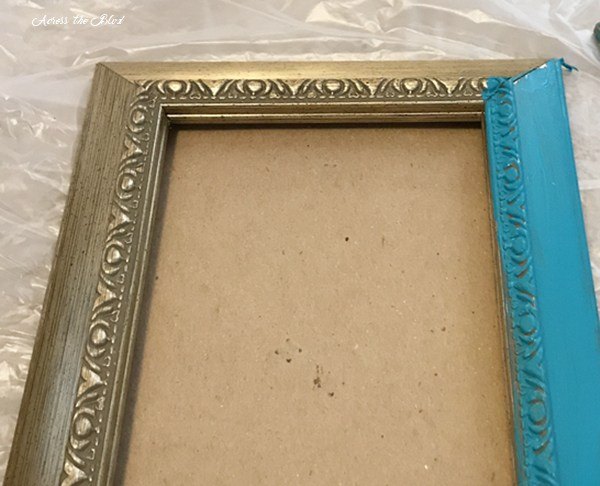
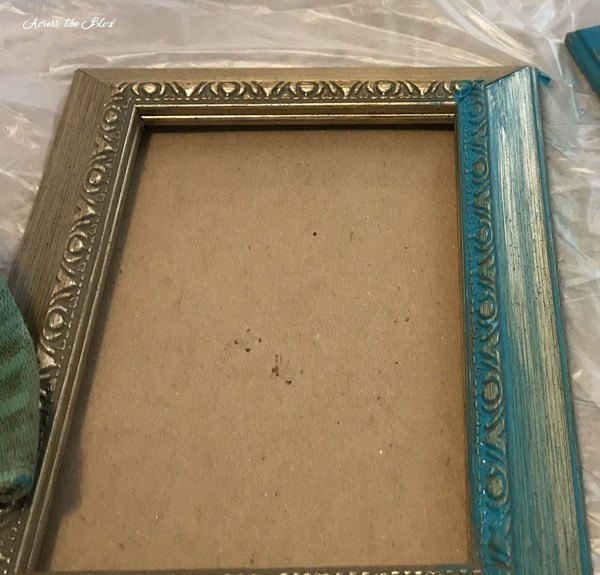
I removed the glass from the frames because I want these to be open frames. I used Waverly Chalk Paint in Peacock. I brushed it on one side of the frame at a time.
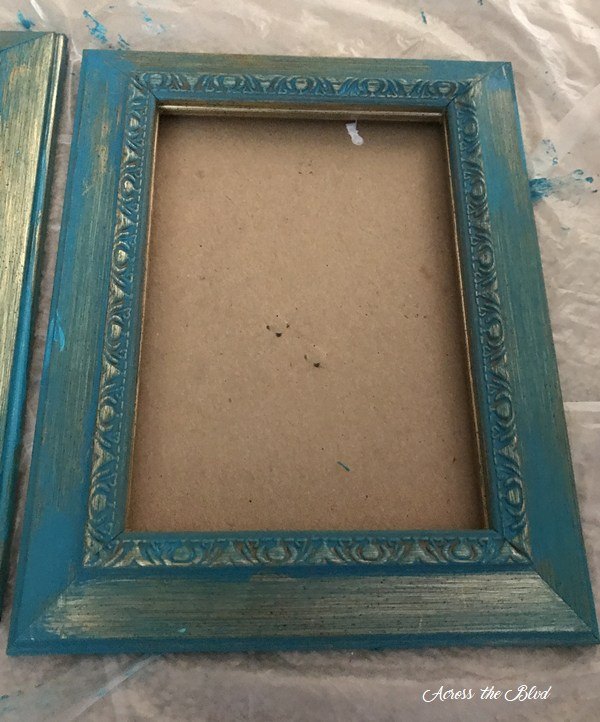
To get the look I wanted, I used a lint free cloth to wipe away some of the paint, allowing some of the gold to show through.
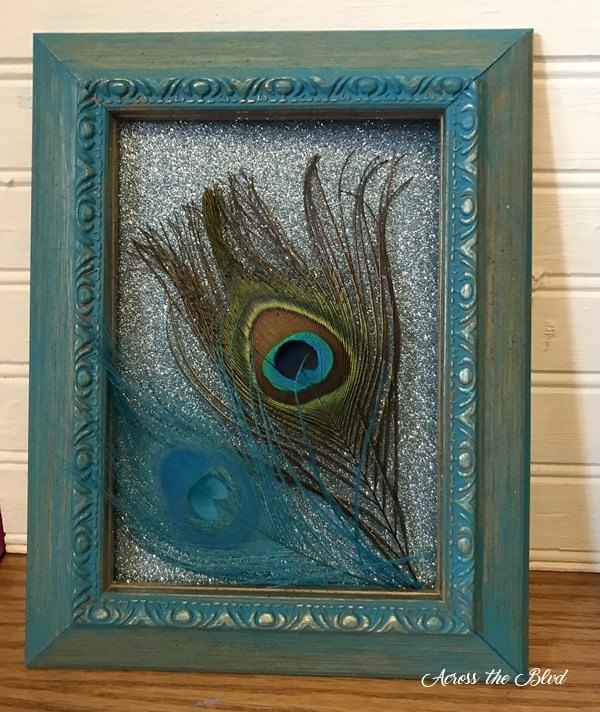
After I finished painting and wiping away paint, I liked the look of the frames.
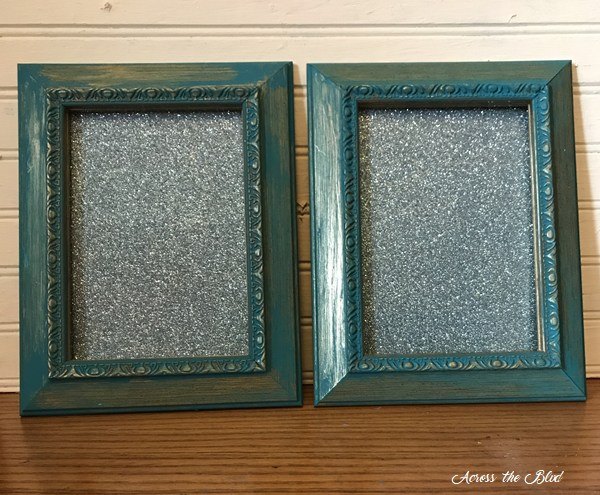
To add a little sparkle to the frames, I cut a sheet of card stock to size and used it as backing for each frame.
The finishing touch was to add a couple of peacock feathers to each frame. I positioned them the way I wanted and then lifted them up to add a small line of hot glue to hold them in place.
Using old frames for new decor pieces is a simple way to coordinate the look of any room. Instead of peacock feathers, any item that reflects the overall decor of a room could be used in the frames.
To see more, please visit the link below.

Want more details about this and other DIY projects? Check out my blog post!
Comments
Join the conversation
3 of 9 comments
-
Just need feathers. Can't wait to do this! Thanks
-
This is beautiful & classy looking. I just love anything peacock & many picture frame crafts.
TFS! I'll be making this 💜💙💚


Frequently asked questions
Have a question about this project?
Beautiful! Did you dip the blue one in paint?