


Kitchen Cabinet Makeover

by
Mary Dorsey
6 Materials
$175
7 Days
Medium
I was tired of this dark and out dated kitchen and green counter tops. I decided to tackle redoing it myself. It was a job, don't get me wrong, but it was worth every minute. My friend, Sammie, was a life saver on laying the tile and cutting it. That was my first experience in doing so, therefore I learned a lot from her. When we bought this house in 2011 I knew that changing this kitchen would be a must, just didn't know when I would have the extra money or time to get it done.
- This is what you'll need: Bead board , Tile (3 boxes) , Paint ,Grout , Polycrylic, and a Light Fixture
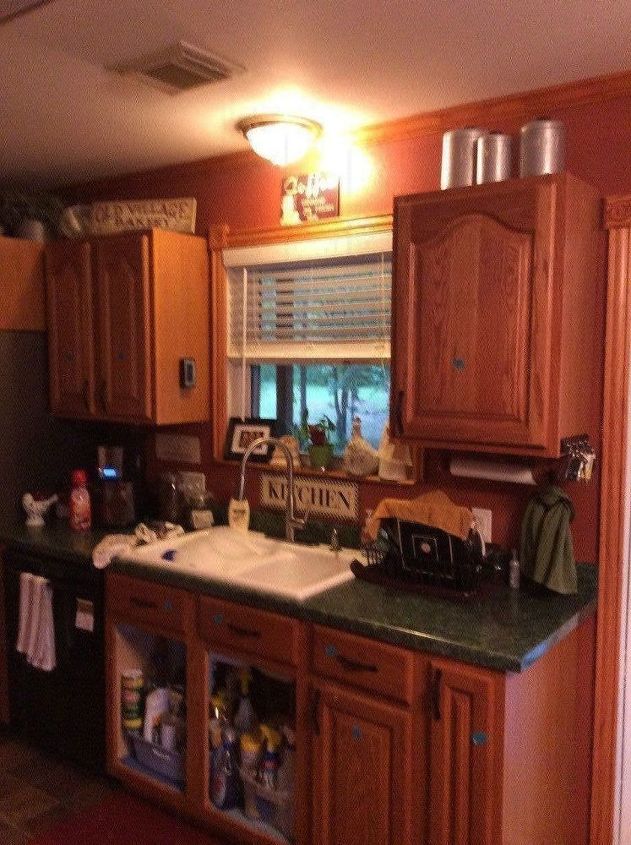
This was when I started. I put painters tape on each cabinet door and each drawer facing. I removed all the hardwear and cleaned it very well. This is one side of the kitchen.
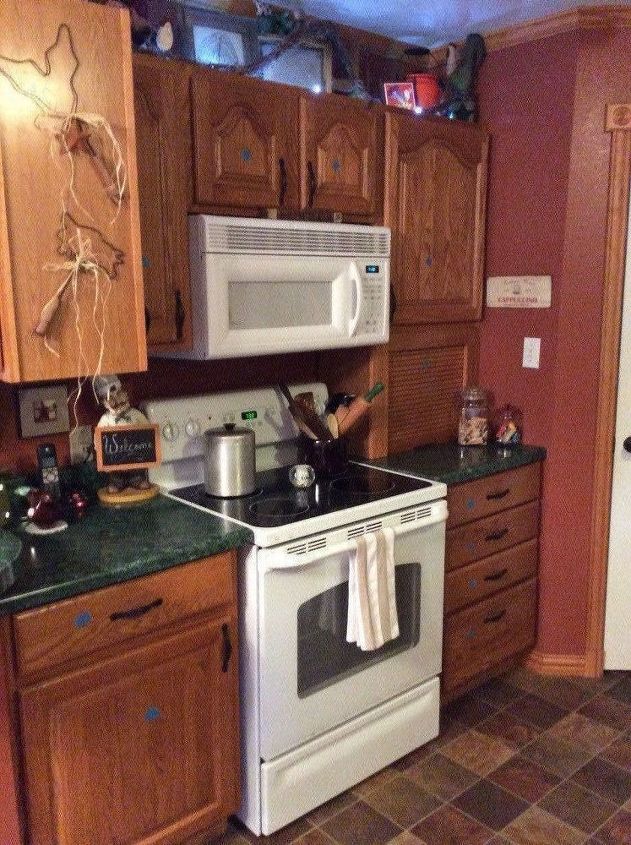
This is the other side. Dark and boring. Notice in this photo, there was a built in bread box, or some sort of something that took space up on the counter, which I removed.
I had to klitz everything because it was so dark.

If you notice in this photo, there is a black dishwasher, which I removed. I have never used it once since I moved in this house. My personal opinion is they are twice the work as just washing and putting them away yourself and not having to come back later and unload them with chances some are still not as clean as I prefer them.

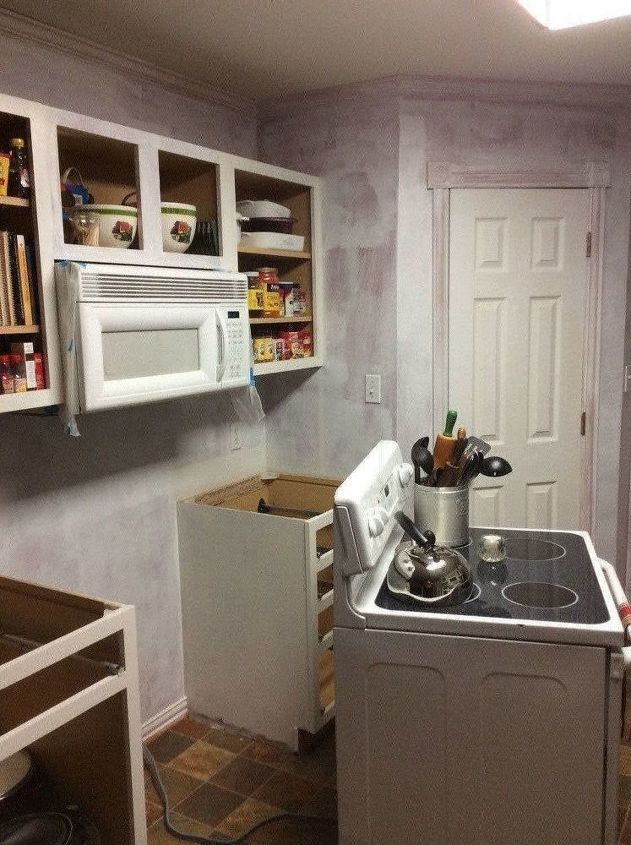
This is when we, or should I say Sammie, started laying the tile. I bought the boxes (3) of tile from a small town wholesale place for $30.00. They were $10.00 a box. That was a still I must say!! I was painting the cabinet doors in the shop, which normally took place late in the evening. Once everything, as far as cabinets and drawer facings were painted, I coated them all twice with polycrylic satin.
This is the cabinet I put in where the dishwasher was. It was hanging above my bar and served no purpose. It was a perfect fit.
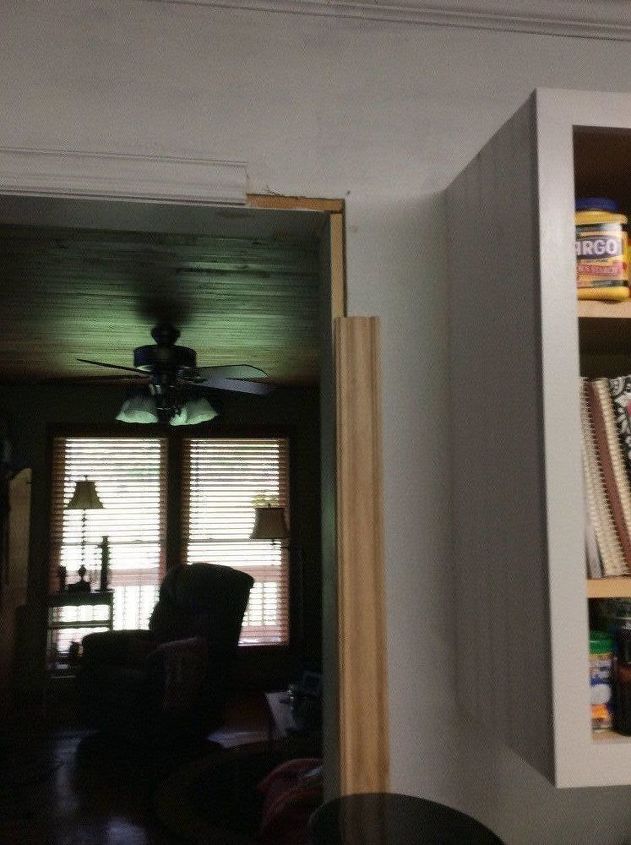
This area right here is where I had removed the cabinet that hung above my bar that I put in place of my dishwasher.
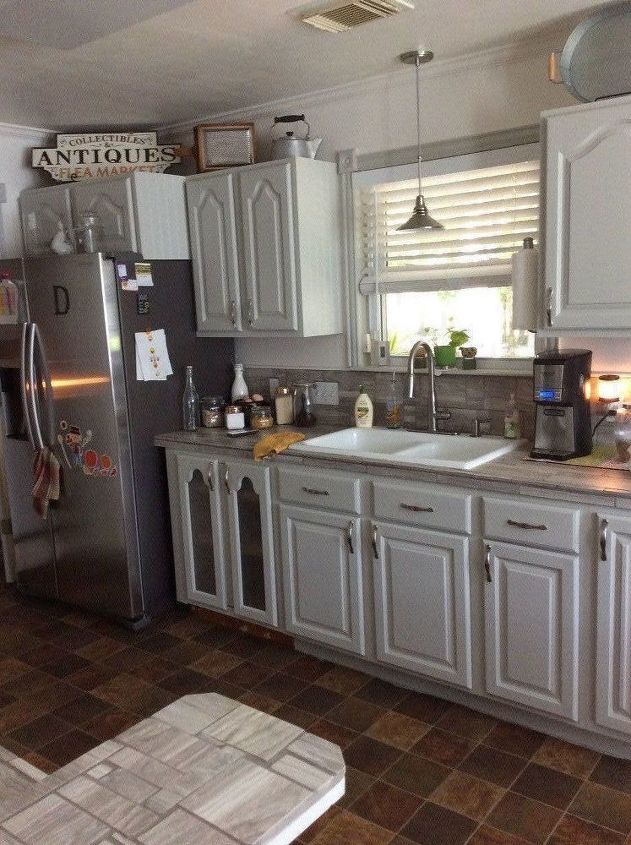
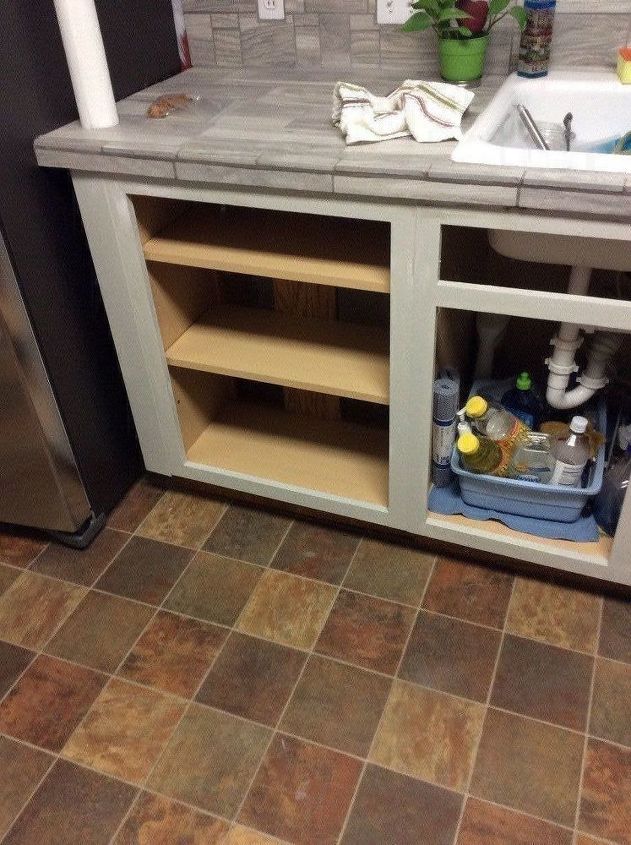
Here is the final results on the window side of the kitchen. Notice where the dishwasher was, it is my old cabinet that hung above my bar. Also, the old fashion light fixture was replaced with the hanging light which I bought at Home Depot on clearance for $12 dollars. Was a still.
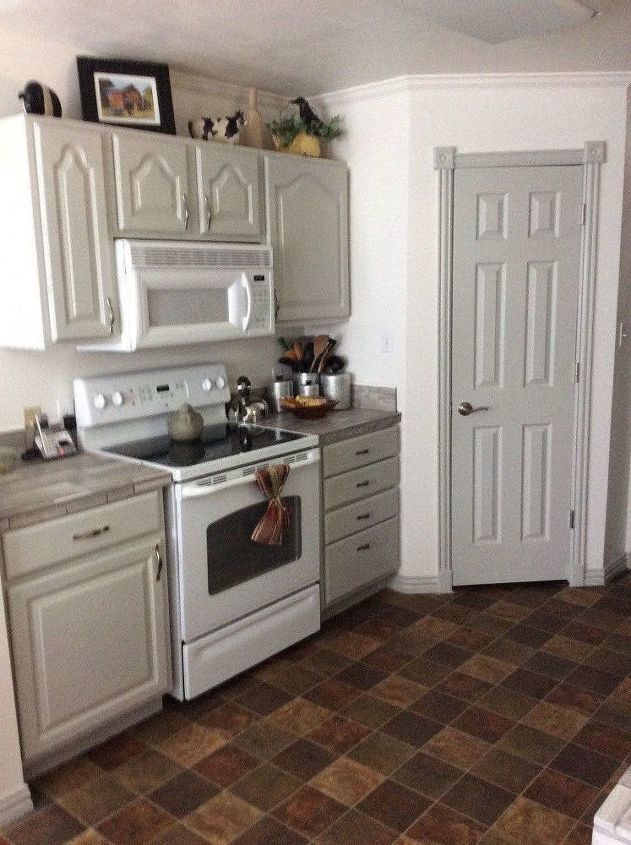
This is the other side. I took the time to place bead boarding on the end of each cabinet and under the bar area which is not shown in the photos. I'm now pushing forward to getting the floors done. I'll upload photos of the floor whenI get them done, however I'm not sure when it will be, but hopefully soon.
Comments
Join the conversation
3 of 129 comments
-
The word should be steal not still
-
It turned out so nice. I love it. Amazing what a lighter color will do.


Frequently asked questions
Have a question about this project?
Did you seal the tile? I worry about germs and yuck getting into the grout?
Was the tile laid over the existing counter top?
The bar area, where you took out the cabinet to use where the dishwasher was, has an opening to another room. Did you tear out this wall the cabinet came from? Looks like you had to add baseboard piece to the pass through wall edge. Can you go over this part and show a picture? You did a really great job it looks so professional. Thanks for sharing.
Everything looks really nice Mary. I just had a question. Dis you paint the cabinets white or light Gray? They just look different than the walls! Again, you did a beautiful job.