


BEER CAP SERVING TRAY

8 Materials
$18
3 Days
Easy
One day I stopped to visit my brother. He was in the process of cleaning out a junk drawer in his kitchen. He came across all of these beer bottle caps he had saved.
Since I like creating things out of miscellaneous junk he asked if I wanted the beer caps. At first I said no but quickly changed my mind. I'm so glad I did. My brother was building a bar in his basement. I thought why not make something out of the beer caps for his bar. I didnt have enough to do a big project but enough to make something small. Then I decided to make the first thing that came into my head. A serving tray.
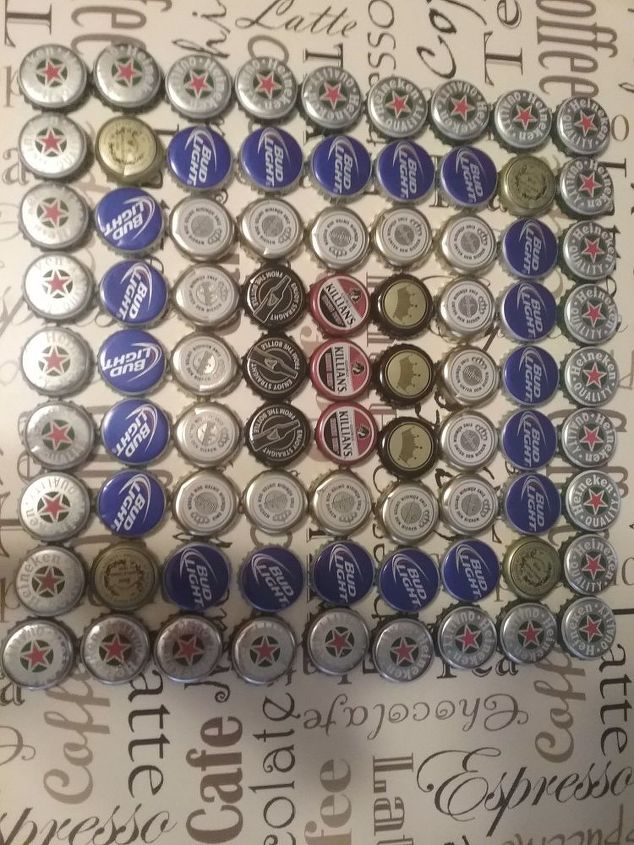
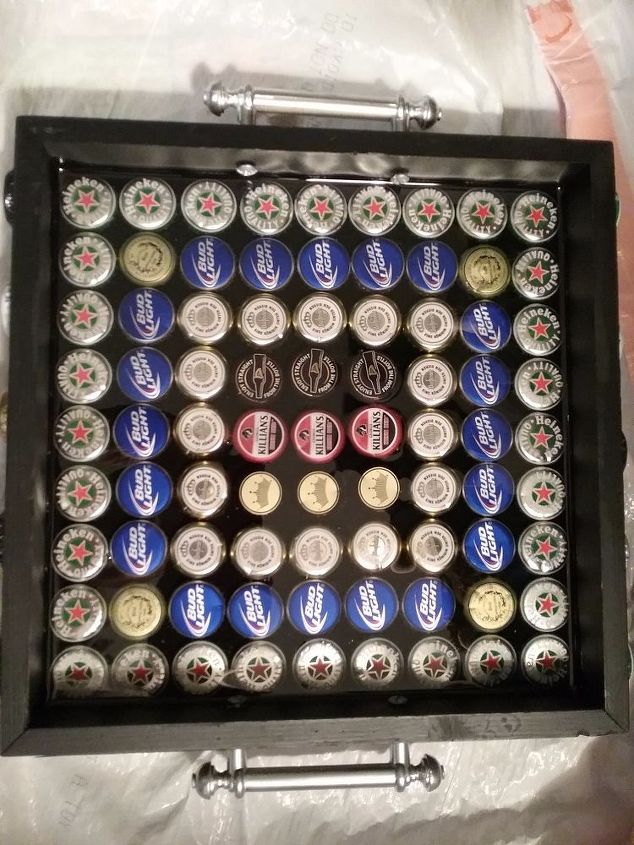
I arranged the caps in a pattern.
I layed out the caps to see how large of an area they would cover. Also to figure out a pattern. I then went to RedRacks to find a tray to use. I came across this red square wooden box for $2.99 but I got it for fifty cents. That day if the price tag was white it was only fifty cents.
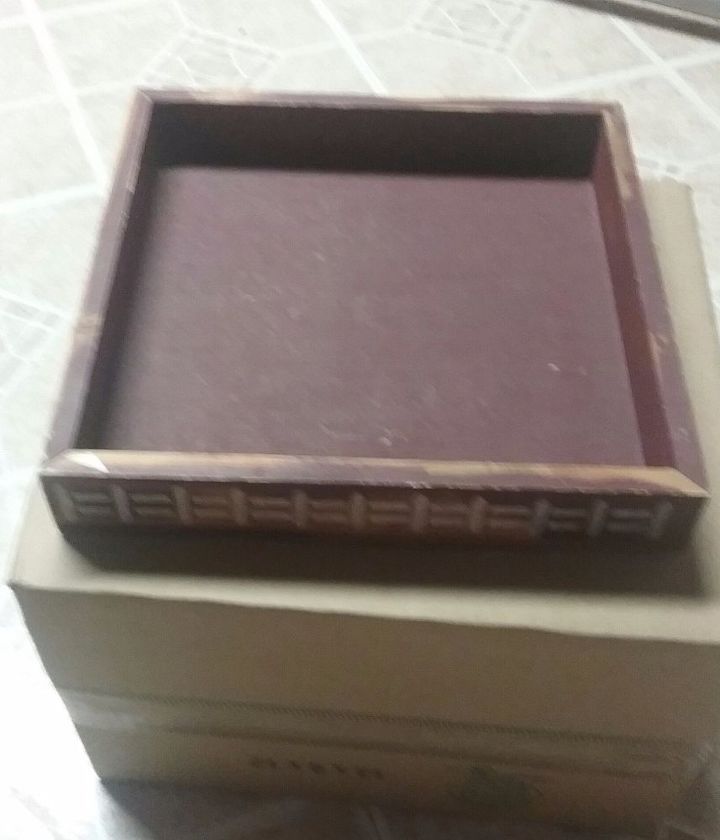
What a steal. Fifty cents!
I took it home and cleaned it up. I then spray painted it black.
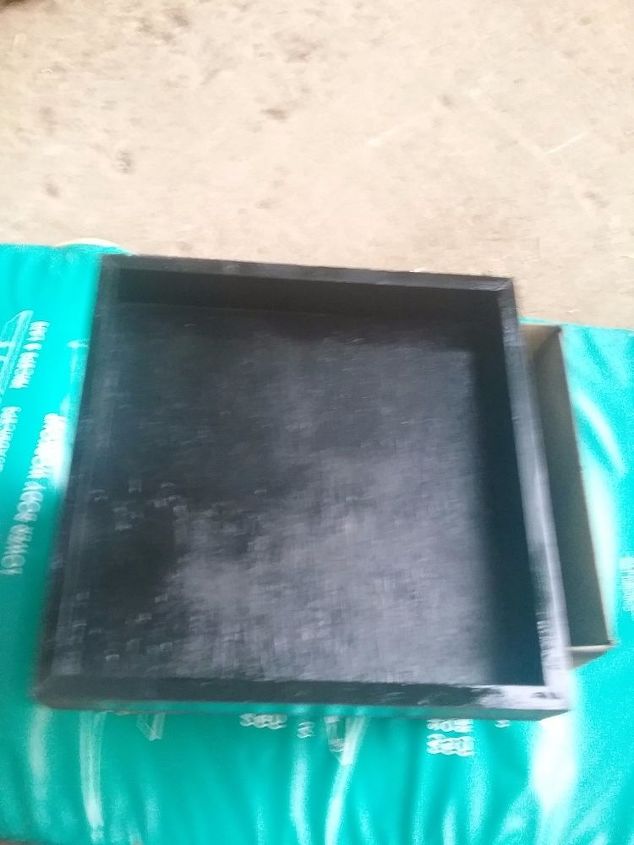
Freshly painted tray.
I started placing the caps on the tray in a pattern. And also on two of the outer sides of the tray.

I had to bend the edges of the caps with pliers to make them fit when they were a bit too big to fit in the row. I then glued them down with hot glue.
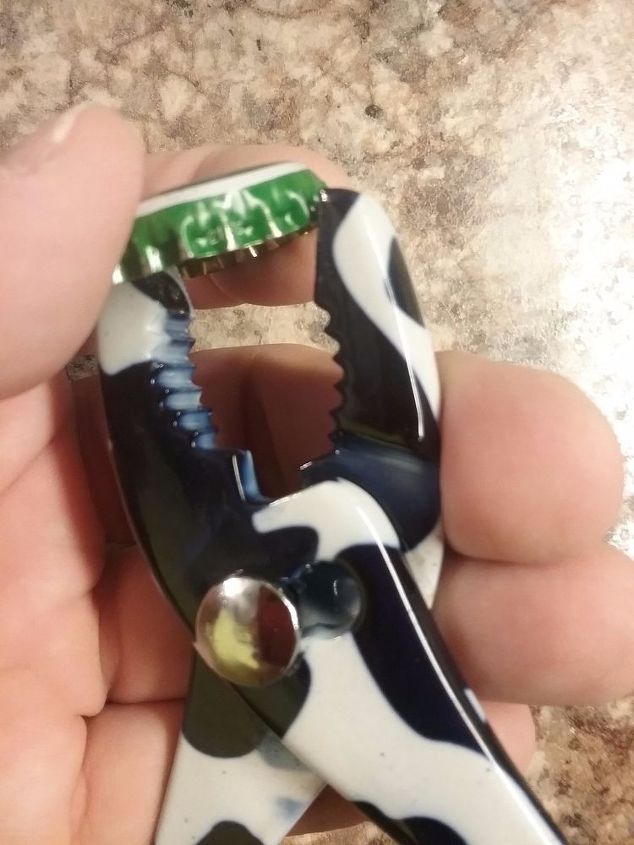
Bending the caps with pliers.
I found drawer handles at my local ReStore. Every day price of 2 for $1.00. I didn't like the color of the handles so I spray painted them silver.
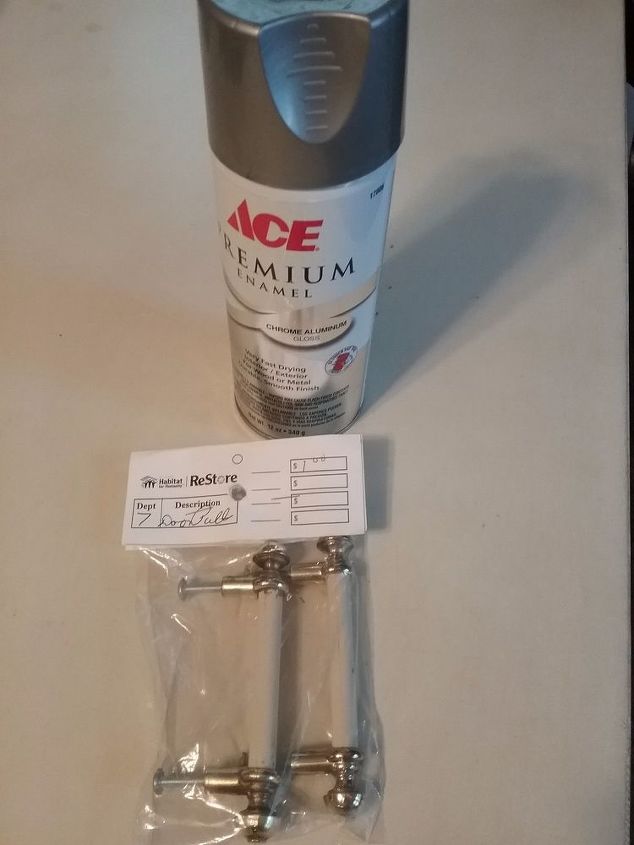
My cheap drawer handles from the ReStore.
I attached the drawer handles to the tray after the paint was good and dry.
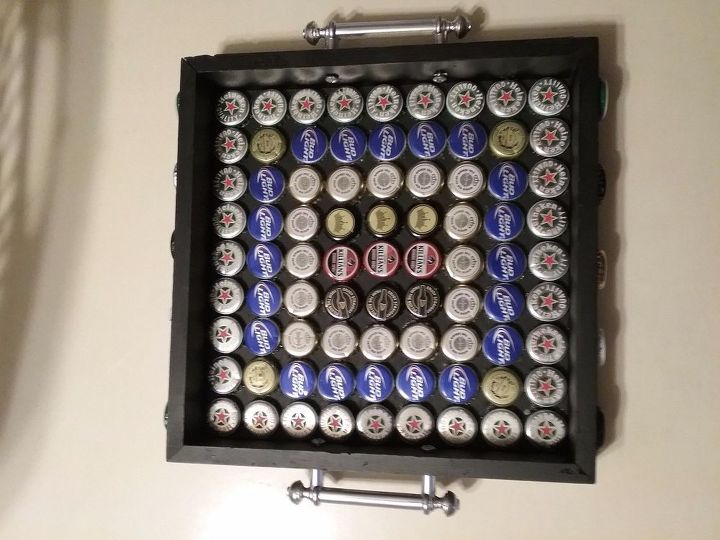
My tray after attaching the drawer handles.
I bought epoxy from HobbyLobby to pour over the caps so the surface would be level.
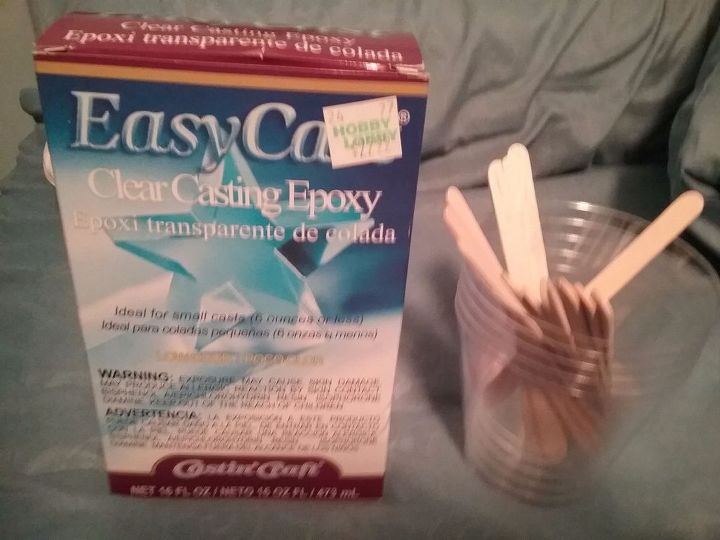
Clear Casting Epoxy to cover caps.
It is Very Important to read all of the instructions before mixing the Epoxy. You can only mix 6 ounces at a time. That was not enough to cover the tops of the caps. So I had to mix a second 6 ounce batch. I poured the Epoxy over the caps. And then a problem I did not forsee happened. The epoxy began seeping from the seams of the tray. I quickly put a plastic bag under it. And then sat it on an old towel. I didn't want the Epoxy to get on anything. The hardest step for me was waiting for the epoxy to harden. I crossed my fingers in hope that all of the epoxy would not seep out.
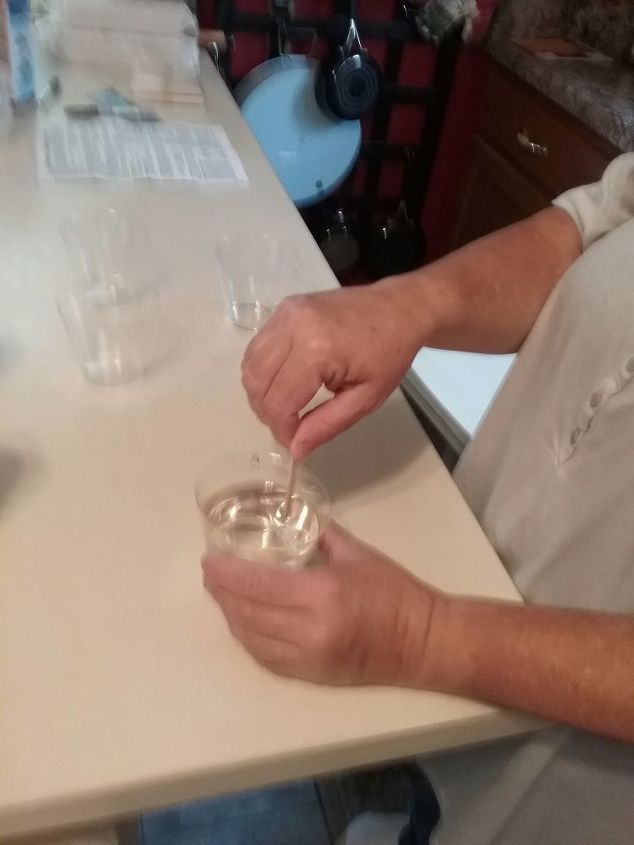
Mixing the epoxy.
After pouring the Epoxy over caps.
Once it hardened completely I cut off the hardened epoxy that seeped out of the tray.
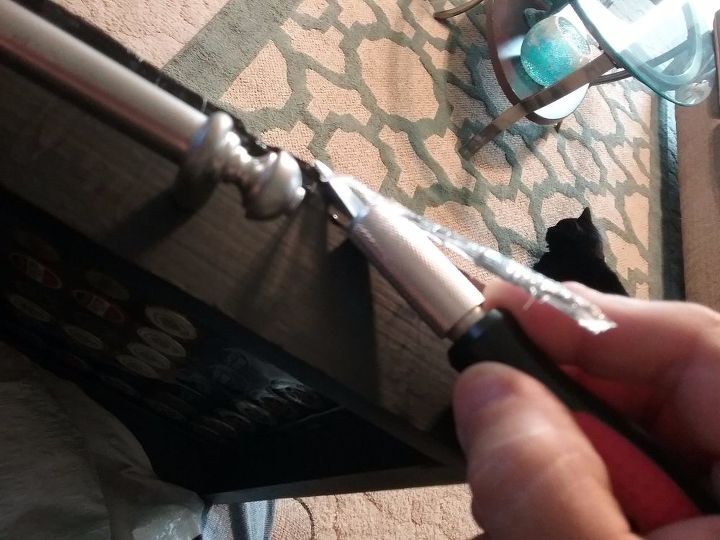
Cutting off the hardend Epoxy that seeped out
I had to touch up the paint where I pulled off the Epoxy. Time to assessorise. A fancy glass and four coasters painted black was all it needed.
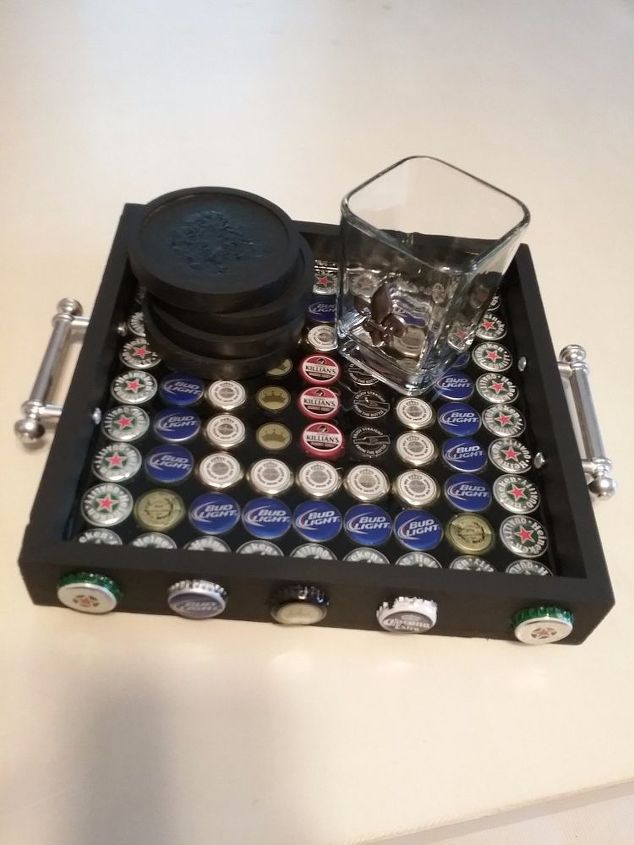
All done!
I was so excited to give it to my brother. He loved it! Now my sister wants me to make her one. I told her to drink up.
Resources for this project:
See all materials


Any price and availability information displayed on [relevant Amazon Site(s), as applicable] at the time of purchase will apply to the purchase of this product.
Hometalk may collect a small share of sales from the links on this page.More info
Comments
Join the conversation
2 of 5 comments
-
I have been saving Beer Bottle Caps for years ...didn't know what I was going to use them for but now I think I found my next project ....thanks for posting this awesome idea !!! I LOVE IT !!!
-
wow loved it gonna try it


Frequently asked questions
Have a question about this project?
Is the tray surface smooth or does the epoxy dry wavy?