


Autumn Wreath

5 Materials
$10
1 Hour
Easy
This is part Two of my first attempt at making Autumn Decor. I had fun doing this, as well as learning a few things along the way.
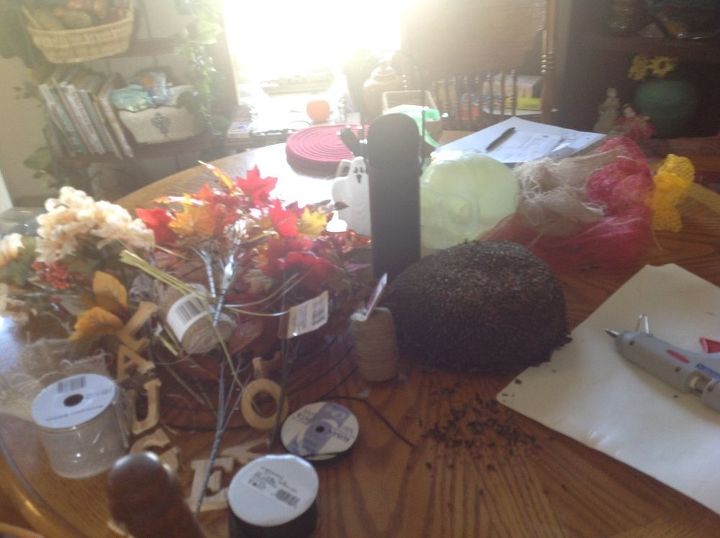
Assortment of supplies
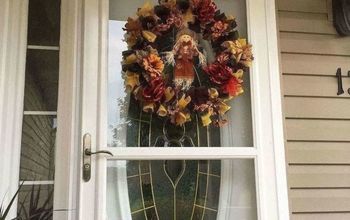
I started out gathering all the materials I thought I would need to create a Fall wreath for my door as well as a cute outdoor feeder for the birds. Ms. Susie Sunshine's progress is on my first post and I made her first before I started on the wreath. I really had no idea how to go about this, but had seen other projects that helped me formulate my own design. I took my wire cutters and cut each little bouquet into separate stems, to facilitate placing them where I felt they would look best.
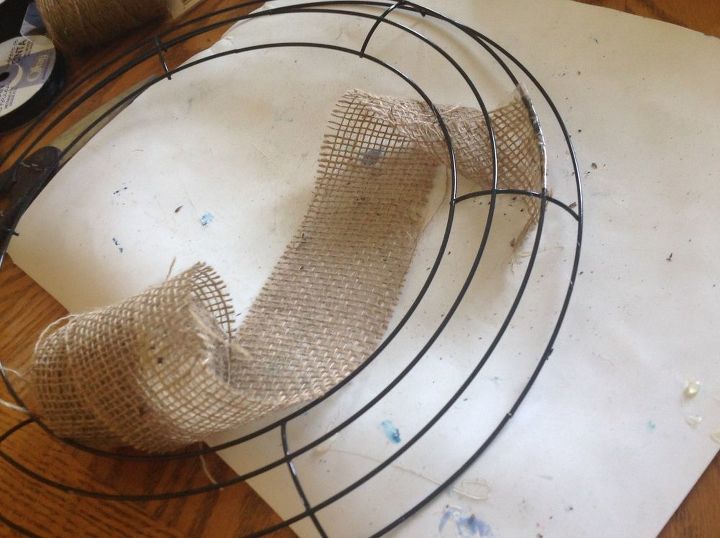
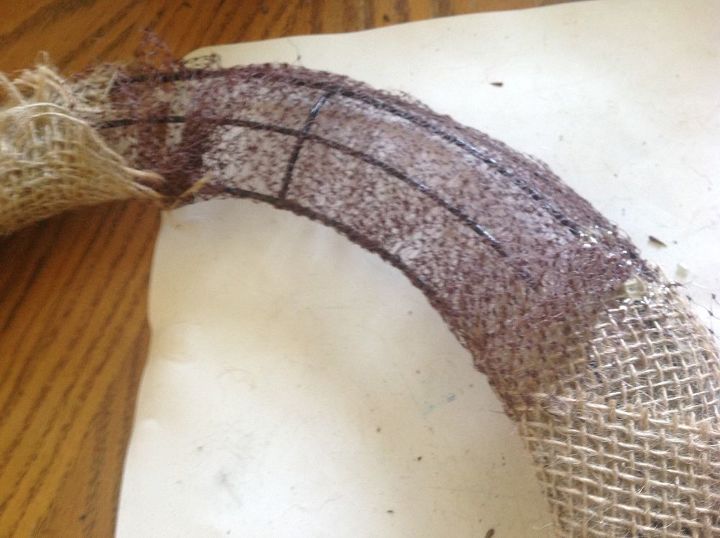
OK.. how do I get this started?
I thought this wire wreath thing would be sturdier then those green foam florist wreath molds. But, then I looked at it and wondered "How on earth am I going to get the flowers and leaves, etc to stay in place? ". Then I recalled seeing a wreath that someone wrapped the burlap around, and I happened to have the burlap Ribbon from an earlier purchase, and it was loose weaved enough that I could poke my trimmed floral items into. So, then I puzzled over how to start? There was a bit of tape at the beginning of the ribbon, so I put some hot glue on the wire, wrapped the edge of the ribbon around it, using the tape to help me hold it in place. I suppose in afterthought, I could have use a straight pin, and saved the tip of my fingers from getting burned.
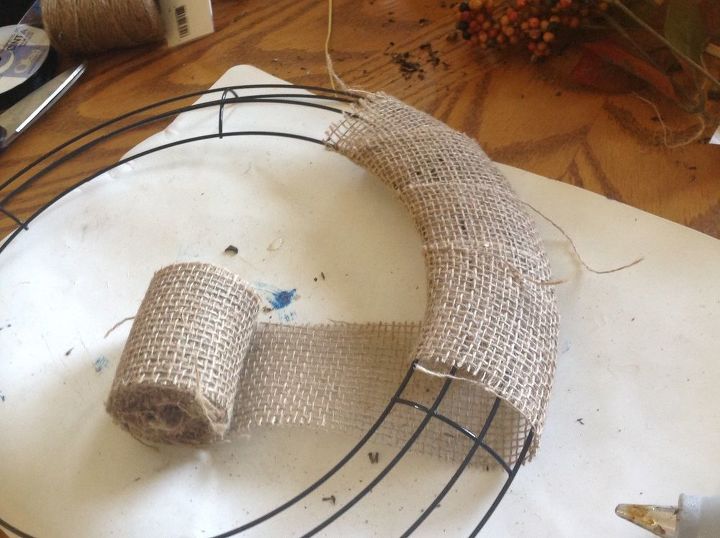
Easy Peasey
Once I got started, it was easy to just wrap the ribbon around the frame of the wreath. Sorta like wrapping an ace bandage around a twisted ankle. Just wind it around the frame, slightly overlapping as you move the ribbon over to cover the whole frame. Unless.....
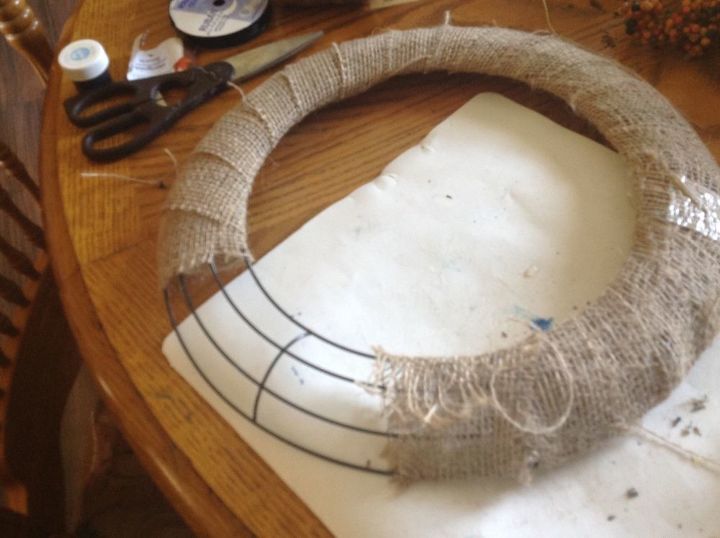
Oh No! Not enough Burlap Ribbon!
As the prompt says, what did you do next? I literally came to the end of my rope, um Burlap Ribbon! Wracking my brain as to what to do, like should I run over to the nearest Dollar General and see if they have any? I really did not feel like running around looking for more stuff! So, I think it through as to what can I substitute and be sure to cover this section up, so no one knows th difference....
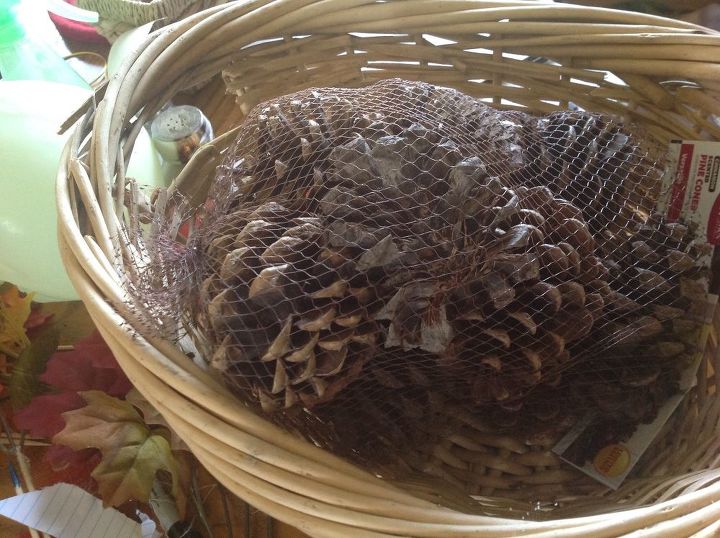
Ah Ha! Looky, netting material!
I spot this netting that the pine cones came in, and quickly cut it off and then into strips. Securing it to a wire, I wrap it around the bare spot. Now I have an area that I can easily poke the floral pieces into.
What would McGyver do? Improvise!
The netting worked out great, and talk about repurposing, oh yeah, I'm good! I just need to make sure this portion is completely covered by the floral pieces. So no one sees the difference.
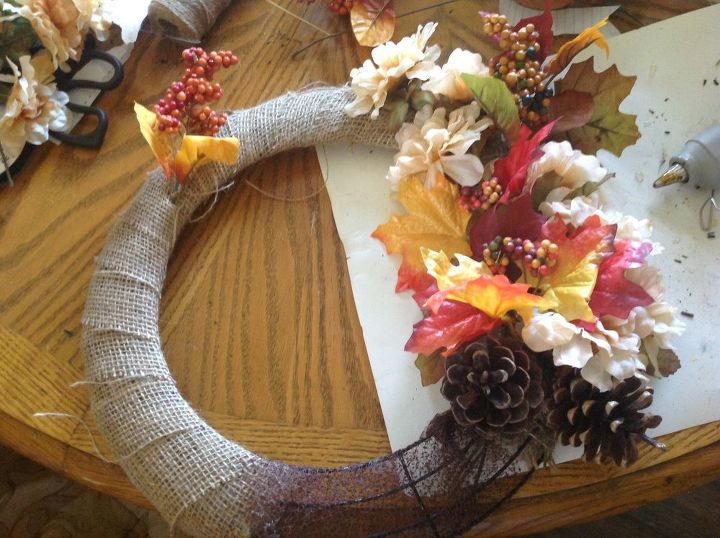
Starting to look like a wreath.
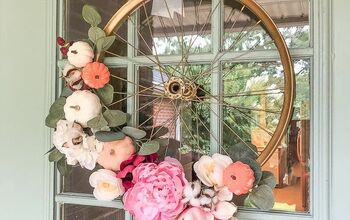
Since I didn't actually have a point that had to be the designated top, I do not know why I did not start closer to the area I had to improvise on. But, as I progressed, I figured out what I could do to stretch out the materials and still make this look good in my eyes. I sort of devied up the flowers and leaves so I could use half of them on one side of the wreath and the other half for the opposite side, filling in what would end up being the bottom of the wreath with pine cones. I started with a flower, and poked the end of the stem through the burlap, trying to not go all the way through to the back side, but pointing downward in the middle space of the burlap. I then chose a leaf, then a flower, removing and changing till I thought the arrangement looked asthetic to the eye. When I got to the area to put the Pine Cones, I applied them to the netting with a good size glob of hot glue, holding it in place as it cooled.
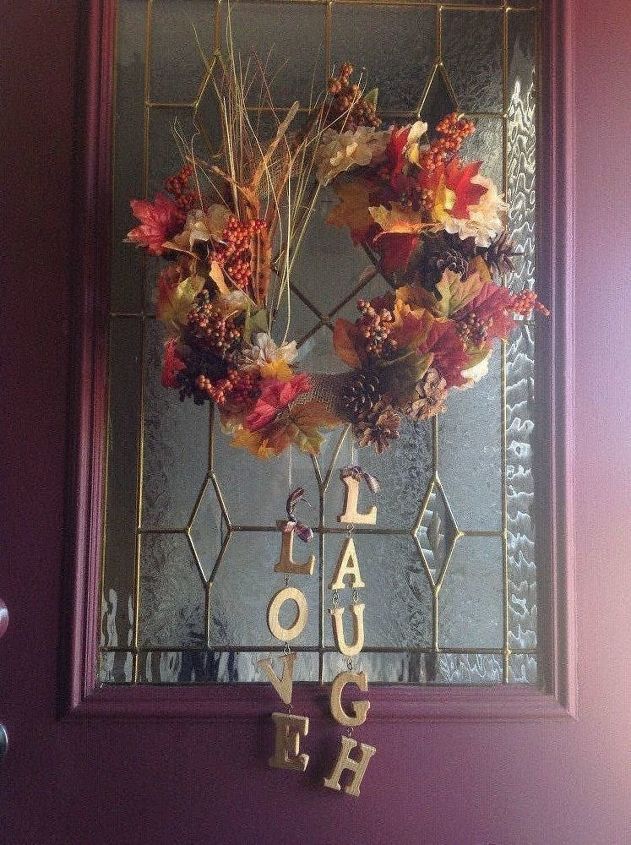
I like it. Not bad for a rookie!
Here is the finished wreath. The hanging words came from an empty apartment that my husband had to clean out. He figured I would find a use for them. Yep, my Hubby knows me well. . My motto is to use what you got if you can. So, I like finding multiple use items, such as cast iron pots which can be used for stove top cooking, baking, frying, camping. Baskets are great for multi purpose, you can use them for decorating and at the same time storage. Repurposing items that you normally dispose of, not only helps to save money, but also improves your brain power as you think of alternate ways to use something. I just love Hometalk, as it is full of these kinds of Ideas which inspires me to get busy doing my own. So far, because of other people sharing their ideas, I have made a jewelry holder from someone's idea for a way to store wasabi tape. I came up with using extendable curtain rods as a way to store some lids for my pots, I have a plan of attack to redo my little garden when I have the extra money to purchase the brick I will need. I made this wreath, and as a result of getting the materials I would use to make it. I came up with Ms Susie Sunshine allmon my own. Let your mind explore all things, let the creative juices flow, and you will soon be improving many parts of your life and feeling good about yourself.
We want to help you DIY, so some of the materials in this post are linked to sellers. Just so you know, Hometalk may collect a small share of sales from the links on this page.
Comments
Join the conversation
4 of 34 comments
-
Picture perfect! 👍🏼👍🏼
-
I love this! I’m not very ‘crafty’ but this one I’m going to try✂️


Frequently asked questions
Have a question about this project?
What did you do
Do you always have so much fun working on projects? I love the wreath, but loved that you made mistakes and showed how you handled them on the spot! That kind of instruction is good for the newbies earning to craft. Thanks for the hunor😉
Why is there a space at the bottom of the wreath that is not covered?