


Hand Made Coasters? What a Fantastic Hostess Gift Idea!

by
Fiona Debell
5 Materials
$10
45 Minutes
Easy
This is the 3rd in my series of Cute Homemade Holiday Gifts.
Finding thoughtful and useful gifts to bring along to a party can be tricky. With Thanksgiving just around the corner and the Holiday Season almost fully upon us I got thinking what would I like to receive?
These HAND FINISHED COASTERS are both pretty and practical - plus they are SUPER simple to make.
I have shown you two options here. Use glitter and glue for a fun sparkle or go a little more seasonal with some decoupage. Either way your host will be delighted!
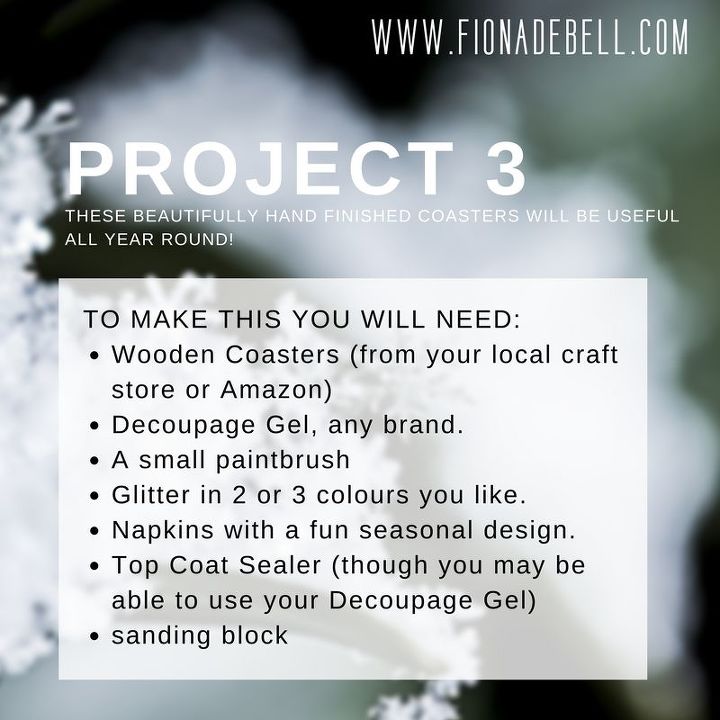
You will need:
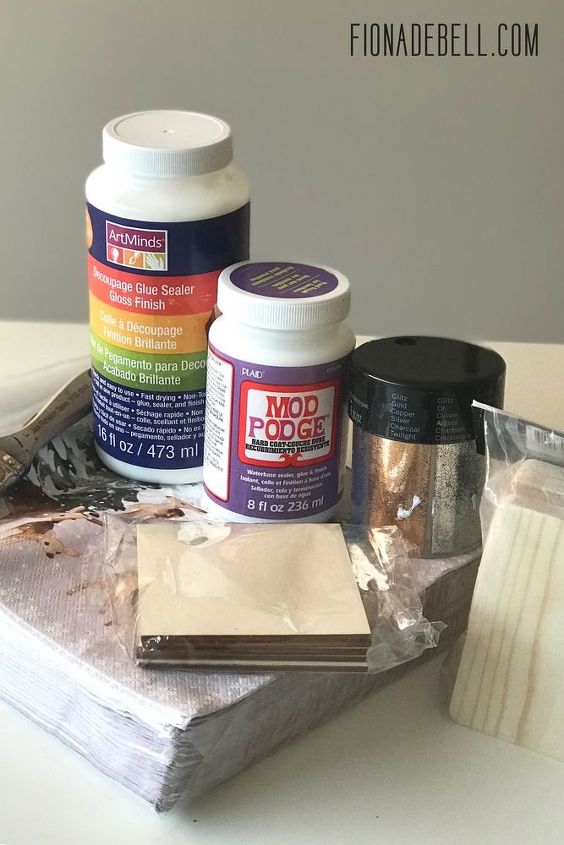
First gather your materials.
- Wooden Coasters (from your local craft store or Amazon)
- Decoupage Gel, any brand.
- A small paintbrush
- Glitter in 2 or 3 colours you like.
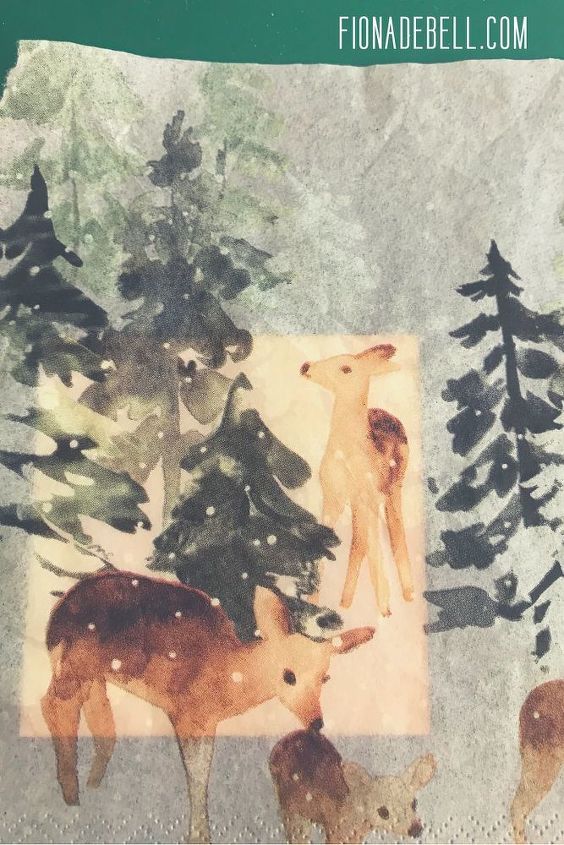
- Napkins with a fun seasonal design.
- Top Coat Sealer (though you may be able to use your Decoupage Gel)
sanding block
I also recommend you have some Kitchen Cling Wrap to hand!
Lets decoupage first!
Fist you need to take your napkins and separate the layers! You will be using the top layer with the print on it.
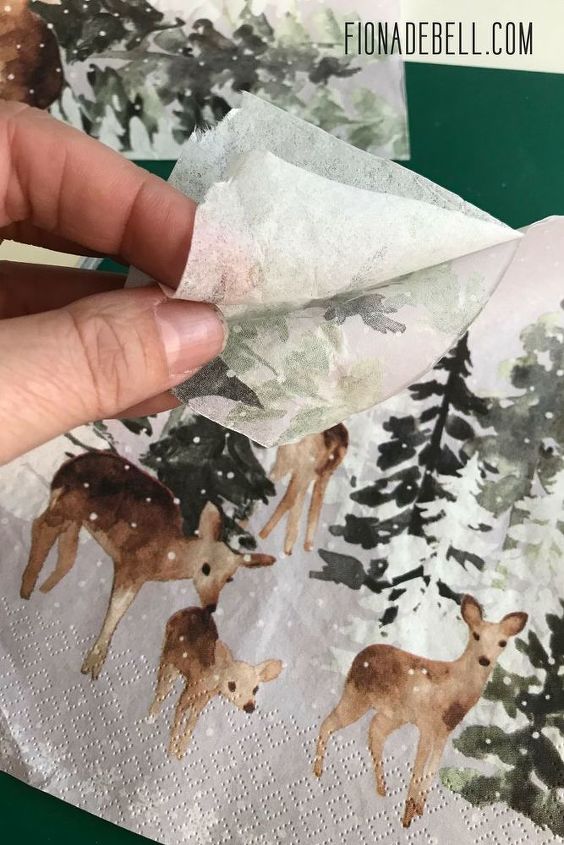
Separate the layers of paper.
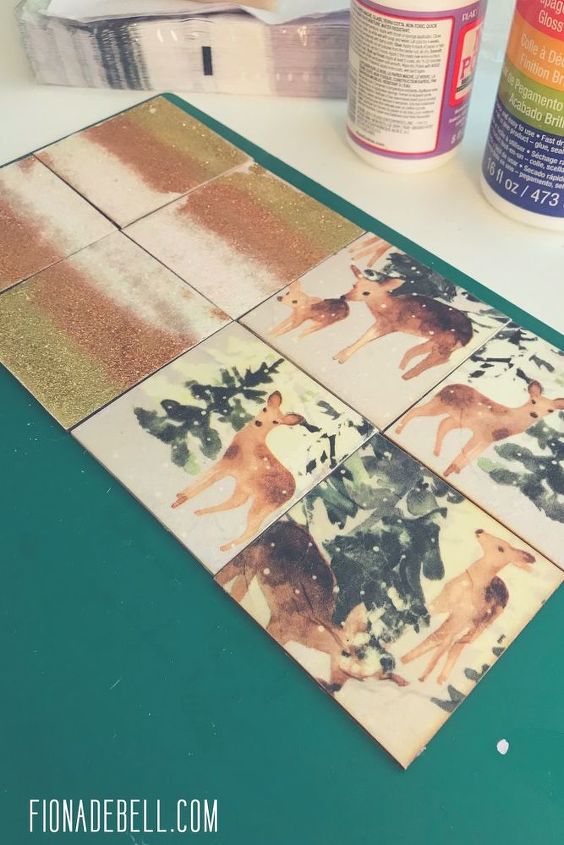
Taking your coasters (you could even use old coasters and give them a coat of paint to cover an old pattern you dislike), simply apply a coat of the Decoupage Gel.
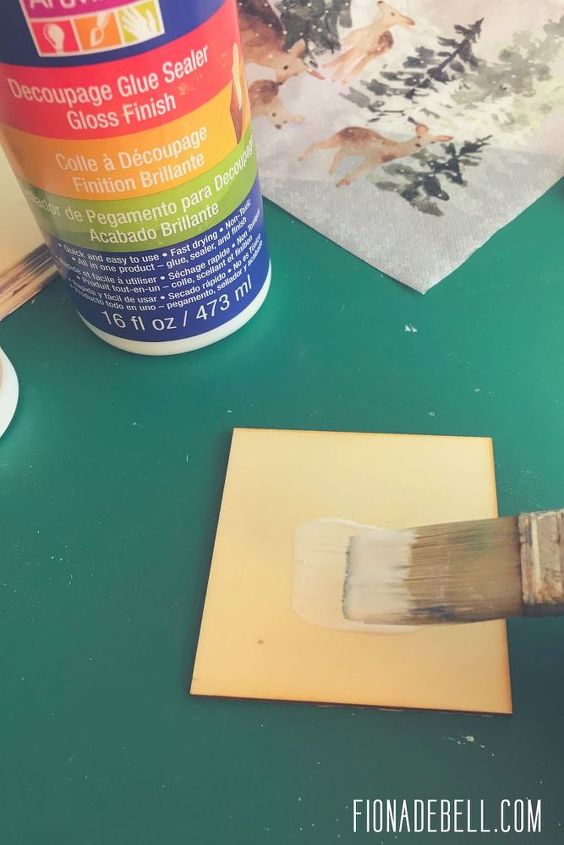
Allow the gel to sit for a few seconds. You then need to take your napkin and 'drop' it into place.
Once in place take some kitchen wrap (cling film), just a little larger than your coaster, and apply a coat of gel directly to the film.
Flip the cling film over (gel side down) onto your coaster.
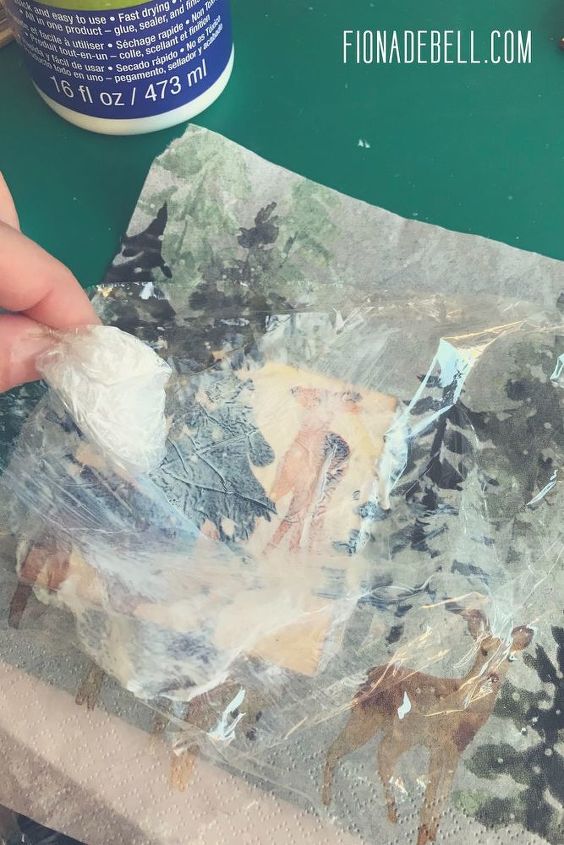
Taking a second piece of Cling Wrap (or film or whatever you want to call it) ball it up and smear a little gel on the end. Smooth out the wrap from the centre to the edge - this allows you to use pressure without tearing your tissue.
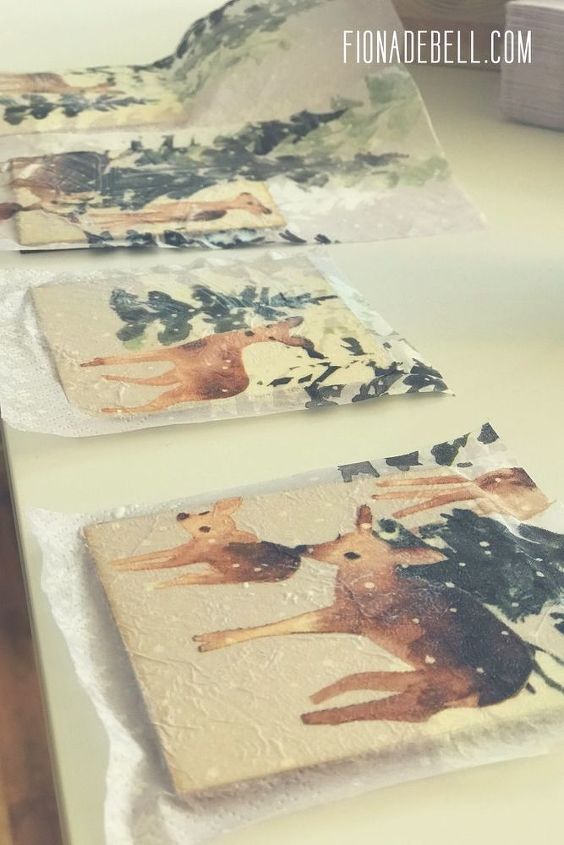
Set to one side to dry.
Whilst they dry, do your GLITTER Coasters - so easy and beautiful!
Take the wooden coasters and apply a coat of Decoupage Gel OR ordinary White Glue.
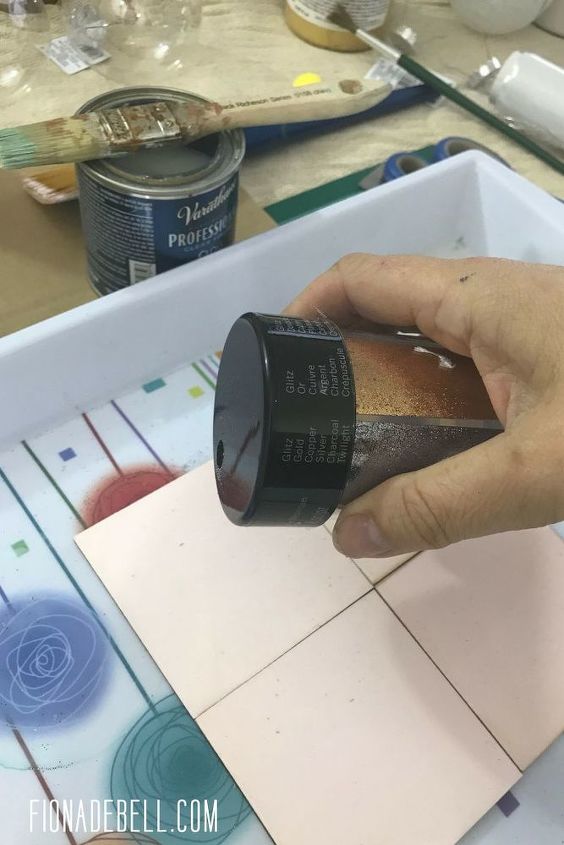
Whilst the glue is still wet (brush the glue on 4 coasters at a time), push the coasters together and sprinkle your glitter in a pattern. You could do any pattern. I like an ombre finish.
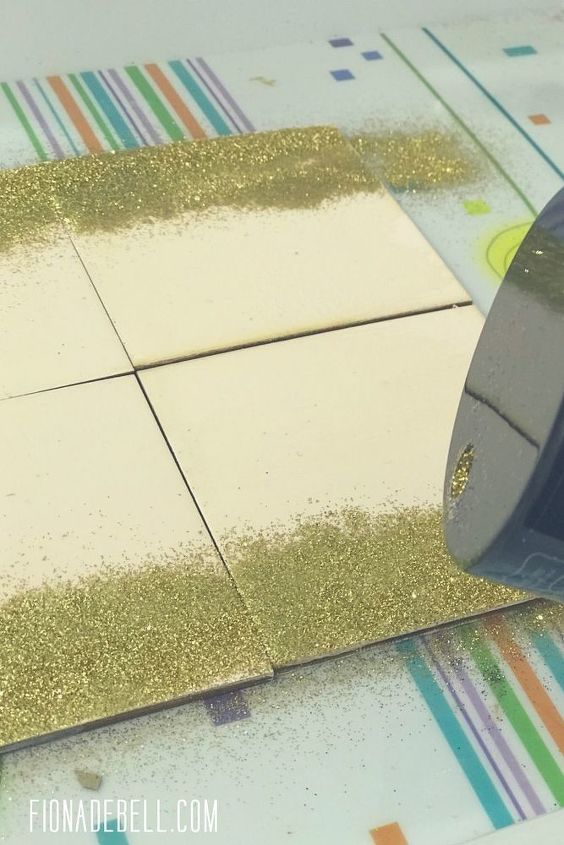
Simply tap the glitter onto your coasters.
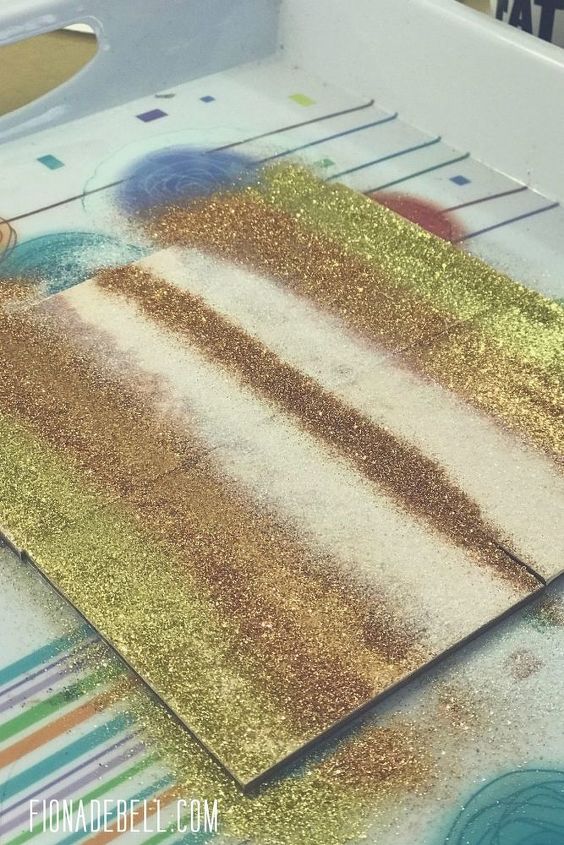
You can choose any colours or patterns you like!
Set the coasters aside to dry. Keep going with different colours.
You can choose any colours or patterns you like!
Set the coasters aside to dry.

Back to our Decoupage...Once the glue has dried you need to sand the edges to get a nice clean finish.
See how straight the line is? Much easier than using scissors or a knife!
The final step is grabbing your Top Coat. You want a Top coat that can withstand heat and will not 'Stick' to the bottom of a warm mug!
Some brands of Decoupage Gel are great for this!
Allow to dry! BINGO! Lovely hostess gifts that will be both appreciated and useful!
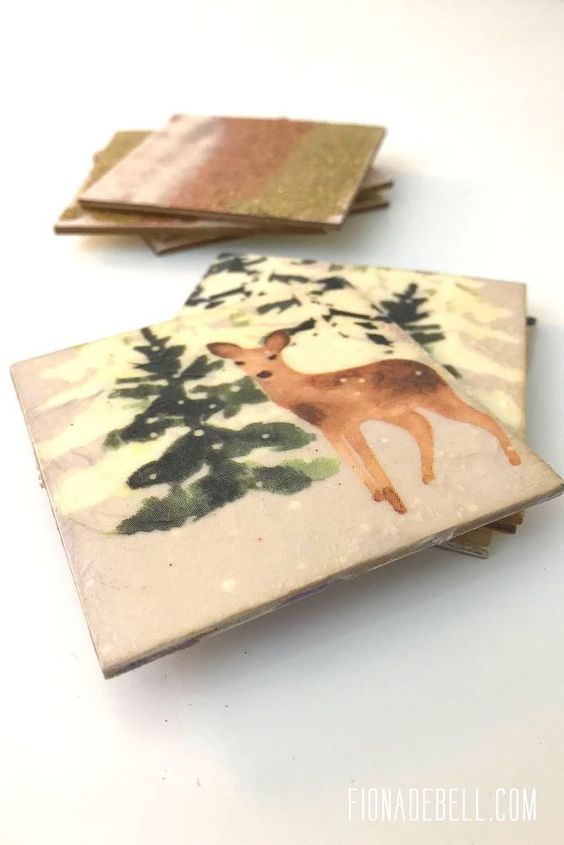
Simple. Stunning. Thoughtful. Handmade. Who wouldn't want to receive such a gift? Maybe add a bottle of wine or some cute mugs?
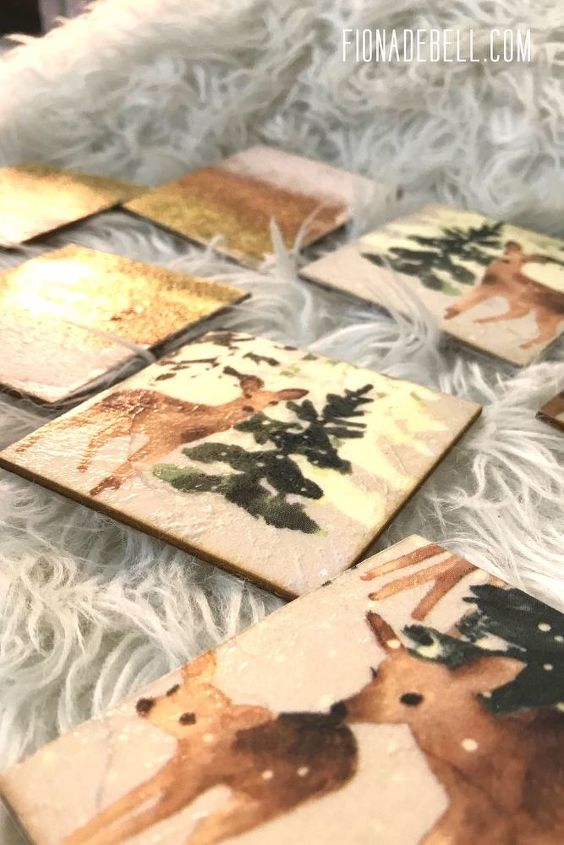
I LOVE mine!
Want more details about this and other DIY projects? Check out my blog post!


Frequently asked questions
Have a question about this project?
Would you do the same way with a picture or a design printed on card stock or would copy paper be better? Would inks bleed when putting mod podge on them?
I would love to try this. Does the coaster still absorb moisture if it is covered in glitter? Thanks for a cute idea.