


Family Vacation Christmas Tree: Postcard Ornaments
4 Materials
$50
4 Hours
Medium
Using copies of vintage postcards, I created a Christmas tree the captures our family’s travel destinations!! All of our favorite vacations and fun ornaments found a home on this special ’road-trip’ down memory lane!!
Choose vintage postcards from vacation destinations. Over the summer I scoured flea markets and antique shows to collect ours. Make color copies. Cut out neatly.
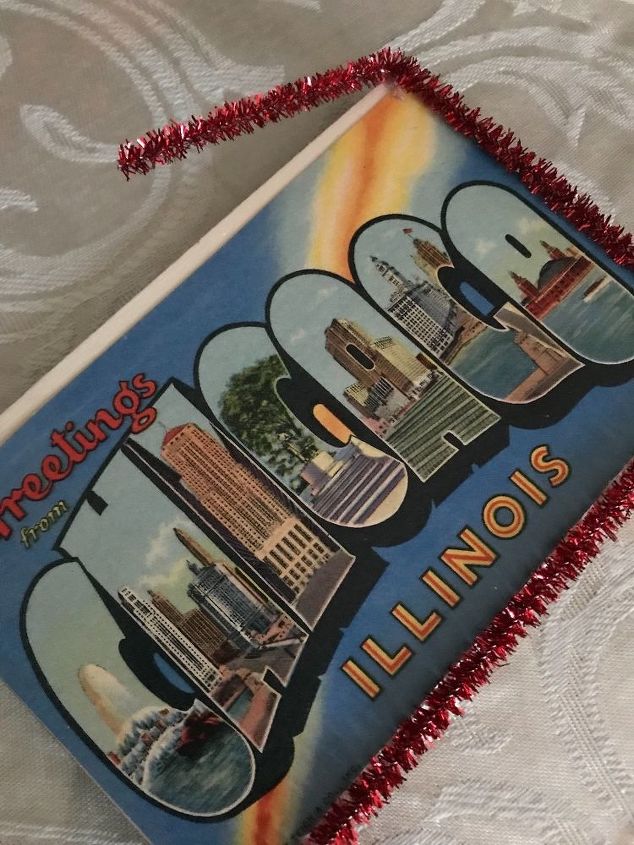
I glued each post card onto a wooden craft square.
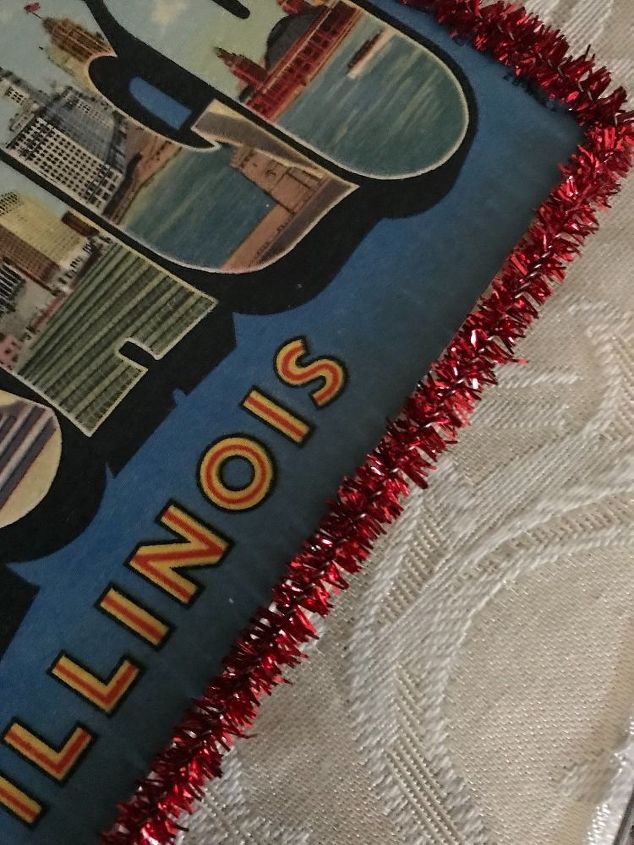
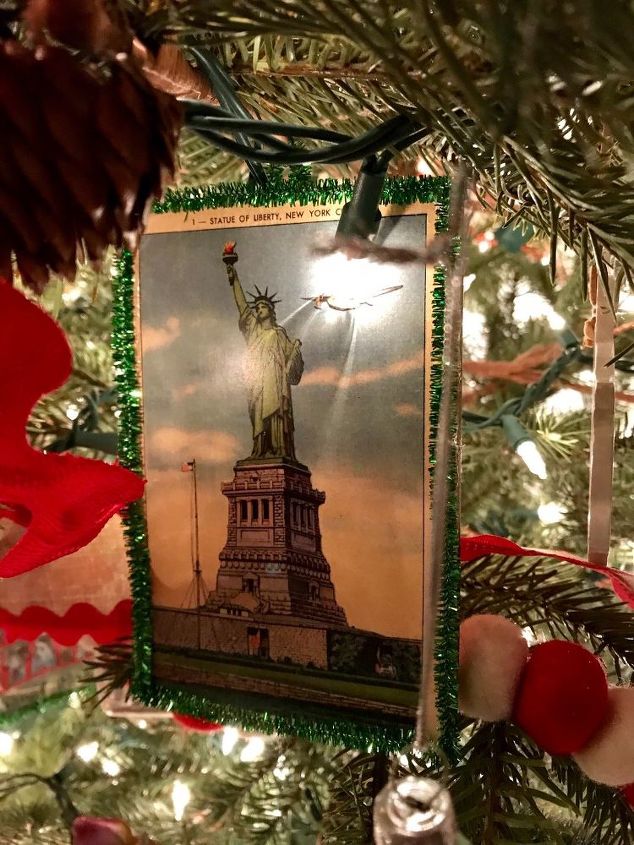
Some edges were finished using red, silver and green chenille stems. I used a hot glue gun to affix the decorations to the edges.
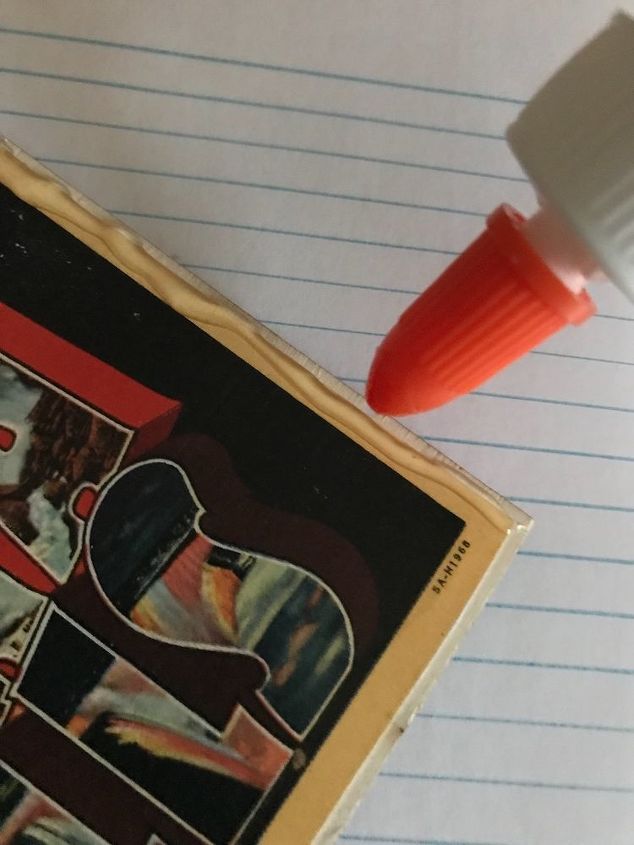
For others I used clear glue and glitter.
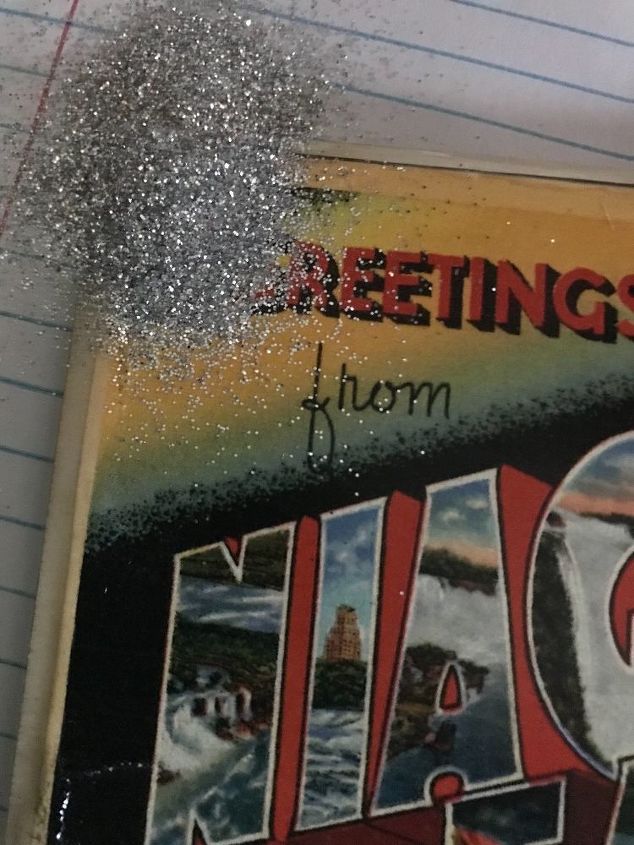
Using a craft Bush, I carefully applied glue to the edges. I used silver glitter. Shake off excess glitter. Let dry completely before making a hanger for the back.

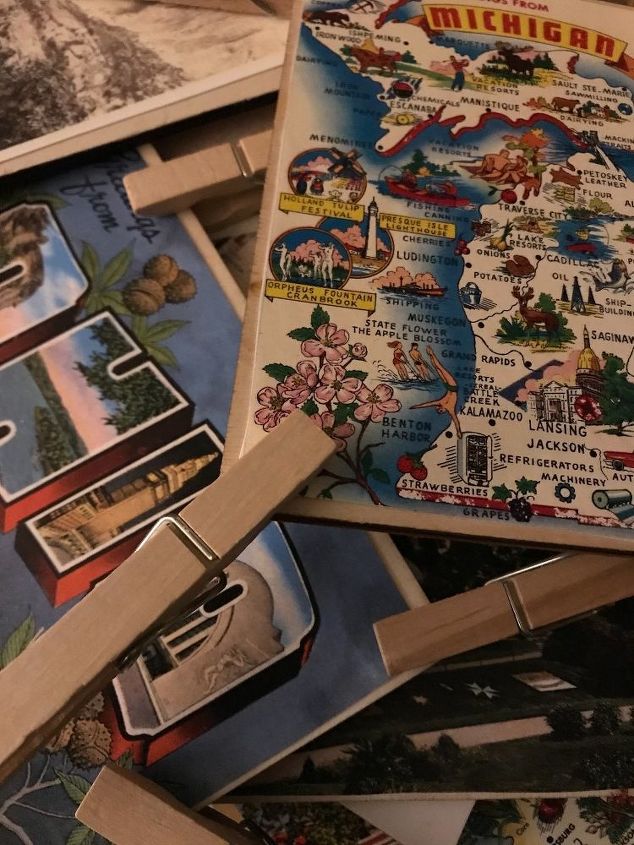
When securing post card copies to the wood pieces, I found holding them down with clothes pins until dry was helpful.
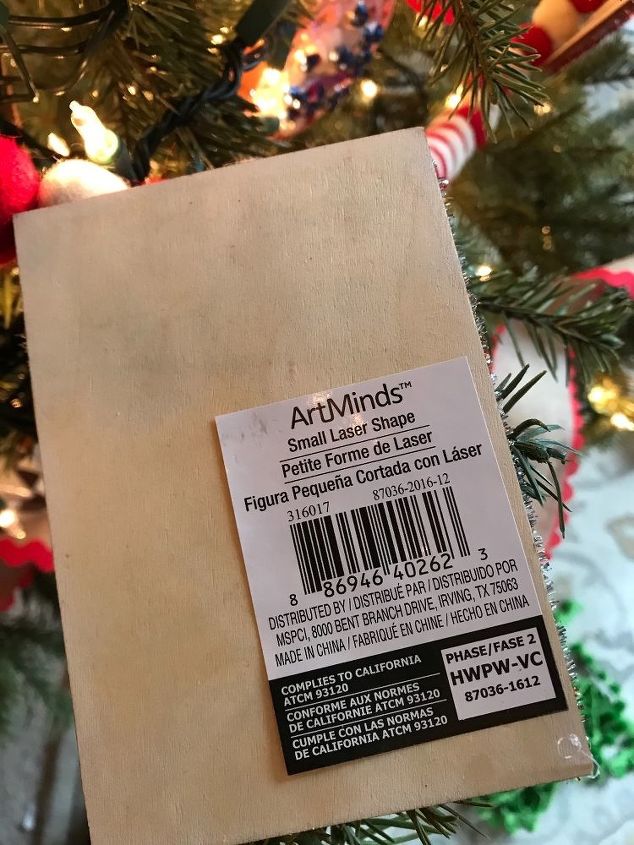
These are the wood pieces.
Create a hanger out of a chenille stem. Affix with a dab of hot glue. Once dry, hang onto the tree.
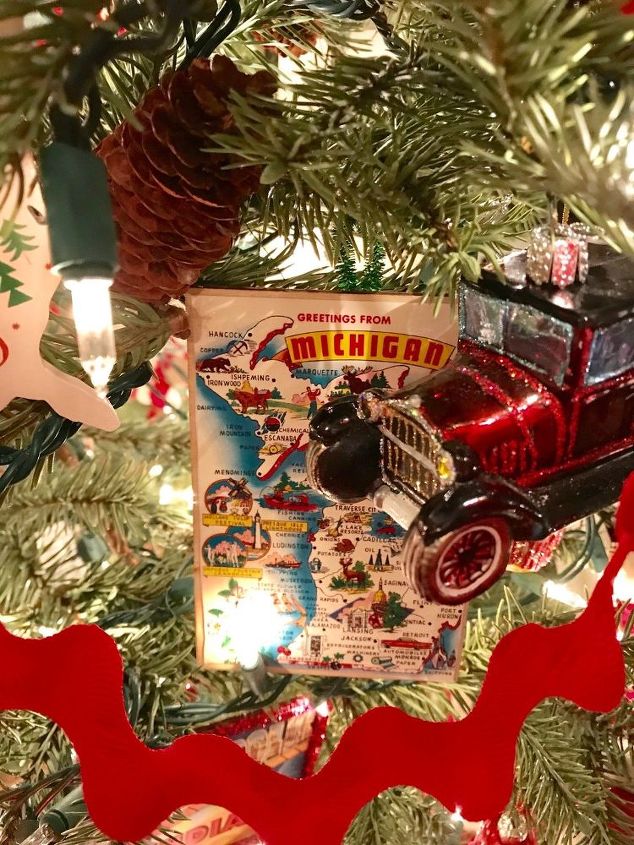
There’s Michigan and a Henry Frod car!!
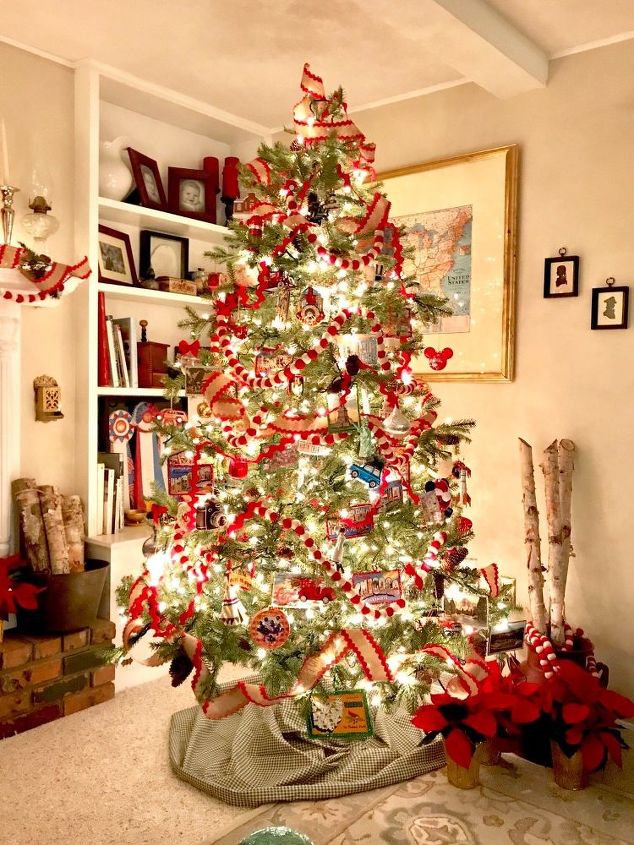
The family vacation Christmas tree at night!! All of our adventures are illuminated!!
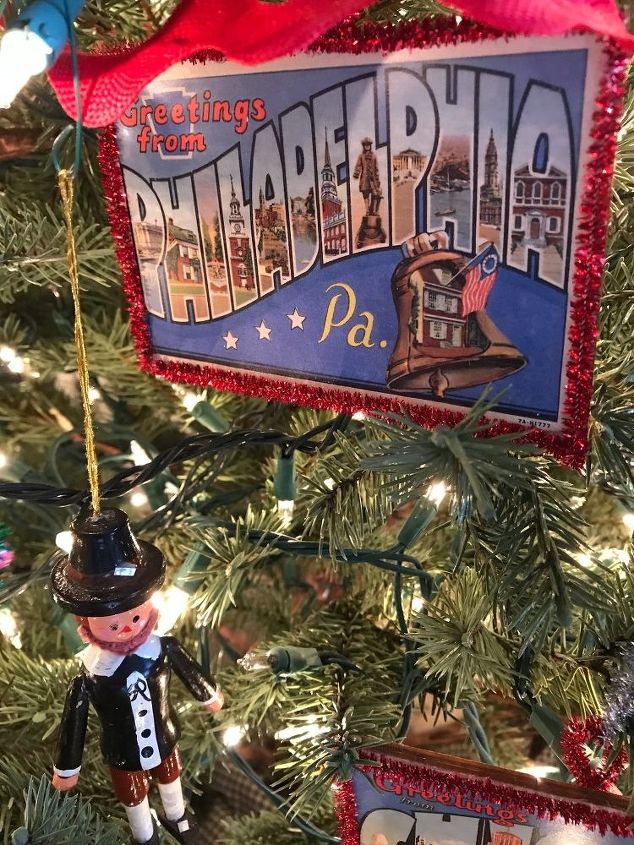
Ohhh, Philadelphia... we loved that city!!
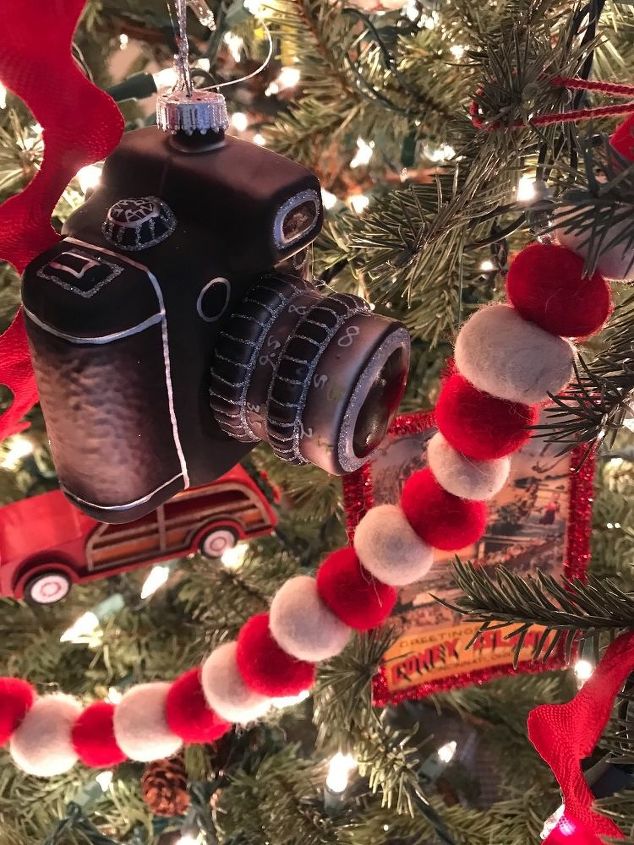
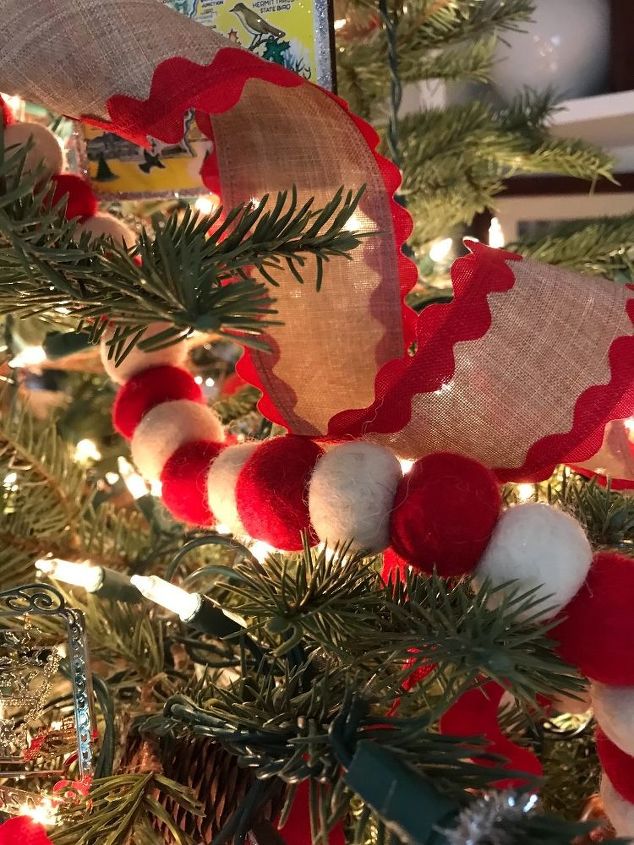
I added felted red and white garland and a selection of ribbon.
It‘s begining to look like Christmas!! I’m ready for a road trip!
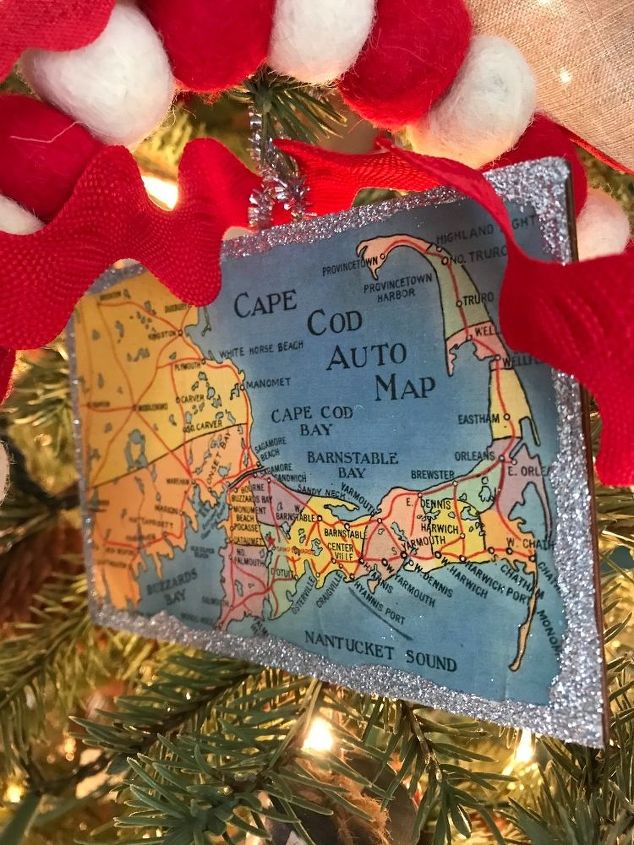
Here’s a glitter edged Cape Cod card...
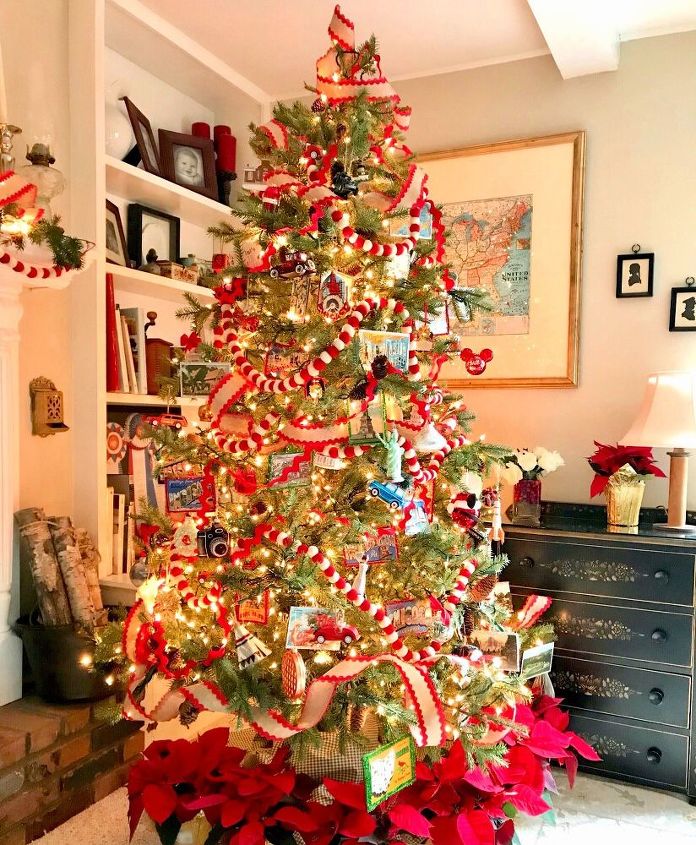
Here’s the tree in the day. Be sure to visit Blue Ribbon Kitchen for more holiday ideas!! Wishing you happy holiday decorating!!


Any price and availability information displayed on [relevant Amazon Site(s), as applicable] at the time of purchase will apply to the purchase of this product.
Hometalk may collect a small share of sales from the links on this page.More info

Want more details about this and other DIY projects? Check out my blog post!


Frequently asked questions
Have a question about this project?