


Christmas Tree Storage Bag.

I got a new Christmas tree this year and it needs a storage bag. My huge tree is in a store bought bag, something that is of a plastic nature. It is too large for the big tree in it, and difficult to carry. I decided to make one that is like Goldilocks says "Just right"
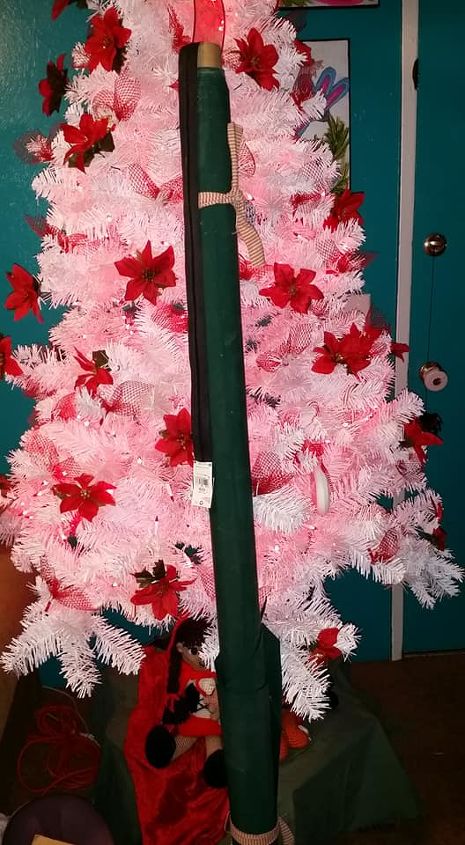
This is my tree and what is left of some outdoor fabric. That was used years ago to make cushions for a breakfast nook. It seemed perfect for making a tree bag. This chunk was about 60" square so 2 yards if you need to go buy some. If you buy some be sure to cut a strip off the top for handles. If you look at my roll there it has a weird flap that was excess from a previous project and I cut strips from that for the handles.
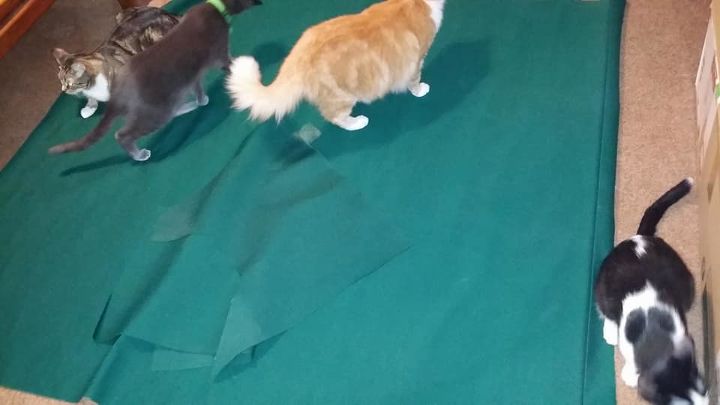
Here my quality control group is inspecting the fabric. Lay out the fabric and fold it in half top to bottom. I am going to sew seems on the left and right sides leaving the top open where I will later sew in the zipper.
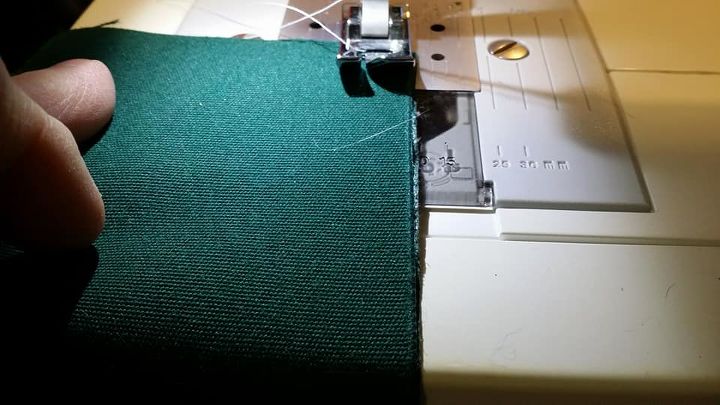
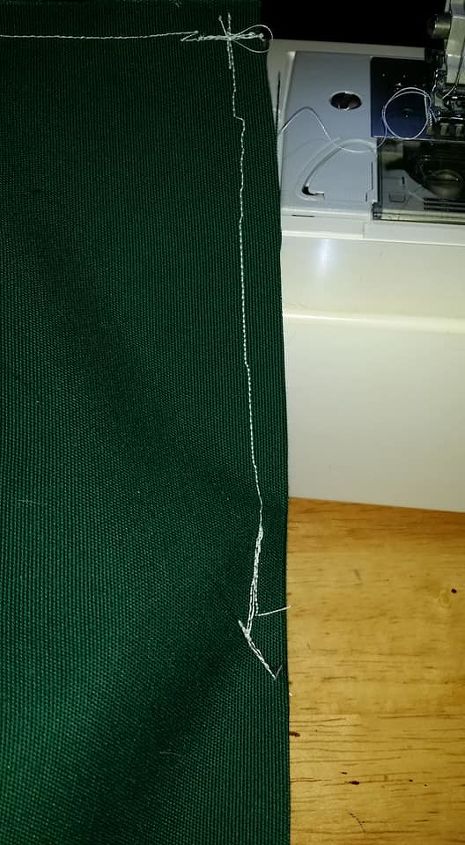
Sew the sides up. This fabric was difficult it didn't want to slide through. I kind of had to pull it through as the needle sewed.
I sewed the first and last 6 inches at the top. So I sewed the top closed for 6 inches then left a gap and sewed the last 6 inches closed leaving a 48 inch gap that I will sew in a 48 inch long zipper.
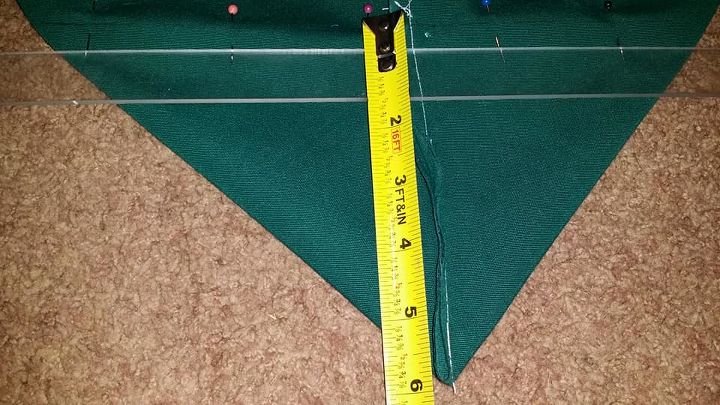
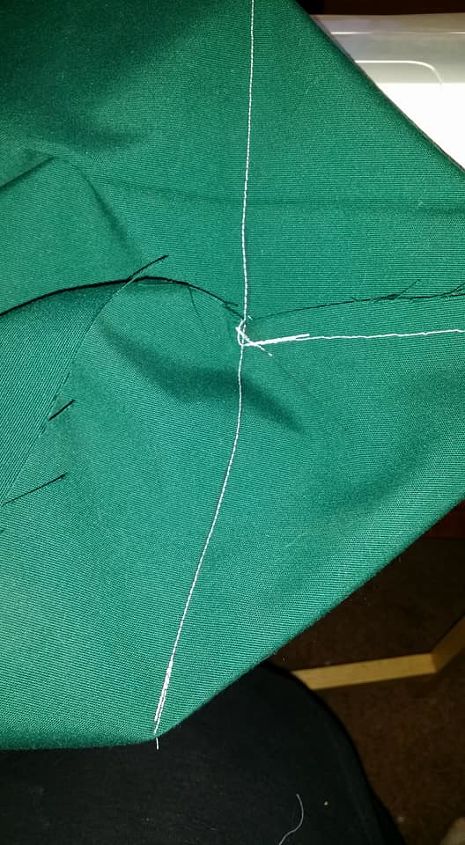
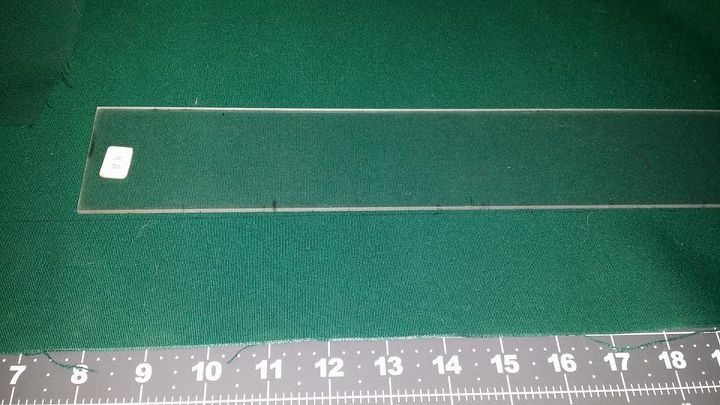
Once the sides and top are sewn. Open the corners and measure up 6 inches. I used that clear plastic thing to draw a line. I then pinned on that line and use the line as a guide to sew my seem. this will create the sides for the bag. You don't have to do this part, if you don't mind a flat bag that is more of a pillow case. My bag is more like a duffel bag.
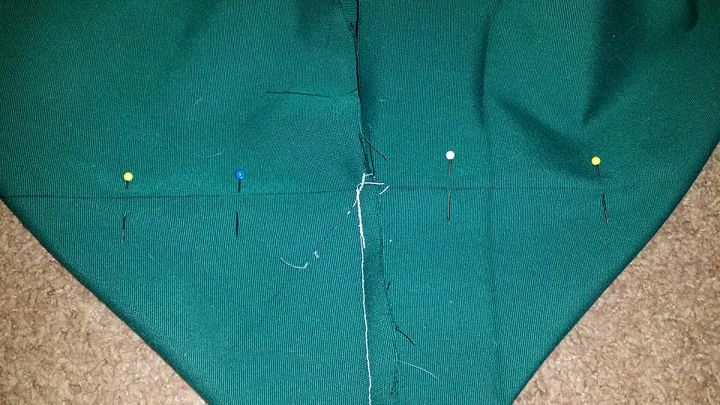
This is the top 6 inches. Do the same corner as on the bottom.
Once these 4 corners are created you can either cut them off, tack them down or just leave them be. I was in a hurry, so I just left them like this. I usually take my tree down on the first day of the year. And when I made this it was 6 pm on January first. Some people leave their tree up until the 6th. Little Christmas, Epiphany, Three Kinds day. I personally like to start the year off putting Christmas away in the hopes that I will finally get the WHOLE house organized. So far no such luck with that.
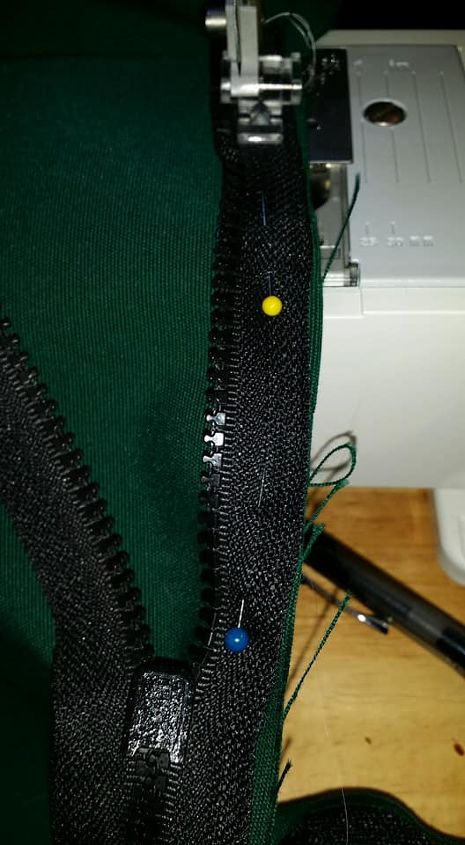
OK now it's time for the zipper. I'm not going to tell you how to do that. Everyone does this differently. If you don't know how you can look up some youtube videos or you could sew in a strip of Velcro. I already had a 48 inch zipper from a different project that i decided to do with out the zipper.
The bag part is done. Now I need some handles to make carrying the tree to the shed a bit easier. That plastic strip is for quilting, it is two and a half inches wide. It seemed perfect for the handles.
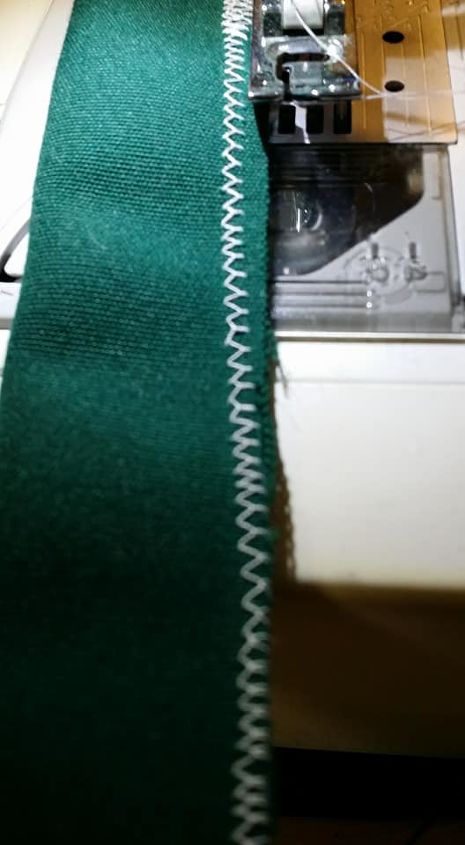
Creating a tube and pulling it inside out is a pain. This is just a storage bag not a fashion statement. I decided to just zigzag the edge closed.
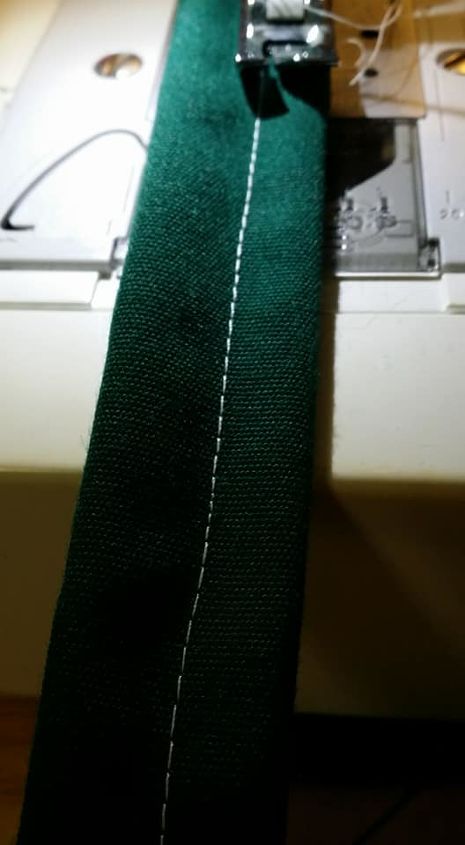
I played with the handle and moved the zigzag to the back I then straight stitched on top of the zigzag to hold it in place on the back so it isn't as noticeable. this isn't necessary it was a choice.
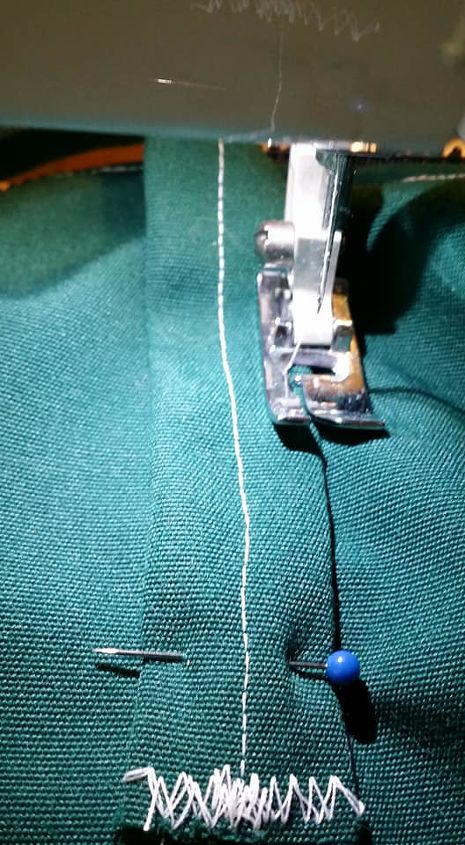
I also zigzagged the bottom closed and then stitched the handles in place.
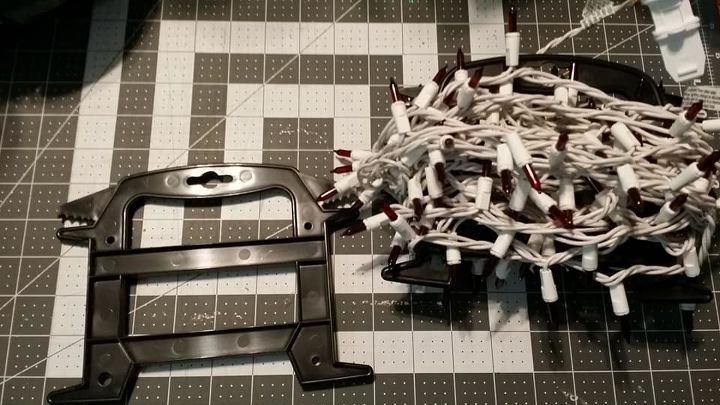
Just a little tip. my new tree wasn't pre-lit. I bought these white strand lights they were just a tied up wad in a box. That wasn't going to work to put them away. I had this plastic thing that I thought would be useful for something so I kept it. It is the plastic that clothesline came on from Walmart. That jagged part at the top was perfect for slipping the plug end into. I then wrapped the 150 light strand around and when done plugged the other end into the first end. I then tossed those 2 into that bag with the tree.
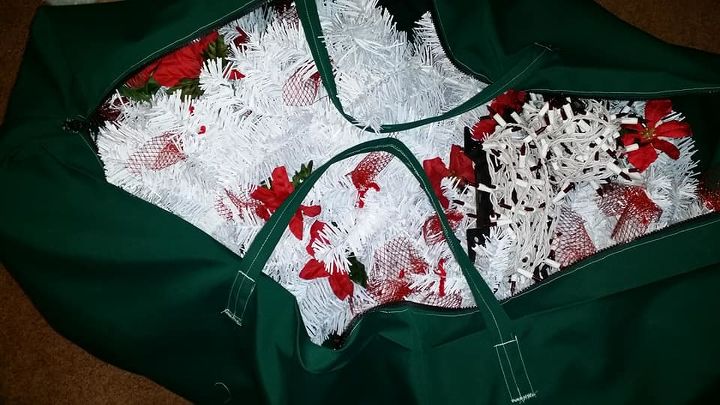
The tree broken down into it's three sections and placed in the bag. It's a perfect fit for this tree. it was 6'5" tall when assembled.
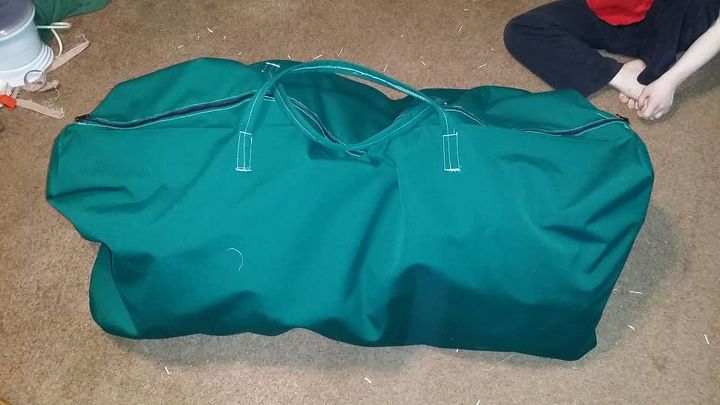
And all zipped up. Now to vacuum all the tree bits that fall off when assembling or disassembling a tree.
This bag was free for me to make as everything was gifted to me. But if you had to go buy materials it would roughly be $6 a yard for the fabric and about $5 for a zipper. Thread is about $2 but you will have lots left over. Buy fabric at a craft store that has 40% off coupons and the fabric will be much cheaper.
Now if you can't sew or don't have a sewing machine... Don't let that stop you. You could use fabric glue or that iron on adhesive no sew tape. It will just take a little more time for the glue to dry for each step and a minor additional cost.
Christmas decor storage ideas
Resources for this project:
See all materials


Comments
Join the conversation
-
what a great idea Nadine. I ENJOYED reading about your project, what a practical bag for these cumbersen trees. I also appreciate the advise from Flipturn7, as I have sewn things in the past where the material was very heavy and caused some of the same looks as on the tree bag. I learned something from both of you!😀😀😀
Thank you for sharing!
URSULA ADAMS
TULSA OKLAHOMA
-
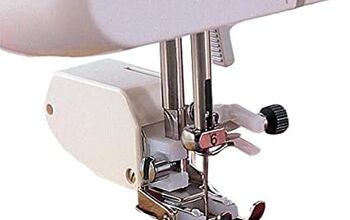
Yeah that plastic foot is a great idea. I found out my machine came with one. I just didn't know that was what it was for. I want a walking foot for quilting but I need to find the right one.


Frequently asked questions
Have a question about this project?