


Plaid Passion
2 Materials
$100
24 Hours
Medium
A cousin recently contacted me to reupholster a chair. I told her I would love to take on the project for the practice. This would be my 5th or 6th upholstery project and my first large chair.
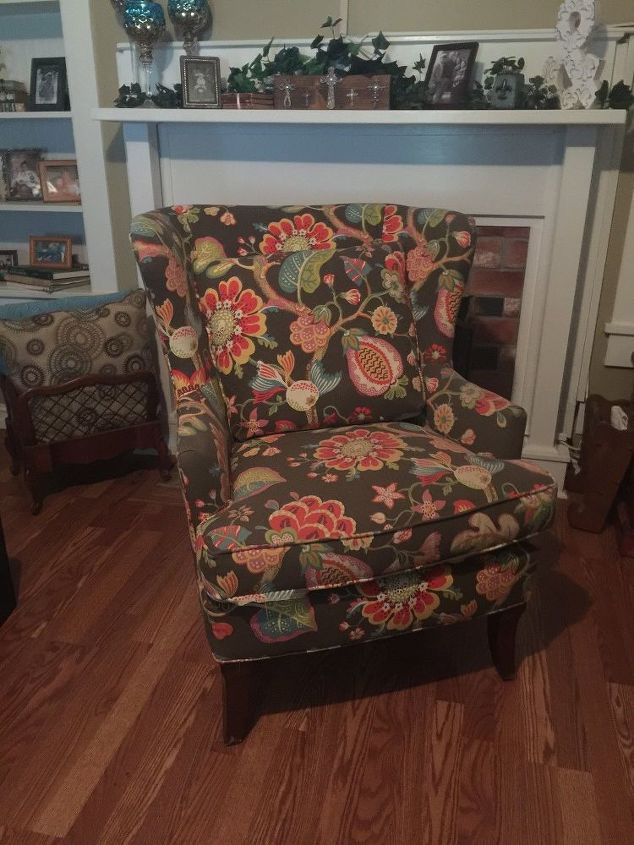
This is the original chair in a floral pattern.
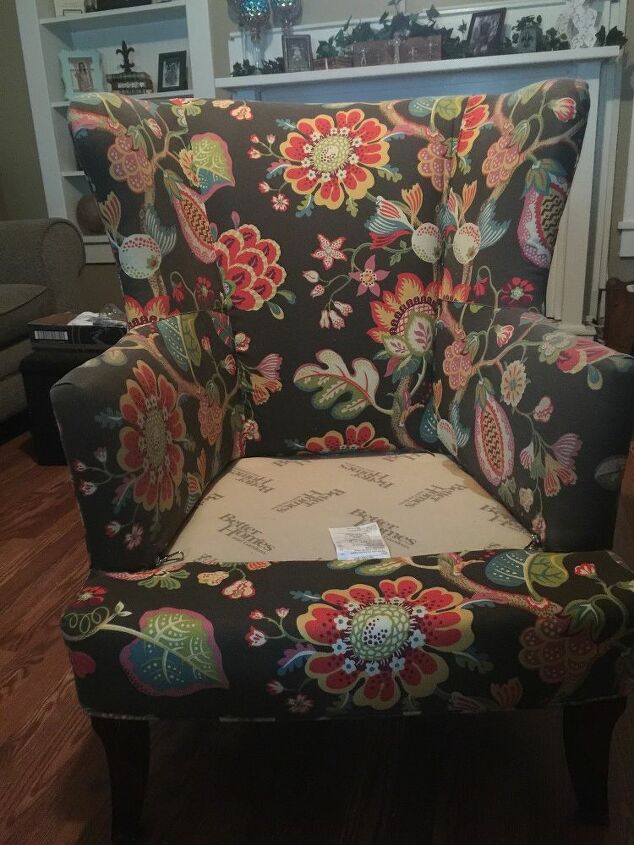
First remove loose cushions and set those aside. I leave the majority of my machine sewing until the very end.

Next begin removing each section. I started on the back (customarily) and label each piece so I will know exactly where the replacement will go. Try not to rip or cut the pieces as you will need those for a pattern.
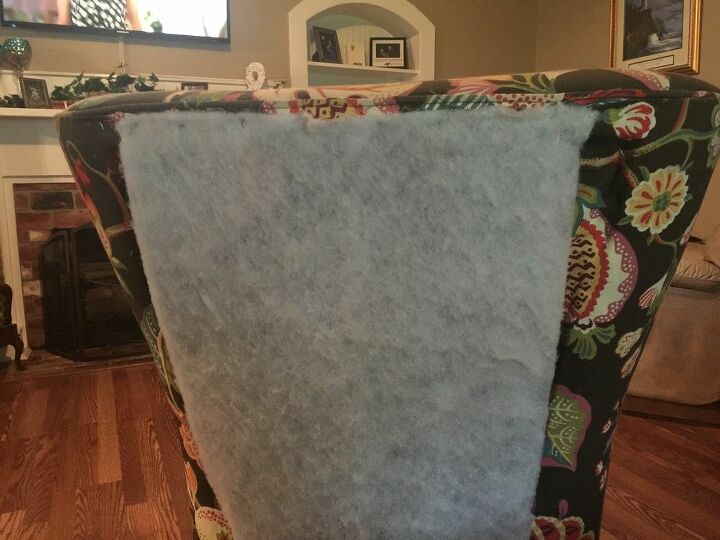
Once the fabric is removed you will need to see what is underneath and determine if the filling or batting will need to be replaced. Again be sure to label each piece; batting too.
Be sure to take a lot of photographs so you can refer back to them for placement. Also make mental notes of how the fabric is attached. It is very important to know how the new fabric will attach to the frame.

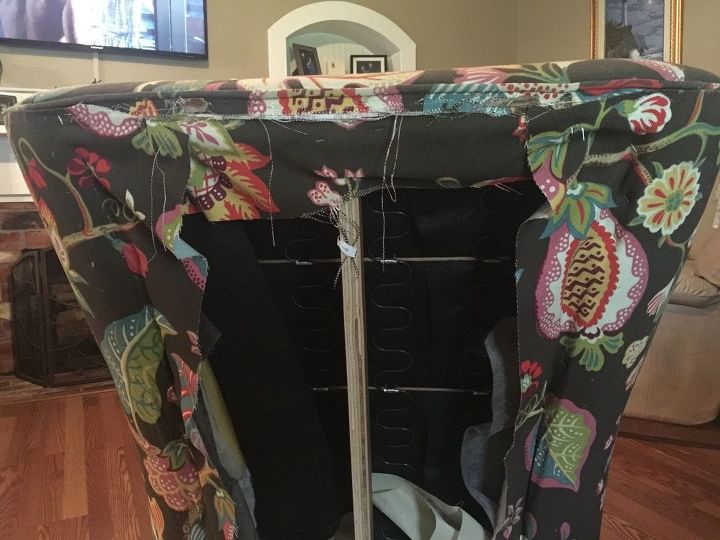
Take special note of the types of fasteners. This chair had multiple tack strips. Remove all staples in the tack strip. Save what fasteners you can so you do not have to purchase new ones. If the strip bends, don't worry; most of the time you can bend it back fairly easily.
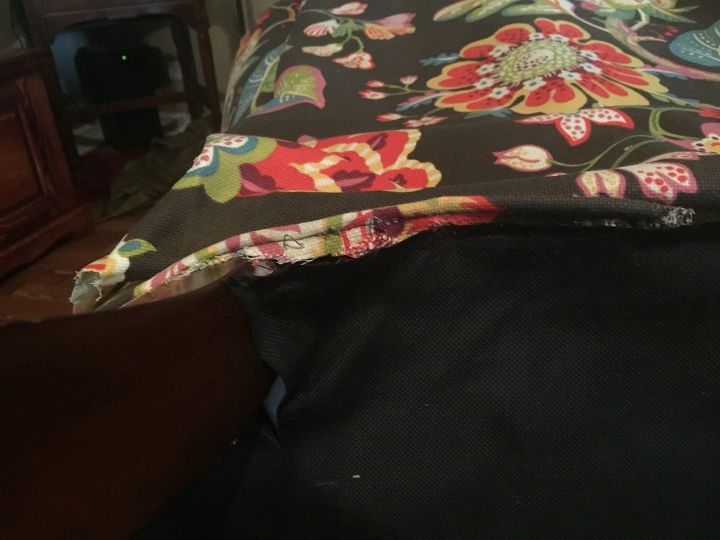
Some areas may have piping or decorative trim to remove. You can also use this as template for measuring new trim. Sometimes you can even salvage the cord and reuse; just cover with your new fabric.
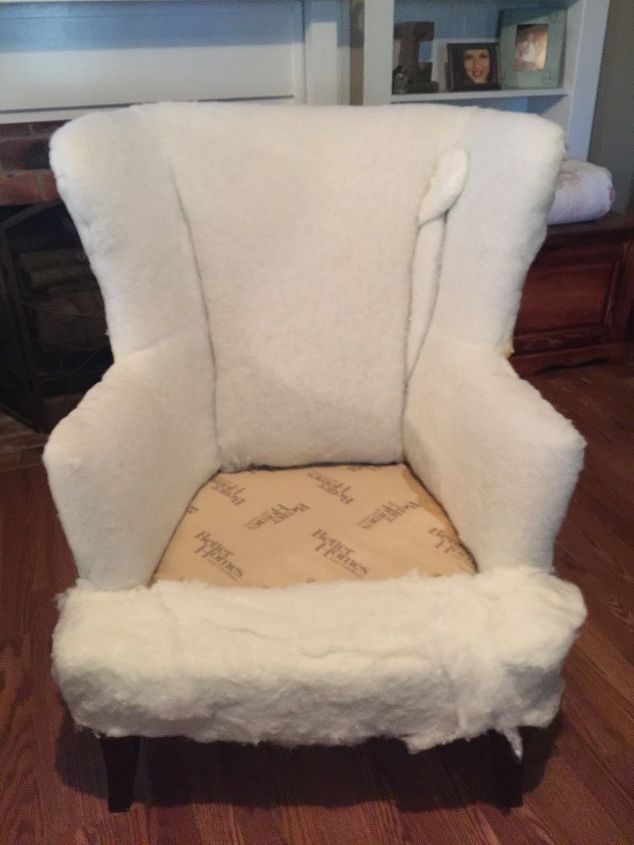
This is our midway point. All of the original fabric, piping and hardware is removed. Luckily I did not have to replace any of the batting.
Before I started on the with new fabric, I painted the chair legs a soft grey color to match the new fabric.
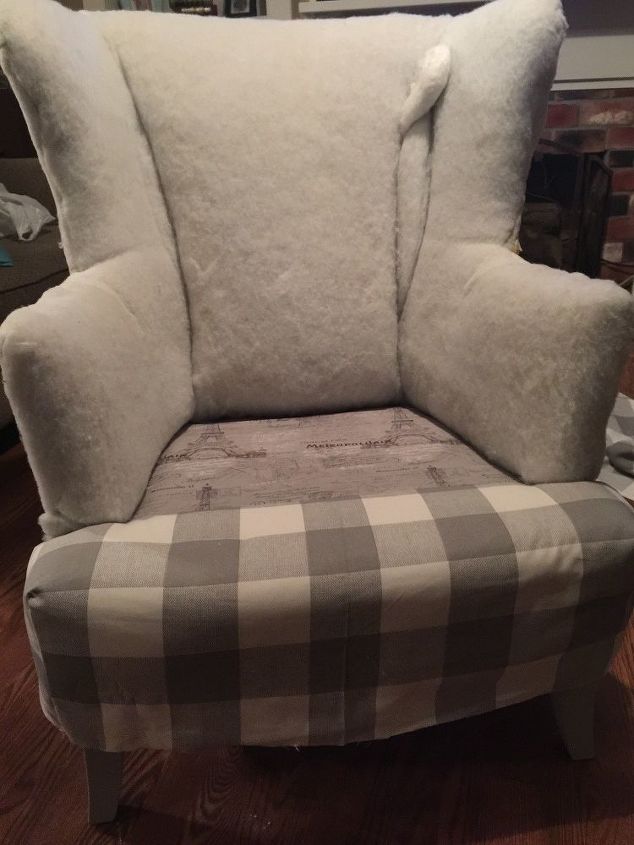
Using your original fabric as a pattern, cut new fabric and sew as needed. Place the new fabric on the chair and make adjustments before you staple into place.
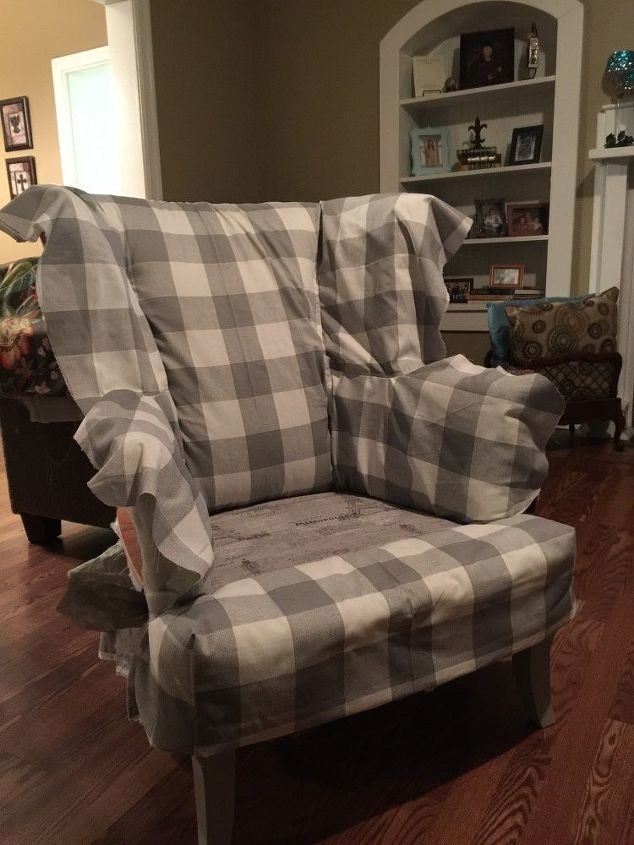
Here is another example of laying out the new fabric. Now is the time to make sure everything will tighten the way is should. You can easily make adjustments now. It will be much harder after you staple into place.
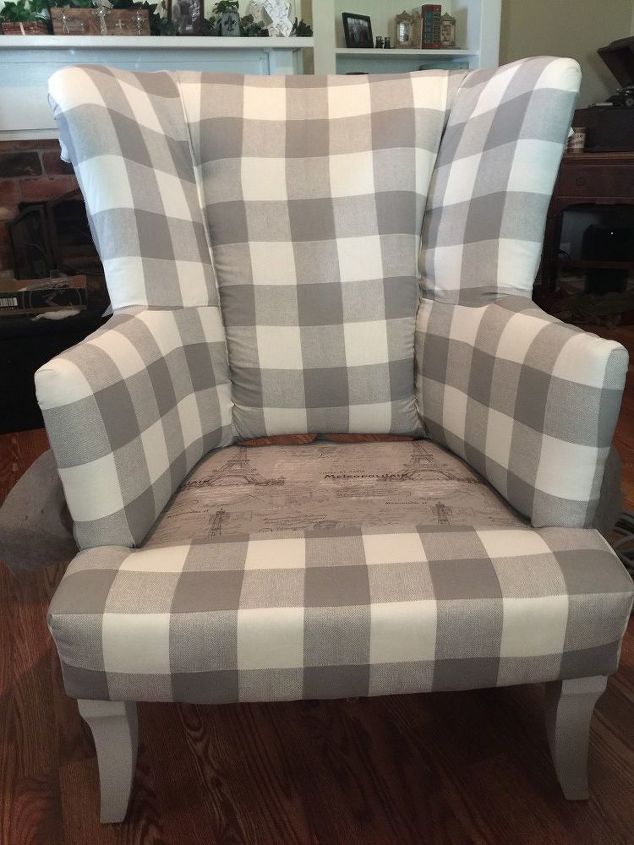
Secure your fabric to the frame. I use a pneumatic staple gun. The best advice I can give you is to remove every single staple or tack from the piece before you start on with the new fabric. But be warned, there will be hundreds.
Working backwards; you will end at the back. Apply the tack strip exactly how it came off.
Once I am happy with the piece, I start sewing my new cushion covers using the old fabric as a pattern.
If you are unable to use the existing cushion form, you will need to create a new form with foam.
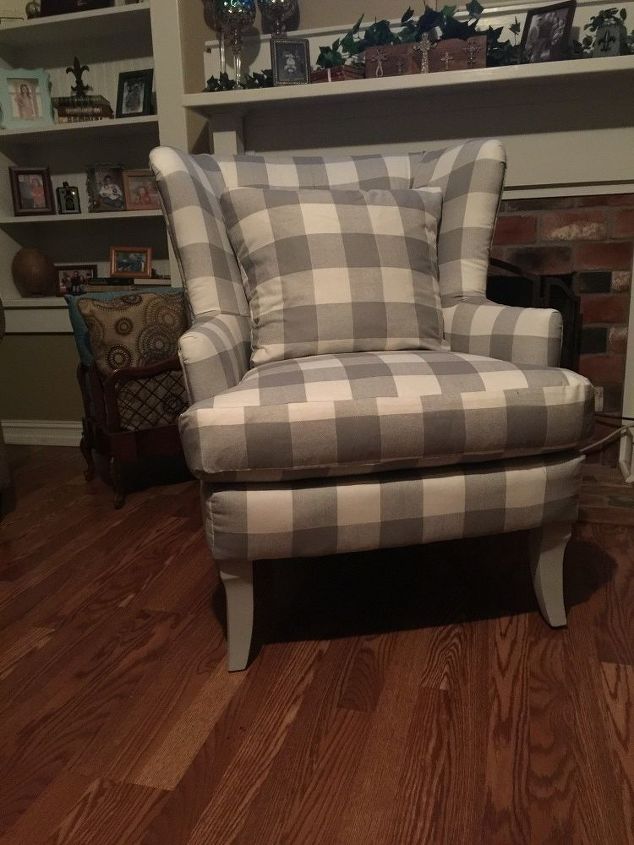
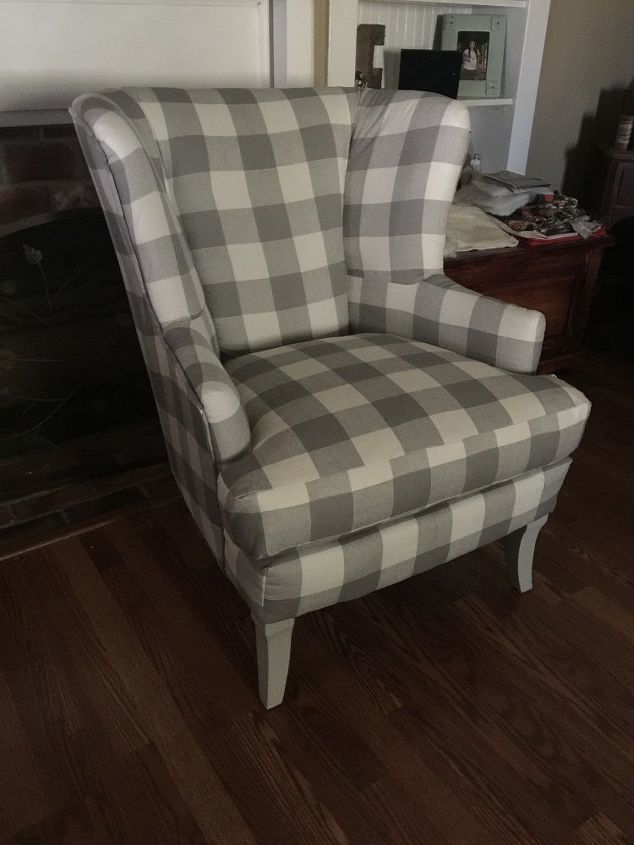
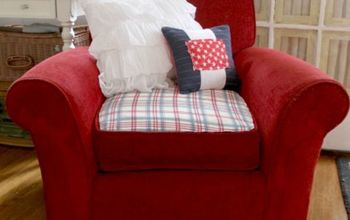
The finished product.
Please remember that this was done for a family member as a practice piece. If I ever have to work with plaid again, I will make sure my pattern lines up.

Want more details about this and other DIY projects? Check out my blog post!
Comments
Join the conversation
4 comments
-
This is awesome!! So much more modern than that old fabric!
-
Amazing. It's beautiful. Great choice of fabric.


Frequently asked questions
Have a question about this project?