


Upcycled Oven Mitt Organizer
5 Materials
$20
2 Days
Easy
I purchased an old piece of painted wood trim at a garage sale and decided to make it into an oven mitt organizer. The one I had before was hideous and I needed and update!
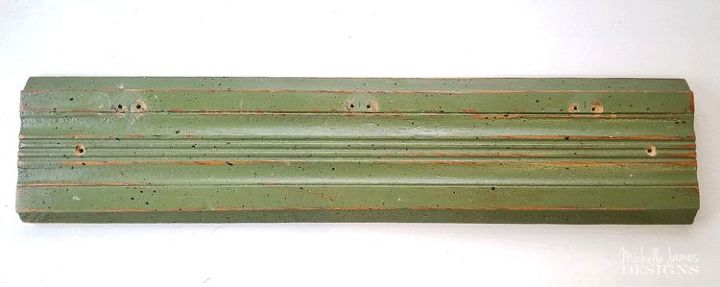
I wanted to use it as it was but it had some holes in it plus it was too long for my space. So I cut it in half first then used spackle to fill in the holes.
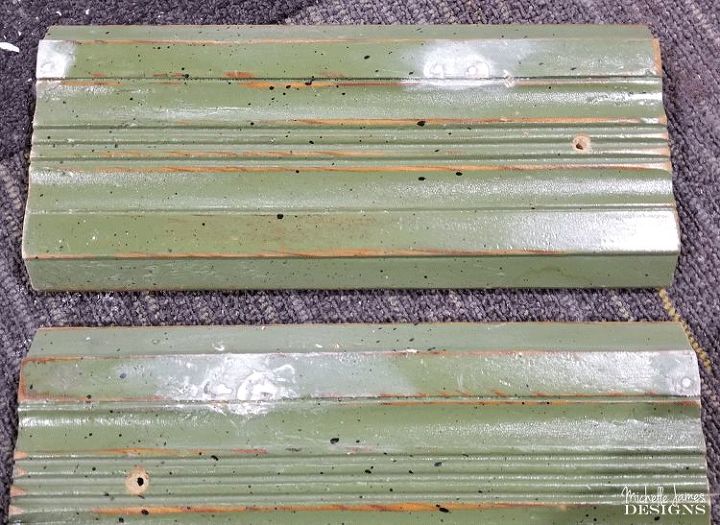
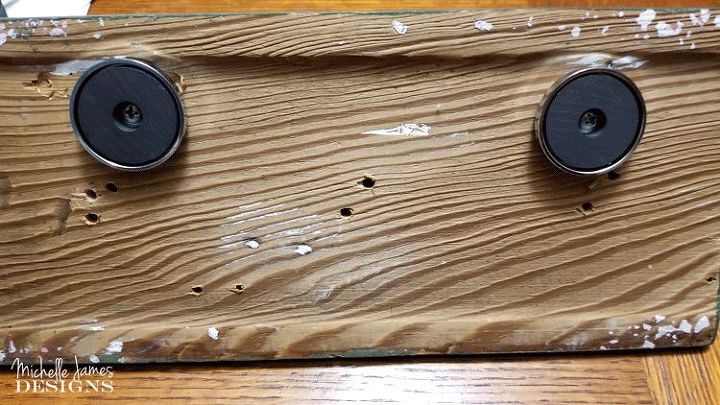
This was part way through the spackle process. Once all of the holes were filled in and the spackle was dry I sanded a little bit and re-painted the pieces.
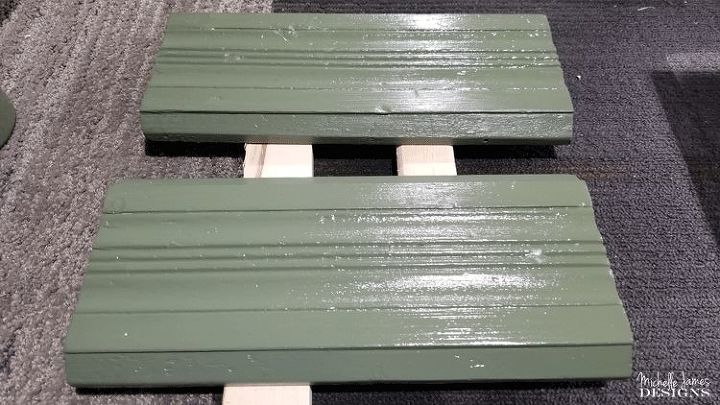
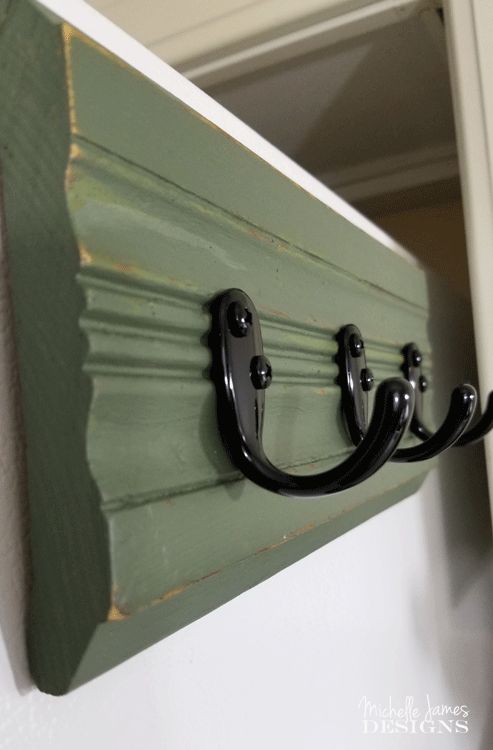
I liked the original green so I found a paint that was very similar.

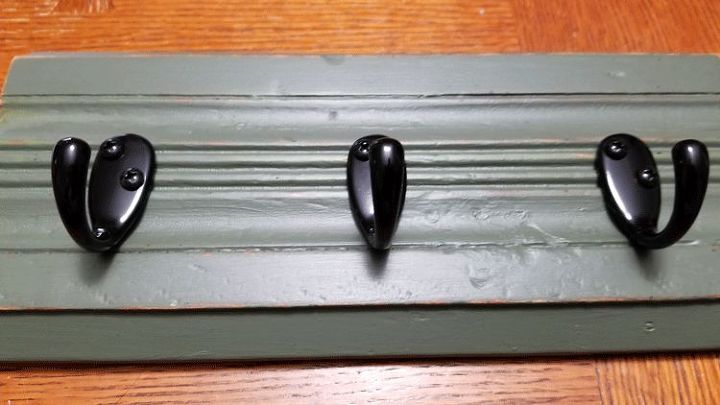
The next step was to add some hooks. I marked and pre-drilled holes then screwed the hooks onto the front. I added three hooks to each piece.
Since these were going to hang on the fridge I used some strong magnets for the back of them. The magnets have a hole in the middle so they were screwed on.
That was all there was to it! Then I placed them onto the side of the refrigerator and hung the oven mitts.
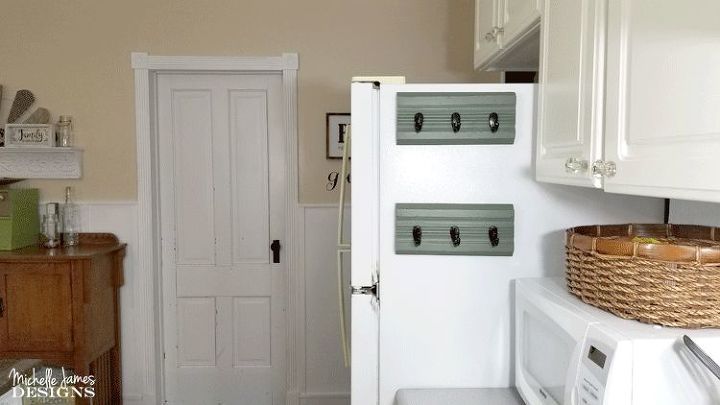
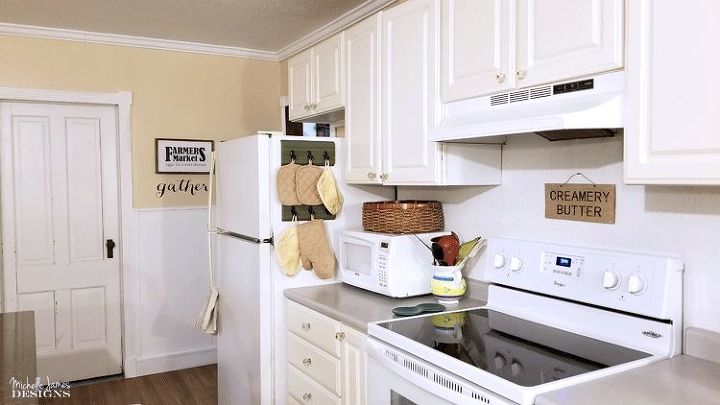
It looks so much better now then it did before and I love them.
If you like them too you may like to visit my blog. I love to upcycle, craft and create printables!
Thanks for stopping by,
Michelle

Want more details about this and other DIY projects? Check out my blog post!


Frequently asked questions
Have a question about this project?