


Paper Bag Vases
3 Materials
$5
1 Hour
Easy
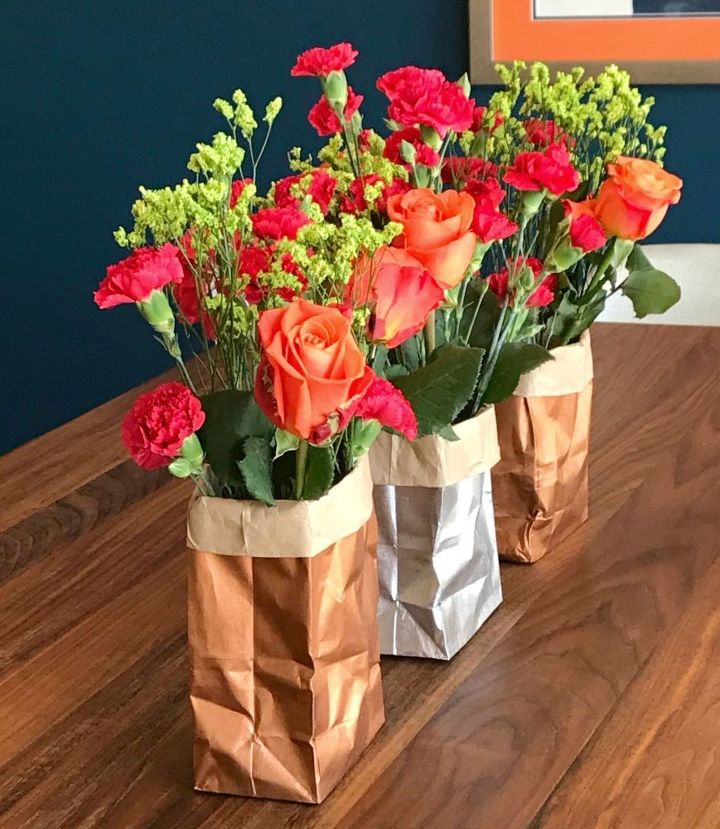
This couldn't be any easier. Grab some paper lunch sacks along with some copper and silver spray paints ... The result? These sweet little metallic containers that can be used for a myriad of purposes – planters, vases, containers, and more.
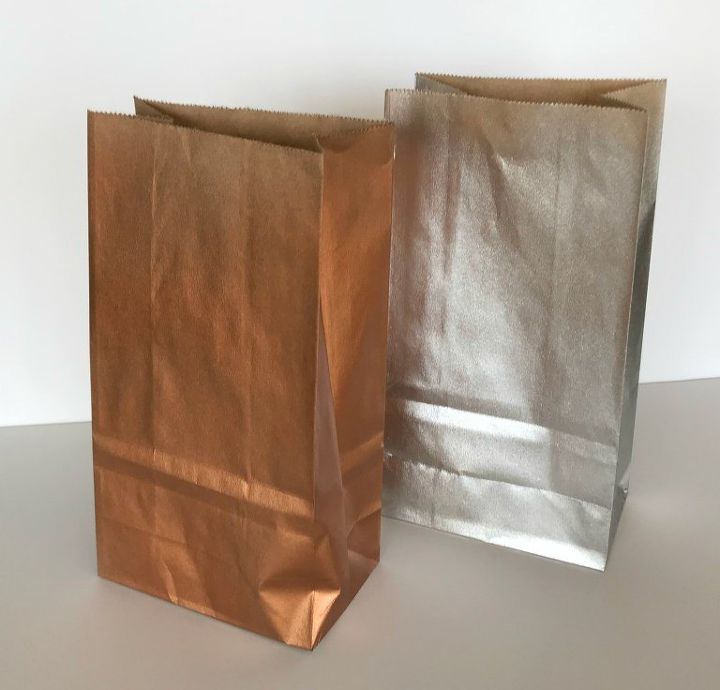
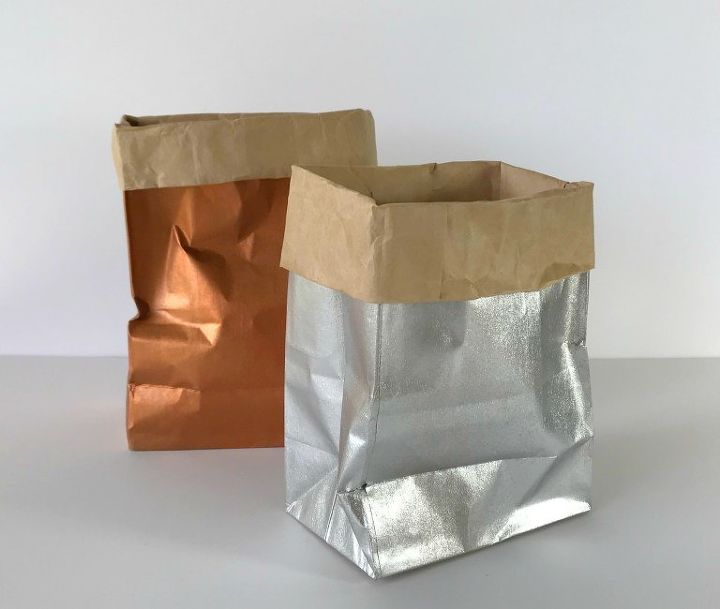
For this project, I used lunch-sized paper bags. I simply unfolded them and spray painted the exterior with a metallic paint. I used both copper and silver paints.
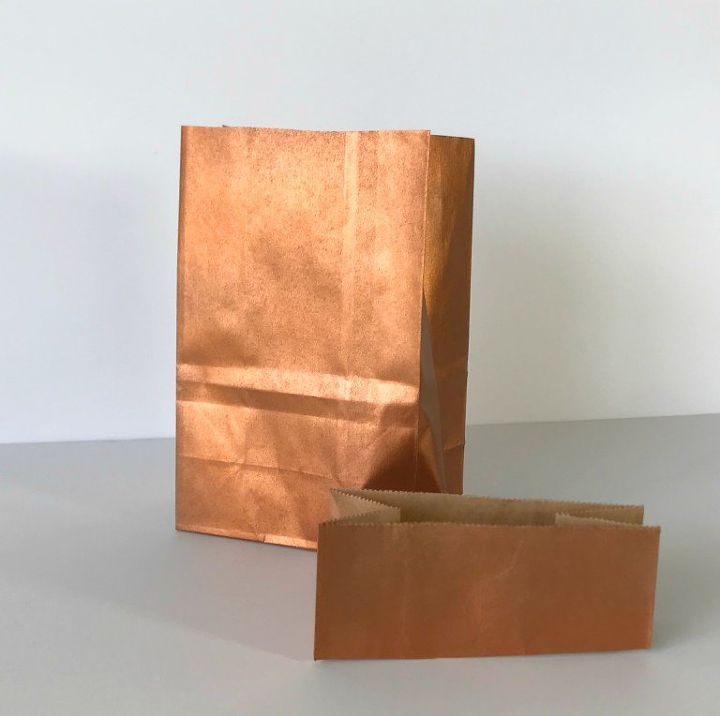
Once the paint dried, I trimmed about 2″ off the top of the bags.
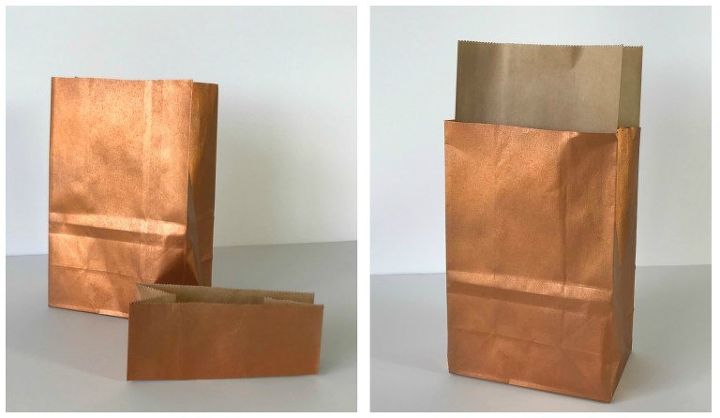
Next, I inserted a second, unpainted bag into the painted one. I then folded the top of the inserted bag down over the sides of the painted one. It’s okay to scrunch your bag up a little, as a few small “dents” give the vase character.
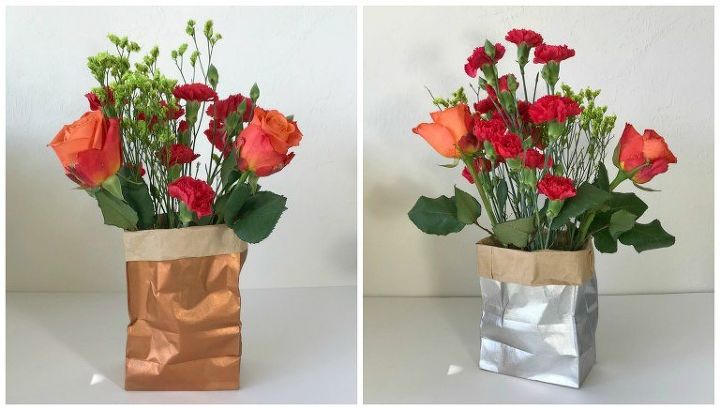
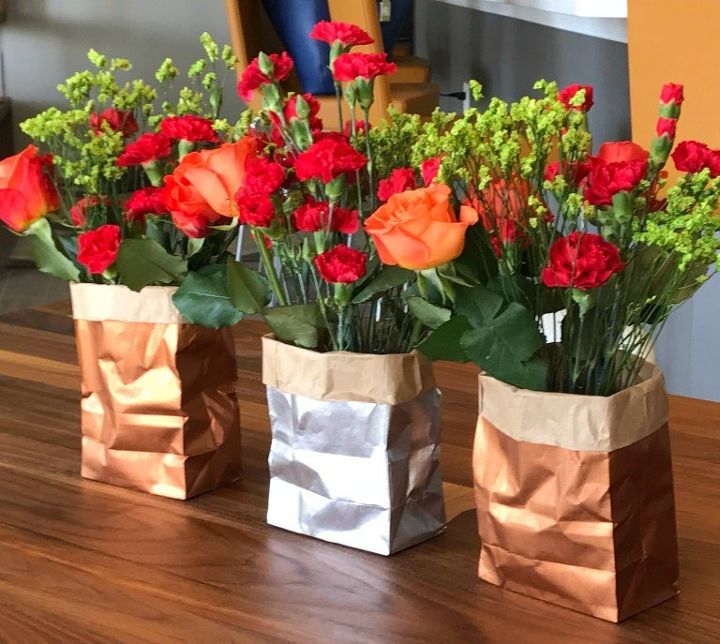
This step is optional, of course, as you can use these little bags for a variety of purposes. I always look for an excuse to bring fresh flowers into my home, so I filled three glasses with water & flowers then placed them inside the bags. I just love these little guys!
Resources for this project:


Any price and availability information displayed on [relevant Amazon Site(s), as applicable] at the time of purchase will apply to the purchase of this product.
Hometalk may collect a small share of sales from the links on this page.More info

Want more details about this and other DIY projects? Check out my blog post!
Comments
Join the conversation
1 comment
-
So fun,gonna try this with my grandbabies 💖🇨🇦


Frequently asked questions
Have a question about this project?