


Creating a Simple Desk That Costs Nothing to Make

by
Alicia W
3 Materials
2 Days
Easy
I made my nephew a desk for the study area in his bedroom and I didn’t want to spend a lot of money. As it turned out, I didn’t spend any money - just used what I had.
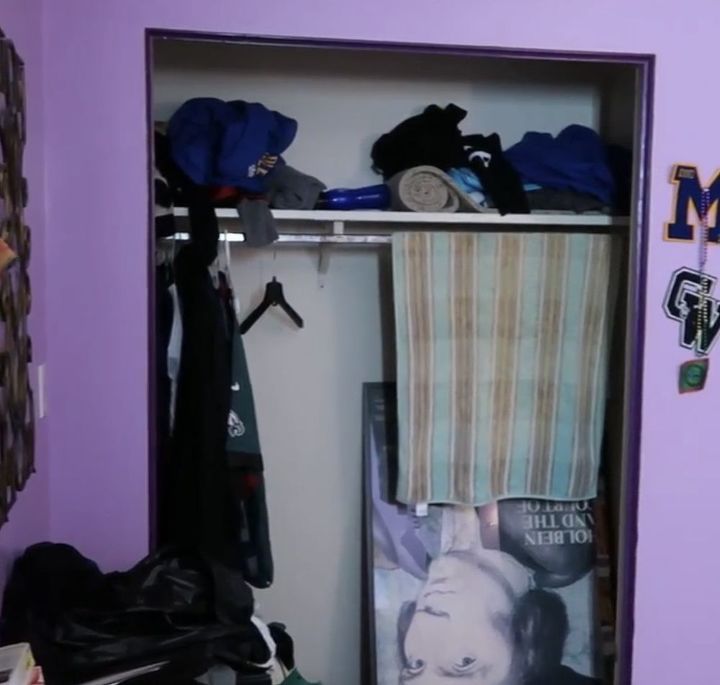
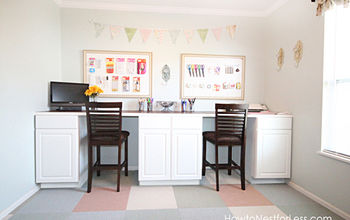
So this is the study area aka a closet that didn’t have doors.
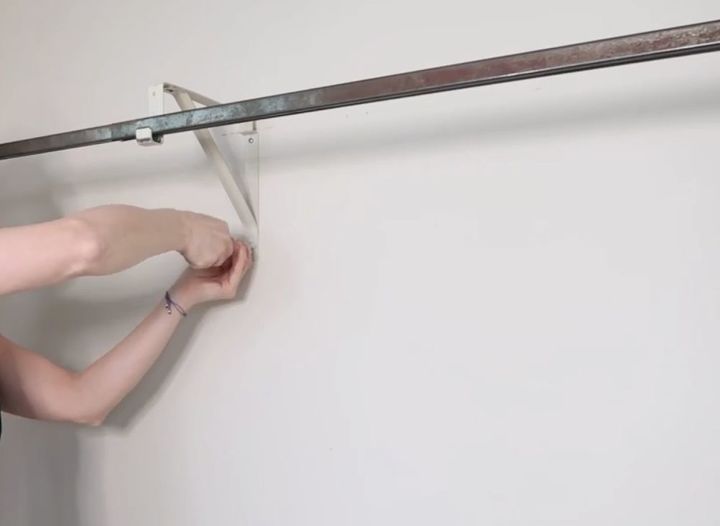
I began by removing everything from the closet including the shelving and hanging bar.
I am in the process of renovating his room so the walls are no longer purple in these pictures.
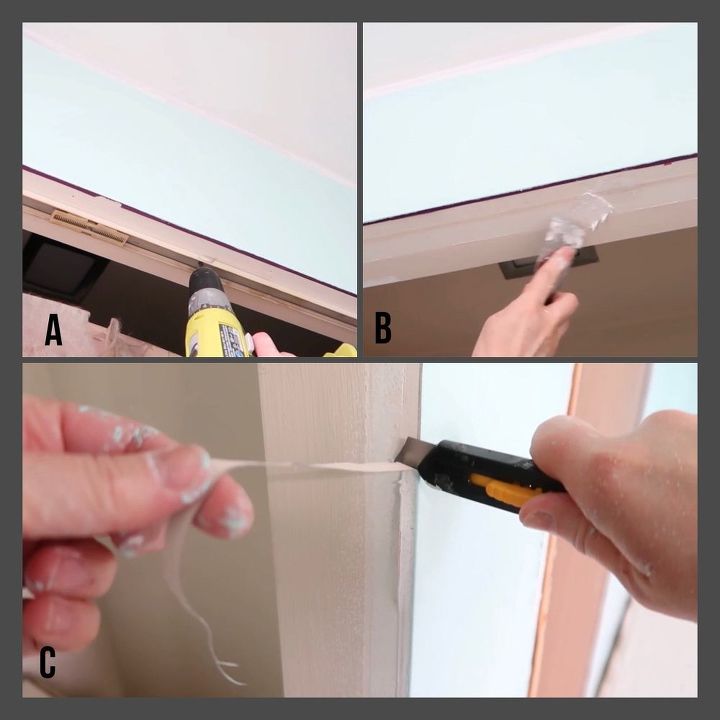
A-I removed the track from above the door,
B-filled and sanded any holes and
C-removed years of built up paint using a utility knife.
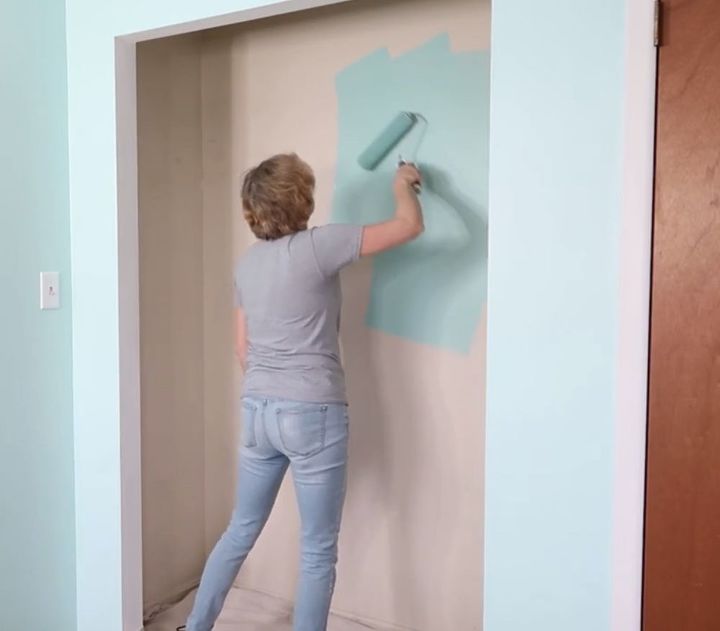
I painted the inside of the closet a darker turquoise than was on the walls. The color inside is ”Nautical” from Valspar. I also painted the trim and ceiling white.
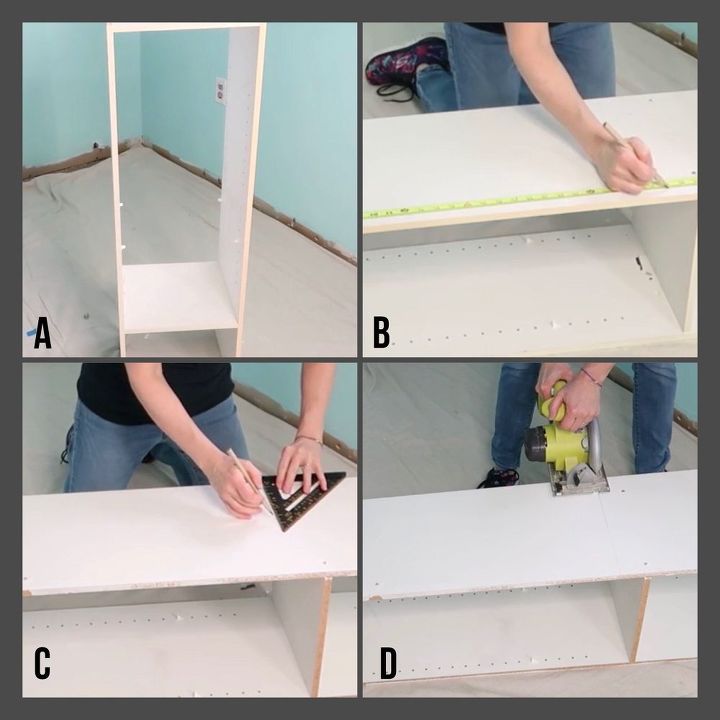
To make the desk:
A-I removed organizational shelving from the closet in another bedroom that wasn’t being used
B-I measured
C-Drew a line
D-And the cut the shelving to 27”
This shelving would be the legs of the desk.
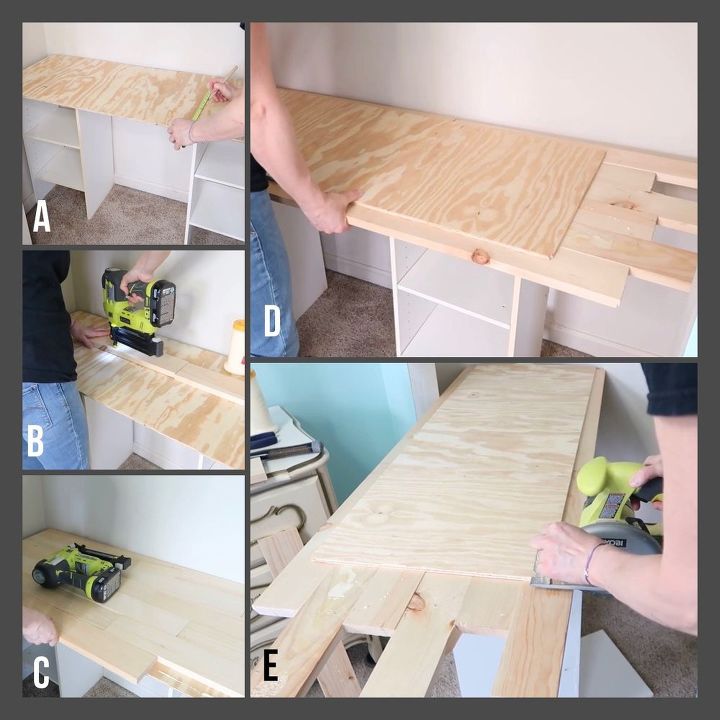
To make the top of the desk:
A-I was originally going to just put a piece of plywood on top but it was too skinny so
B-I decided to attach scrap pine to the top. I measured and found the middle of the plywood, drew a line and attached the first row of pine to the top using wood glue and brads.
C-I continued to add wood, making sure that it was staggered
D-Once the top of covered, I flipped it on the back
E-and cut any wood that hung off the end.
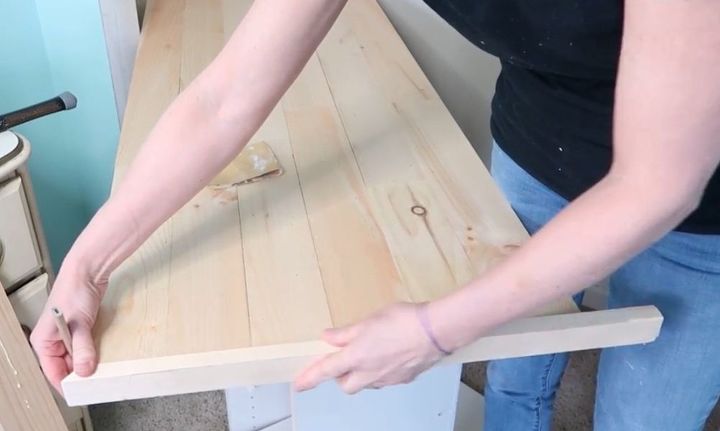
Once the boards were cut evenly, I trimmed the entire top with 1”x2” pine boards mintering the corners.
I countersunk and filled the nail holes with wood filler.
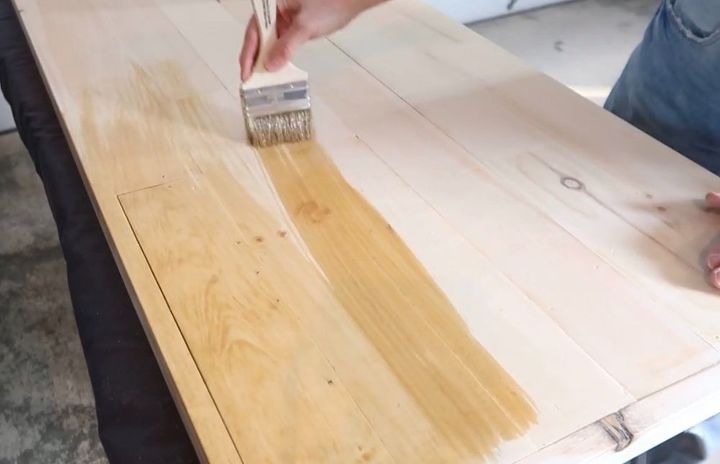
I hand sanded the top smooth the I applied stain to the entire piece. I actually applied 3 coats of stain until I achieve the color I was looking for. After the stain was dry, I added 2 coats of polyurethane. The stain color is Ipswich Pine from Minwax.
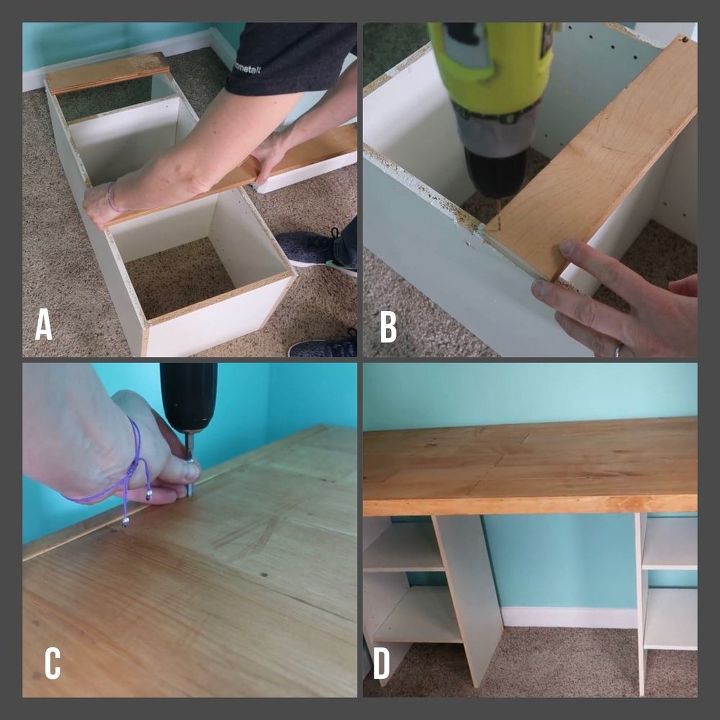
I placed the table top onto the shelving and found that it was very wobbly so I decided to add braces to the shelving.
A-I measured and cut scrap pine
B-and screwed two pieces to the back of each shelving unit, then screwed them into the wall for more stability
C-I screwed the top onto the shelving unity
D-and ta-da! Complete!
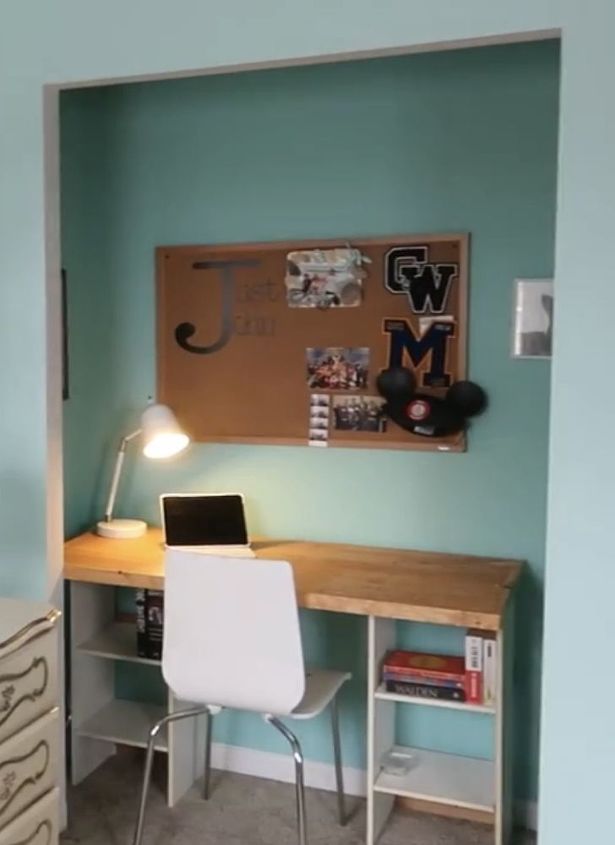
I added a personalized cork board, a desk lamp and a chair to complete the new study area. My nephew now has a place to do his school work other than his bed.
If you’d like to see the entire makeover of his entire room, click here (Coming soon)
{
"id": "4854975",
"alt": "",
"title": "",
"video_library_id": "6619",
"thumbnail": "https://cdn-fastly.hometalk.com/media/2018/05/29/4854975/simple-desk-for-free.jpg"
}
{
"width": 634,
"height": 357,
"showRelated": true,
"noautoplay": ""
}
Resources for this project:


Any price and availability information displayed on [relevant Amazon Site(s), as applicable] at the time of purchase will apply to the purchase of this product.
Hometalk may collect a small share of sales from the links on this page.More info
Comments
Join the conversation
2 of 15 comments
-
This is the neatest of ideas......great place for privacy. I would love it, but havin' 4 sons of my own.....they would of stayed on the bed and forget the closet desk. Boys are boys.....the bed, the books and the phone. Good Luck though!
-
This is really nice! At first I had doubts about transforming a closet into a workspace, but it turned out beautiful. I like that it’s a private space that will be a quiet place to do homework and study. When your superstar is finished studying, you can just close the door! Great job!


Frequently asked questions
Have a question about this project?
I love it! But where do you put the clothes now?
How did you power the closet for the lamp and laptop?
Where do you put the clothes