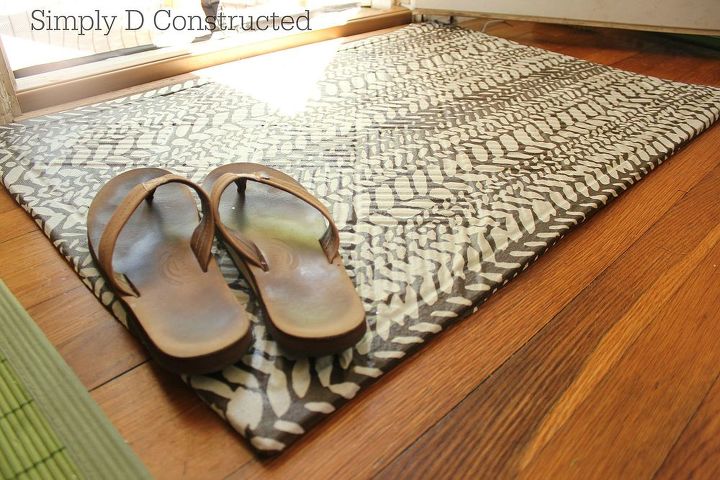
DIY Fabric-Covered Rubber Mat

$8 rubber mat covered in pretty fabric and painted with polyurethane. Wipes off clean and no slipping or sliding across the floor!
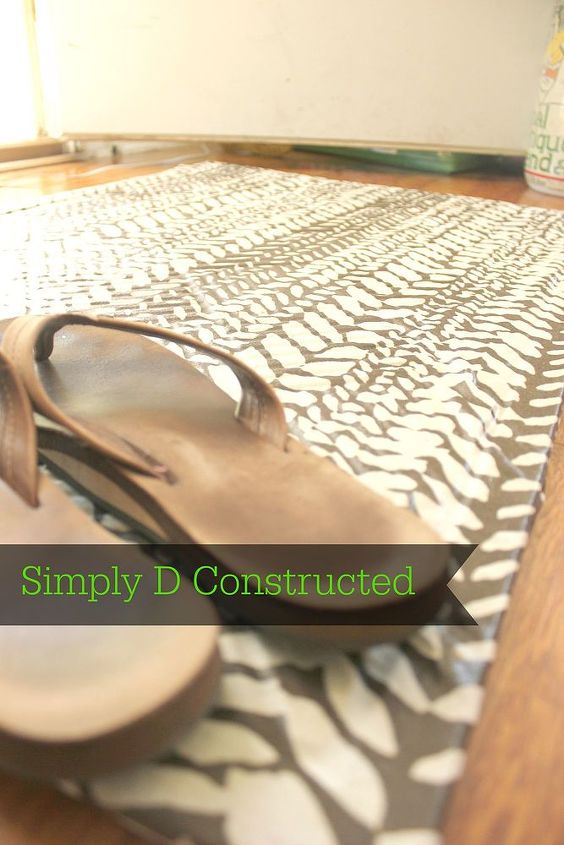
First, my fabric was stretchy. I did not care since there was a pattern on it. I also did not lay it straight on the mat. I was a little too eager to start. It's a little crooked, but I like to think it has "character" now. The fabric was from a yard sale a couple of summers ago. So $free-dollars, for this project.


Secondly, I bought a heavy-duty rubber mat with deep grooves. Stretchy flowy material + deep grooves = not a smooth finish in the end. The rubber mat was about $8 at Lowe's. Did I mention that it was super heavy?


Other than these two items, everything else was similar. I had some 3M Super 77 on hand from a project I made. Again, $Free-dollars for this project.


I chose a water-based Polyurethane just like they said, so that my fabric would not yellow. Honestly, I wish I could Poly everything. This stuff is amazing! $15-ish, at Lowe's.


I used Duct Tape to tape down the fabric on the underside of my mat. It looks ridiculous under there, BUT nobody will see it. $Free-dollars!


Because my rubber mat is so heavy, I didn't feel I needed the caulk to prevent it from shifting when someone steps off of it. Like the dog. He used to send our rugs flying across the floor. So annoying. The caulk is a good tip, if you go with a lighter weight for a mat like they did.


Make sure to allow it to dry completely, in between each coat of Poly. I did three coats. This actually took me a few days. Ugh. Life of a busy mom, I forgot it was still out on my porch.
You will need:


Fabric (enough to cover your mat and then overlap by 4-6 inches)


Rubber mat


Spray Adhesive


Scissors


Duct Tape


Water-based Polyurethane
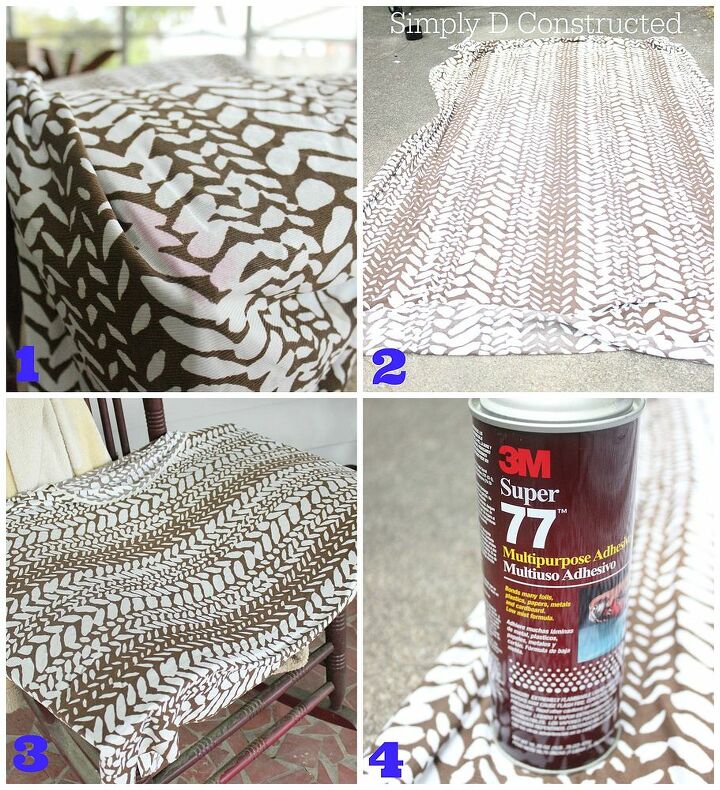
Here is how I made mine:


1. Cut fabric so that there is about 4-6" of excess around the rubber mat.


2. Spray mat with adhesive.


3. Carefully cover mat with your fabric, starting at one end and working your way down/up to the other end, maintaining the 4-6" overhang.


4. Let the adhesive do it's thing. I let it set overnight. Mostly because life to in the way. That's okay, because I really wanted the fabric to stay put. Forever.


5. Poly time! Take your polyurethane and dump some of it into a bowl or container that you want to use. I felt this was the neatest way and I hate to have a messy can in the end.


6. Using a wide brush (I went with a cheap one) start applying the poly to the fabric. I placed mine right onto the floor of my porch, and went to town covering it completely. Then let it dry all the way.


7. Repeat #6 and let it dry all the way.


8. Repeat #7 and let it dry all the way.


9. Voila! You have a beautiful customized mat. Problem is you have fabric hanging over the edges big time. You will need your duct tape at this point. You will want to cover every inch of the fabric ends, so it looks like my picture up there.


10. And now for the caulk. This is where we part ways, because I skipped this part. Be my guest though.


And tell me how it turns out!
Dee Williamson
Want more details about this and other DIY projects? Check out my blog post!
Go
Frequently asked questions
Have a question about this project?
Comments
Join the conversation
Next