


Craft Table Out of “trash”

10 Materials
$100
3 Months
Advanced
Sometimes I see an item not for what it actually is, but what it could become-a lot of DIYers are like that I think. So my neighbor has had a 1962ish Airstream RV type thing in his driveway wayyyy to long. It’s a gigantic silver eyesore. I think his son is restoring it, which should make me curious and happy, but no. Eyesore.
One day I was getting the mail and noticed 2 sets of drawers by the trash cans that I had to investigate. Looked like they were pulled from the giant silver eyesore, maybe under the couch or bed or something. They were about 6 ft long, 20ish inches wide and 10 or so inches deep. 3 drawers each.
So I’m standing there staring at them, lifted one corner, heavier that I thought. Not that dirty or damaged. About that time my son pulled up for dinner so I ran it by him. (he was about 28 at the time) “am I a crazy hoarder for wanting these? I know I can make something “
hes the only person in my family that would actually say this: “ no mom your not crazy, you wanna make something I’ll put them on the back porch for you”.
So I had a plan to turn the junky office into craft room. Not a plan, per say, but an idea, a wish, pipe dream...? I have about half of HOB-LOB’s inventory spread throughout my house. My Home Depot stock is in the garage, back shed, etc.
Anyway, I’ll need a table in this imaginary craft room to pile stuff on, uh I mean make beautiful homemade stuff and build unique works of art that will sell for thousands....but I digress.
back to the drawers. I cut a piece of plywood I had in garage to attach to bottom. Then I put one frame on top of the other, wood glued together and used metal wood joiner things. ( I used to just wander around HD until I saw what I thought would work, now I actually look it up or ask HomeTalk)

You can see the 2 frames with 3 drawers each. I had already pulled the drawers out of the frame on the one in the back
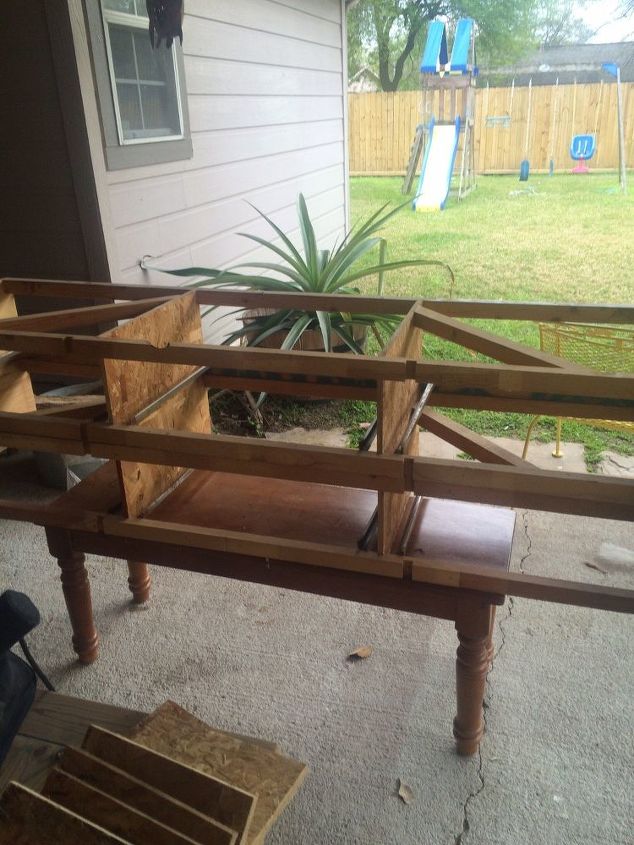
Drawer frames w/no drawers, oh, it needs a top, and a bottom, and a back...hmmm
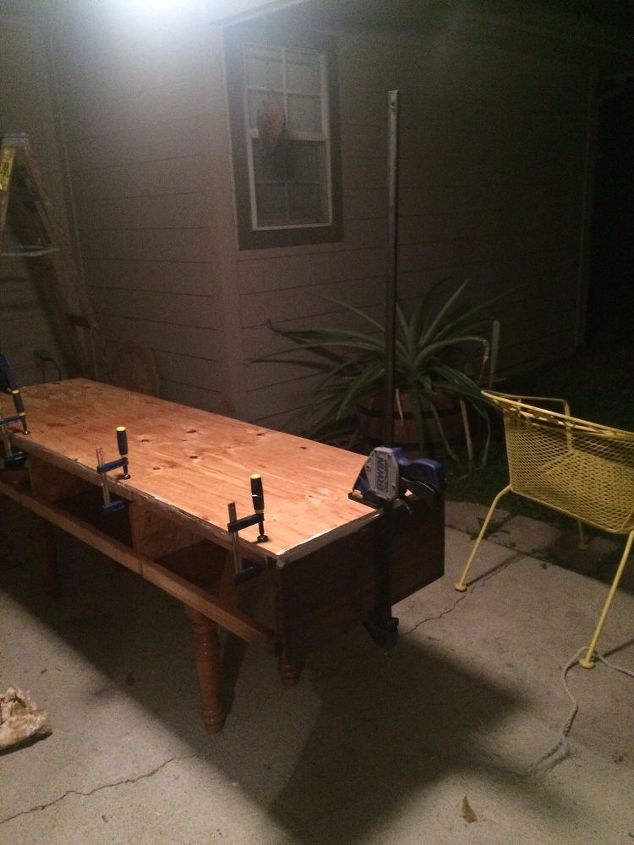
attached plywood bottom, wood glue and wood screws. Clamped overnight.
obviously I missed taking a few pics. At this point the bottom, top, and back have had plywood attached. I had HD cut it for me. The plywood didn’t look good, so I covered the back and sides with very thin wood veneer Just using liquid nails. Sanded the edges and corners. The bottom didn’t need covering and the top I planned to put tile on. More on that later.
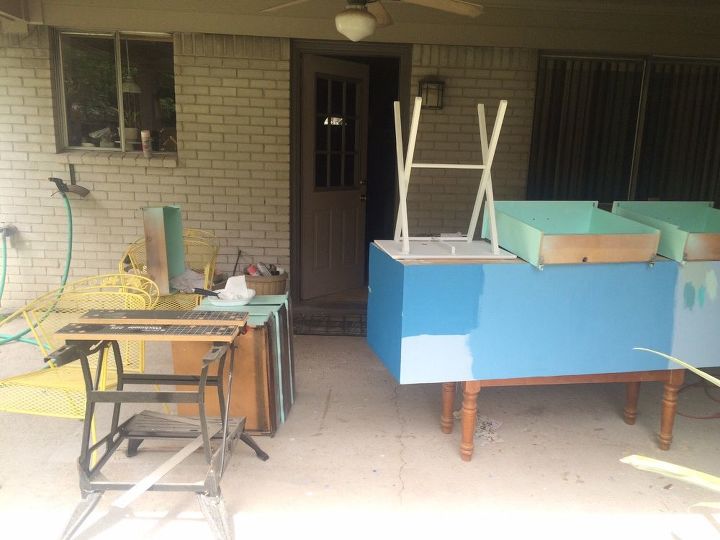
(the legs you see underneath are just a bench I was using to work off of) Those are the drawers sitting on top which I was painting a sea foam green. That white up side down TV tray table was a totally diff project, but you know how that goes!!
i was trying out diff shades of blue to go with the green. I just added more or less white chalk paint to some darker blue I had on hand.
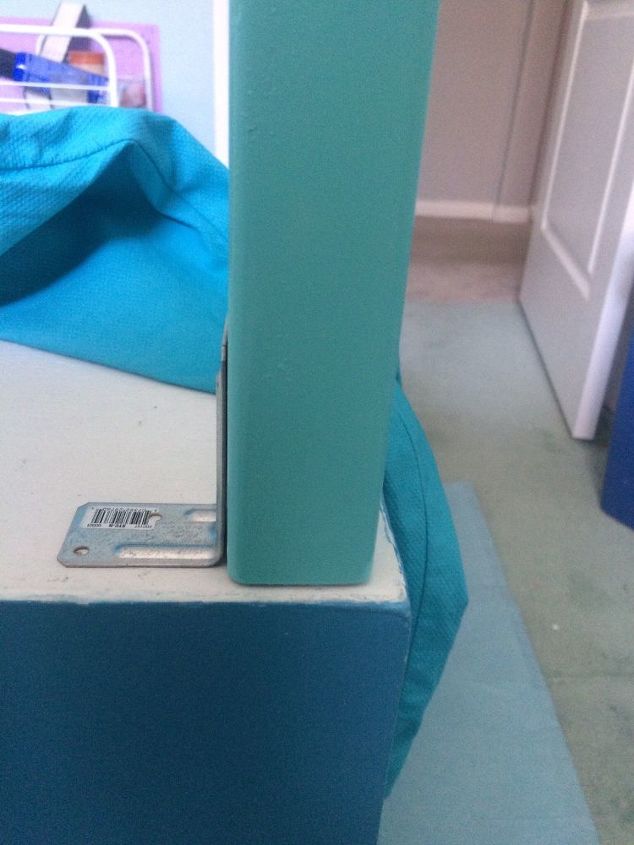
So here is the bottom with leg attached. This was a learning experience!! I used the same green paint as on the drawer.
In trying to keep costs down, instead of buying actual table legs from HD, I bought staircase posts and cut them in half. Truth be told they are too skinny and I’ll probably have to replace them eventually. I also should attach cross bars to legs to keep them steady. Anywayyyy...if your doing a lightweight table, the stair case spindles are a less expensive alternative.
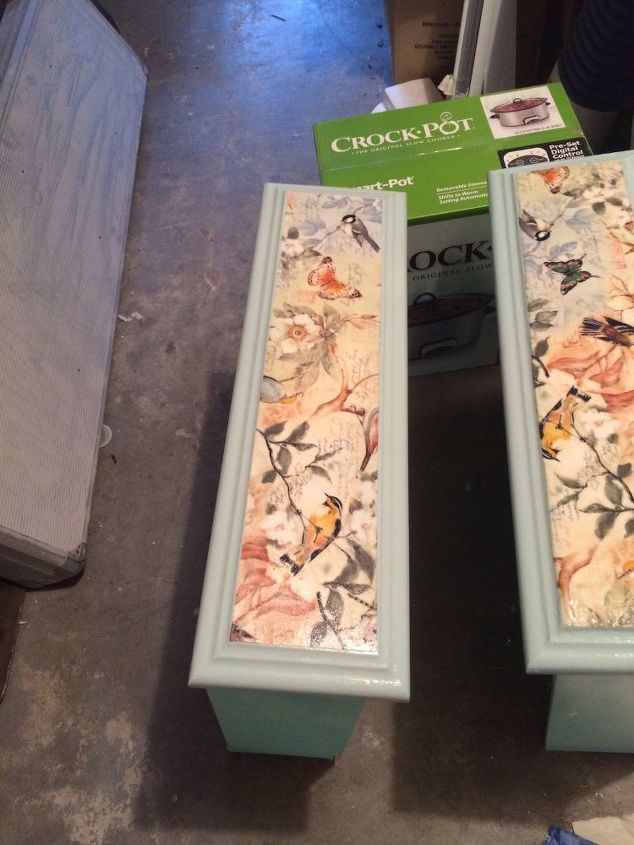
the drawers I decoupaged with this fabric I fell in love with. On clearance at JoAnns. I took the whole piece of fabric and put mod podge for fabric on it. I did this before cutting so the fabric wouldn’t fray. The drawers had been painted the sea foam color (spray paint)on the sides and inside, but on the front I put a really light blue chalk paint. I thought th blue looked better with the fabric. I just put a coat of mod podge on the wood, laid the fabric down, Then several layers of polyurethane.

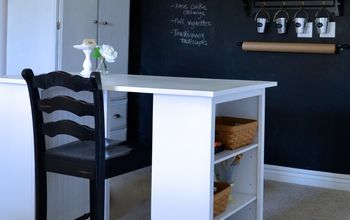
Hubby helped me move it fromback porch to craft room. Remember it’s 6 feet long. We had to move it in, then attach legs after. With a prayer and a wish we turned it over.....it didn’t fall! Put the drawers in, still didn’t fall. Now it’s loaded down and still standing. Here it is in my new craft room. The tile has not yet been put on top; I am concerned the weight of them could be too much. Probably will reinforce the legs before.
Resources for this project:
See all materials


Any price and availability information displayed on [relevant Amazon Site(s), as applicable] at the time of purchase will apply to the purchase of this product.
Hometalk may collect a small share of sales from the links on this page.More info


Frequently asked questions
Have a question about this project?