


A DIY Stamped Lightshade
2 Materials
$25
1 Hour
Medium
This post is about my DIY Stamped Lightshade for my shelf lamp, which did not turn out completely perfect, but I'm still loving it.
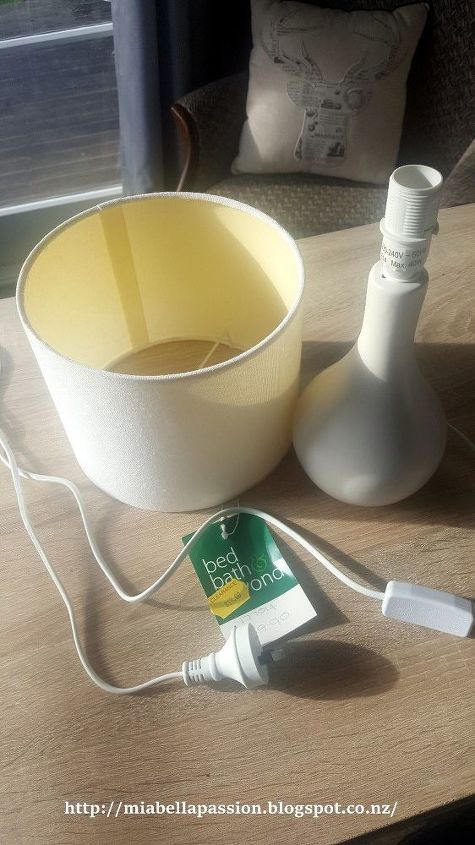
This little lamp was the perfect fit for my built in lounge shelving.
It was a bargain for just $18.
The plain white base with a cream linen type shade was a little bland, so I decided to add some stamped images to it.
This is how I did it...
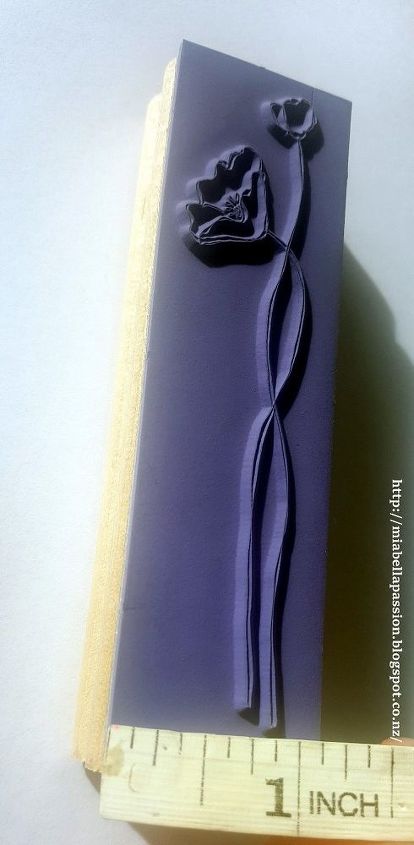
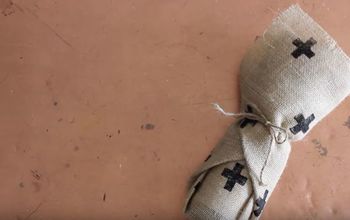
The stamp I used was a simple poppy design by Stampin' Up.
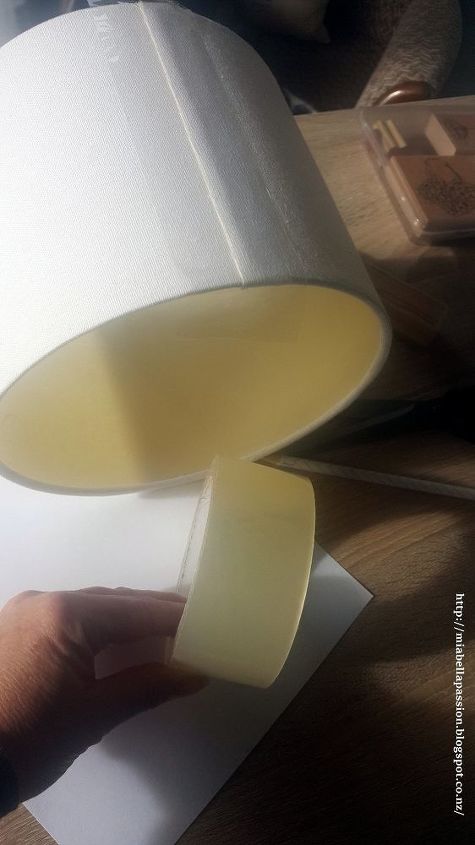
For the first row of stamps I taped one inch spaces using a 2 inch wide sellotape to use as a guide.
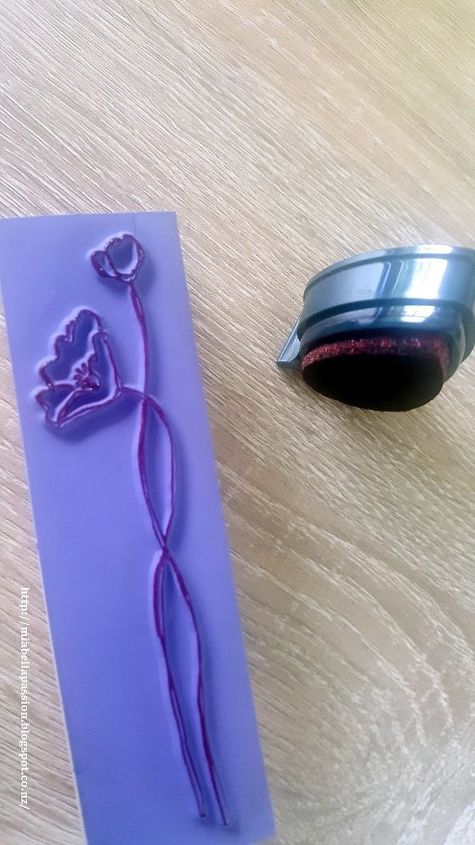
The first ink colour was a red by Dewdrop Inks.
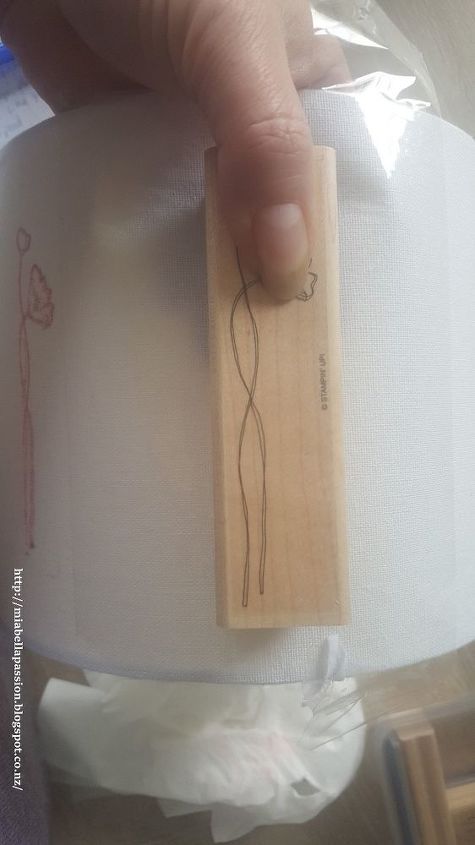
Carefully press stamps onto the fabric spaces between the sellotape.
Leave to dry 10 minutes.
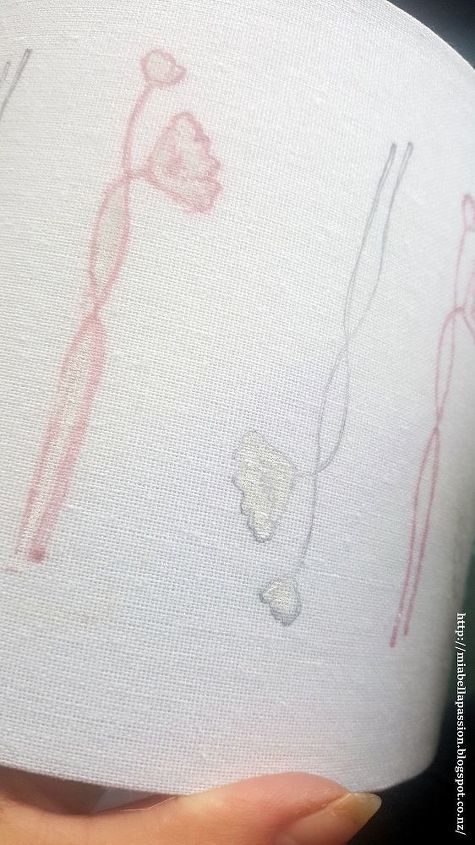
Remove the tape and the stamp the design again in a different colour ink. This time I used a dark grey. The pattern was red - upside down - Grey - right way up.
Leave 10 minutes to dry.
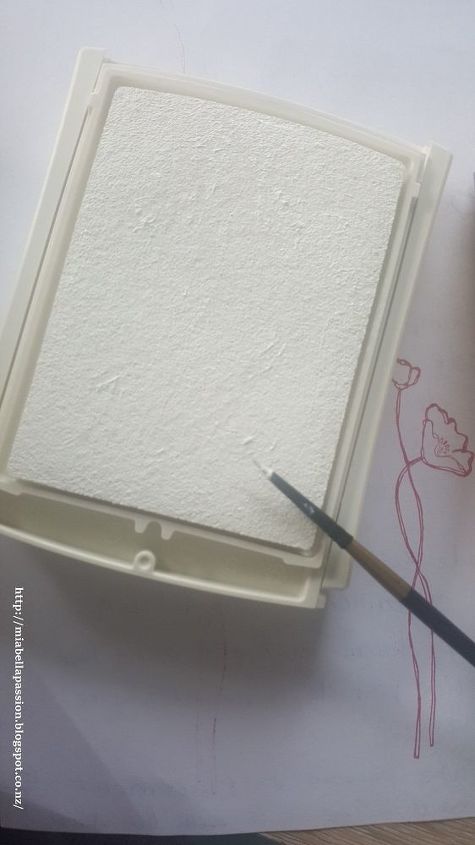
Then I used a cream white ink to colour in the internal parts of the poppy stamp.
Place the light shade onto the base, connect a light bulb, and put in place on the shelf.
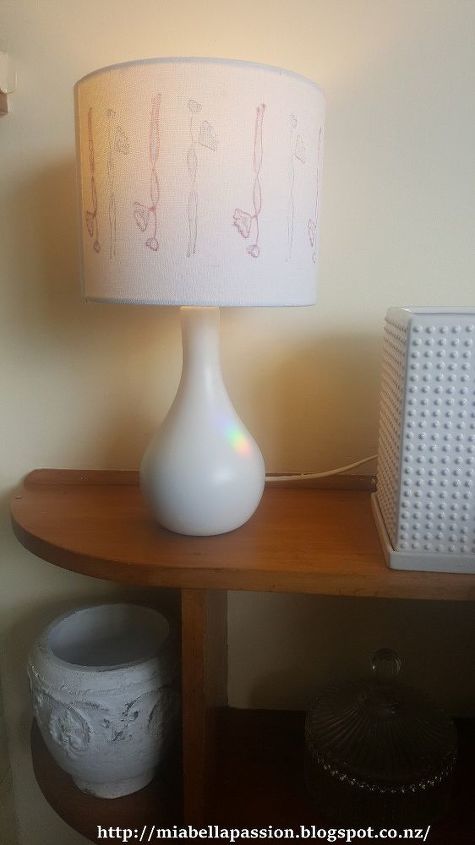
So this is how it turned out...
in traditional Japanese aesthetics, wabi sabi is a view that is centred on the acceptance of transience and imperfection.
The aesthetic is sometimes described as one of beauty that is imperfect, flawed impermanent or incomplete.
I'm telling you this story because the lampshade is not perfect - I was a little heavy handed with the red dye. So there is some imperfection with bleeding into the fabric on a couple of the red stamp impressions.
Regardless - I think it is still beautiful.
And when I decide to change the shade...I already have a vision of another fab DIY project!

Want more details about this and other DIY projects? Check out my blog post!
Comments
Join the conversation
2 comments
-
This is so pretty! I don’t think I’ve seen lampshade stamping before. Thank you for such a nice tutorial. ☺️
-
Wow that's different!


Frequently asked questions
Have a question about this project?