


Build a Modern Coat Rack
by
BorkWood
6 Materials
$30
3 Hours
Medium
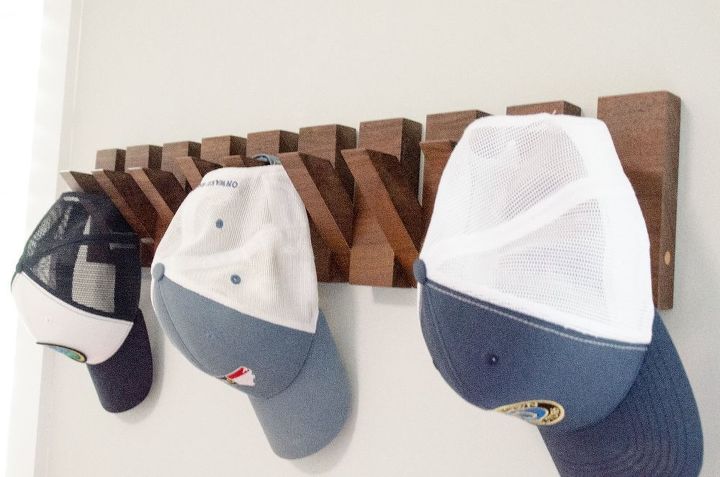
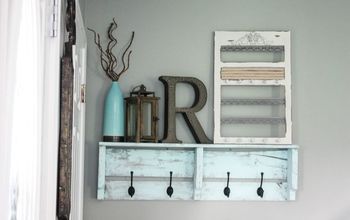
Here is a modern piano-style coat rack I built using Walnut
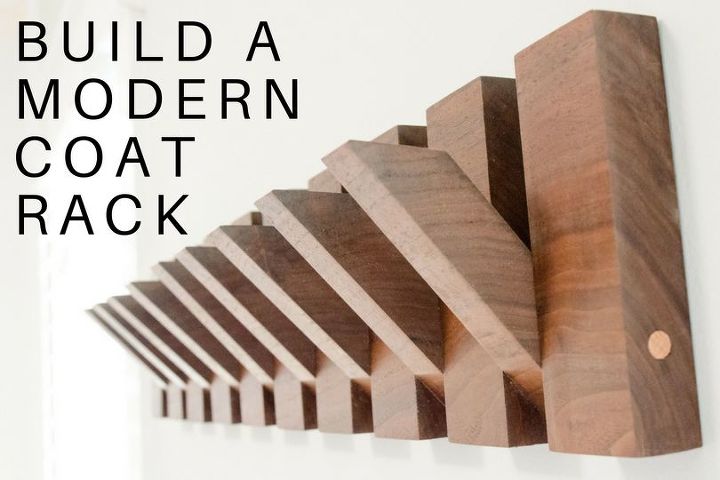
This tutorial will show you how to build a modern coat rack. This modern coat rack design made from Black Walnut wood is both stylish and functional. Whether you’re looking for a coat rack in your foyer or mudroom and whether your interior design style is modern farmhouse or craftsman, this coat rack is sure to fit in just fine. When I was looking for different coat rack designs I ran across a few similar to this that I adapted into my own space and figured out how to build.
Be sure to search YouTube for BorkWood to see the full video and tutorial
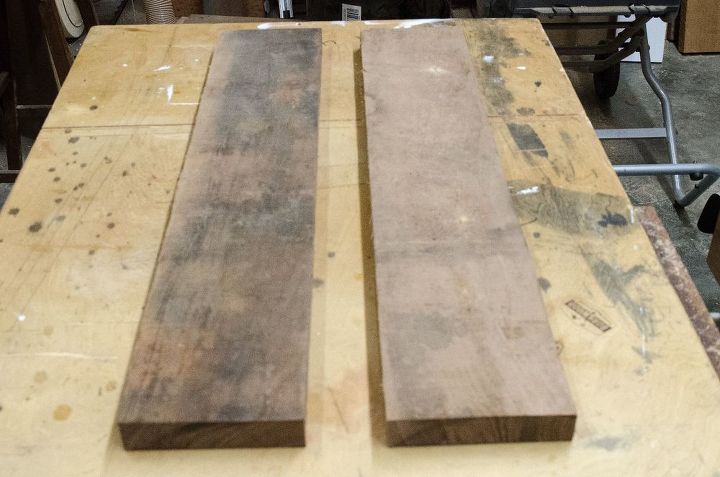
I decided on some air-dried walnut that I had been holding onto for a long time. However, you could choose pretty much any wood for this project. Even plywood would probably make a great modern coat rack design.

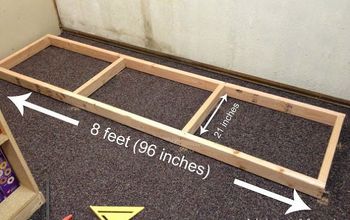
If using rough lumber, cut it to the length you want your coat rack and proceed to joint and plane the wood. If you purchased pre-surfaced lumber than go ahead and cut to length and width. I made my coat racks 30″ long to fit in the space I had, but you could make them any length.
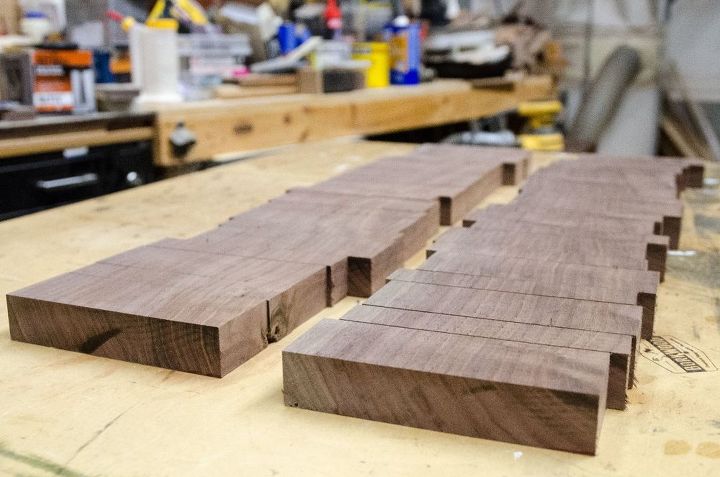
I cut 2″ strips for the stationary pieces and 1″ strips for the moveable pieces that will be used for hanging. Again you could use a variety of different measurements for this, so don’t be hung up on the 1″ and 2″ strips. You can experiment here to see what works and looks best for your own modern coat rack.
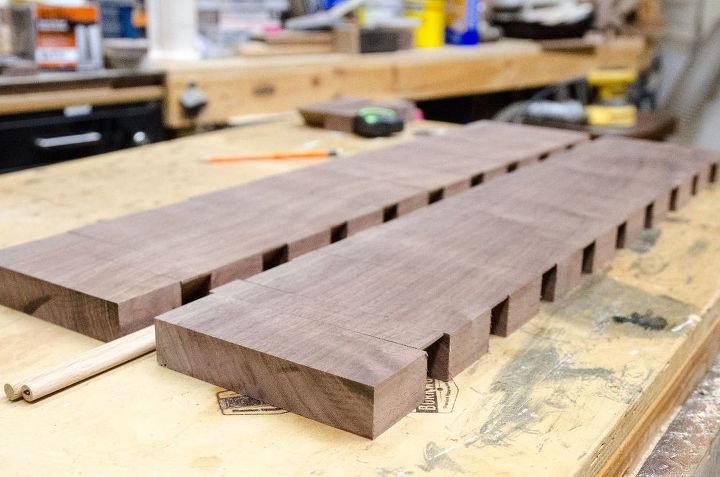
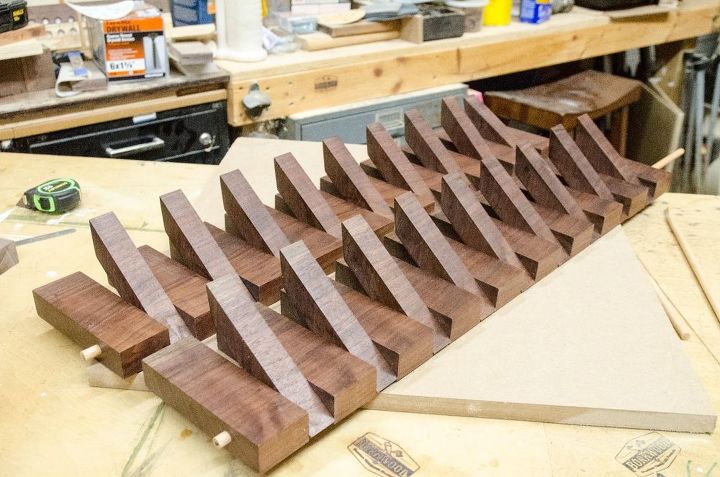
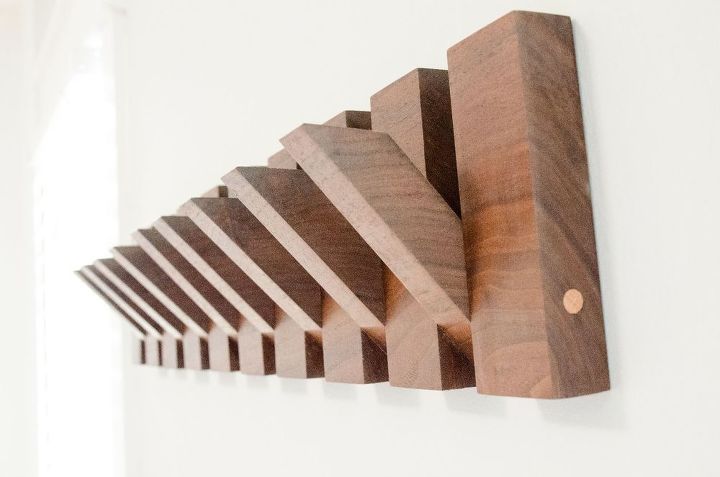
Here is where you cut the angles on the pieces that will fold out to be the hangers in your modern coat rack. You don’t technically need the angle on the top but I think it helps and looks better. I cut 45 degree angles on both ends but ended up having to go back and trim a little more off the bottom so it could swing all the way down without rubbing the wall. Check out the video to see what I’m talking about.
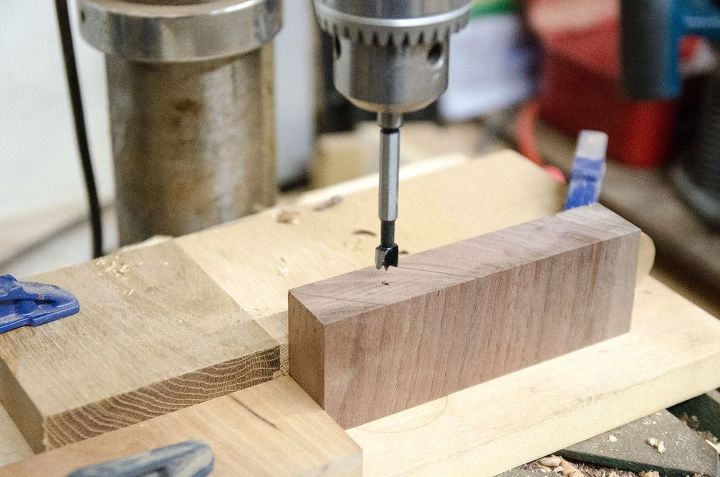
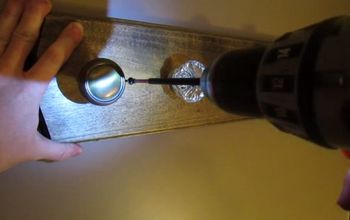
I used a 3/8″ Oak dowel rod to connect my modern coat racks. Again, this is up to you on what size and material you want to use for your dowel rod. You could match the material so it blends in or go with a contrasting color wood like I chose. I set-up stop blocks on my drill press to make the repeatable holes go a little quicker. To know where to drill I lined up the moveable piece against the side of one of the stationary pieces and traced where they met when the moveable piece was folded down. I then found the center of these marks that would serve as the axis for the dowel rod. Once you have this mark, just set-up stop blocks on a drill press or use a hand drill to drill all of your holes.
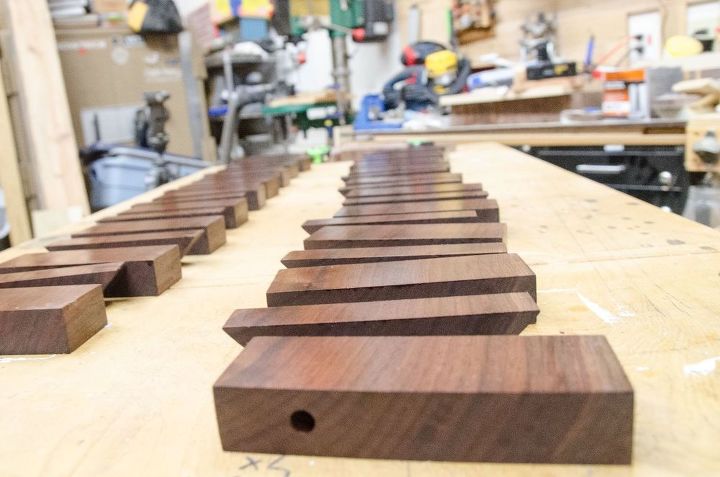
Next you want to sand each individual piece and finish them before assembling. I just put my random orbital sander in my bench vice and sanded each piece. You could do this by hand if needed. After sanding up to 220 grit, it was time to apply finish. I chose wipe on Poly, but would probably try simple Boiled Linseed Oil next time to avoid the film finish that I’m sure will show wear on these over time.
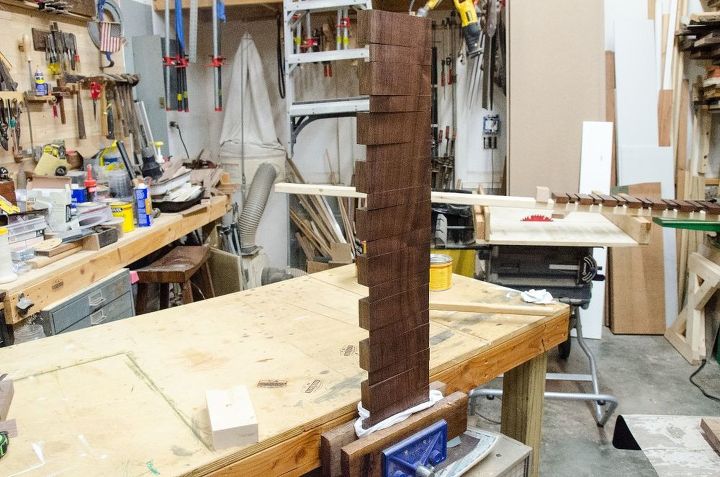
After the finish dries you are ready to add all of the pieces for your modern wood coat rack to the dowel rod. This proved a little difficult for me until I used a little paste wax on the dowel to lube things up. After assemble it is a good ides to use a long clamp to apply some pressure to make sure all of the pieces are seated well. Next I removed the two end pieces, added some wood glue, and reinstalled them. That’s it, the other stationary pieces did not need glue because of the tight fit and the way they mount to the wall not allowing for any movement. Once the glue is dry, flush cut the dowel ends off. Then I figured out where I wanted my mounting locations and routed key hole slots into the backs of the coat racks. Be sure only to route these into the stationary pieces!
I used a screw on each end and one in the middle to mount these with the key hole slots. These coat racks have proved to be even more functional and good looking than I originally pictured! I hope this helps you build a modern coat rack of your own!
If you enjoyed this tutorial please check out my blog and YouTube channel for more!
Be sure to search YouTube for BorkWood to see the full video and tutorial
Resources for this project:
See all materials


Any price and availability information displayed on [relevant Amazon Site(s), as applicable] at the time of purchase will apply to the purchase of this product.
Hometalk may collect a small share of sales from the links on this page.More info
Comments
Join the conversation
2 of 51 comments
-
im makeing one
-
in class


Frequently asked questions
Have a question about this project?
Do you happen to have any idea of how much weight these would hold? I love the way these look and I was trying to figure out if they would hold the kids school backpacks (usually loaded with stuff) as well as jackets/coats.
This is absolutely gorgeous! Do you sell them?
What is the width and thickness of the wood you used?