


How to Make Unique Eco Prints Using a Steamer
3 Materials
$5
2 Hours
Easy
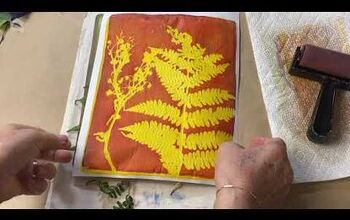
Have you ever heard of Eco Prints? Eco printing is the process of using natural plant materials such as leaves, flowers and bark to dye paper or textiles. By their very nature, each one is unique, and the process is an excellent way of learning more about the natural environment, not least, because it all starts with a walk to collect the materials.
I have read a few articles on making eco-prints. They all talk about bundling up the natural element (leaves and flowers) tightly in the material you want to print on to (paper and fabric) and either steaming or boiling it for at least a couple of hours. Which all seems very straightforward so we thought we’d try it out.
The general consensus seems to be that you should use a mordant to encourage the colours to stick when making eco-prints. Alum (potassium aluminium sulfate) appears to be the mordant of choice so I dutifully ordered some along with some acid-free watercolour paper which I hoped would be robust enough to cope with the steaming.
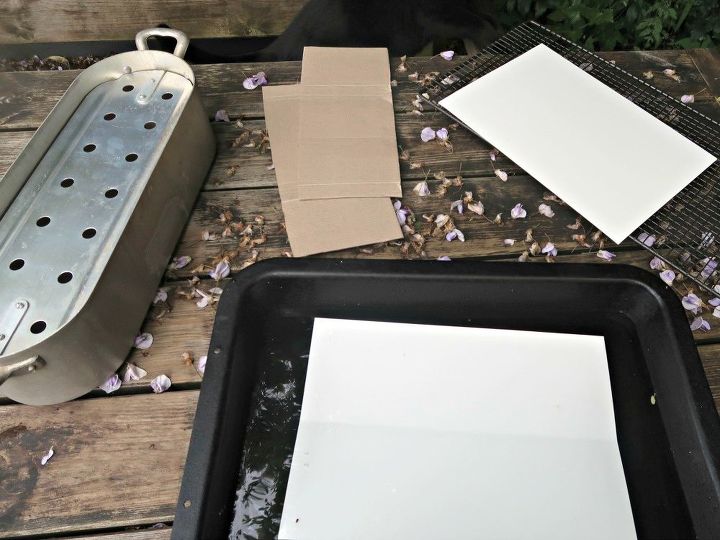
After deciding there was no way that I was going to get the A4 paper into our small round vegetable steamer I hunted around for an alternative. I bought this old fish kettle years ago at a car boot sale, and it’s sat on the top of a cupboard ever since so I am delighted that it is finally getting some use! We could fit our paper in the steamer by folding it lengthways, so that's what we decided to do.
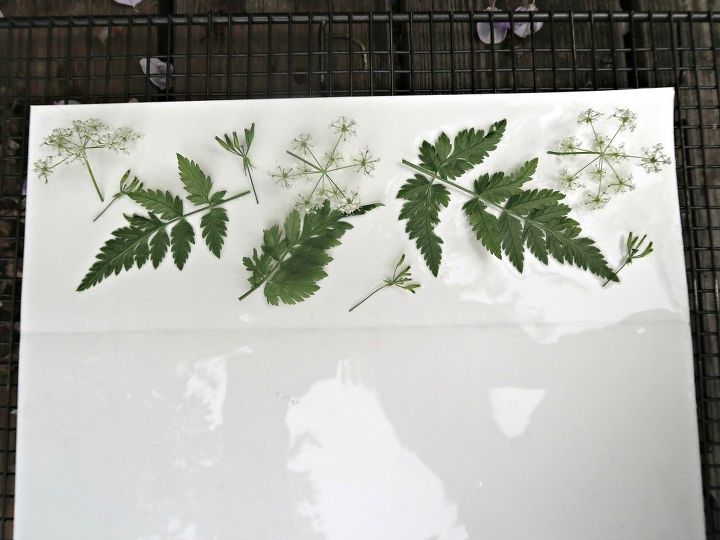
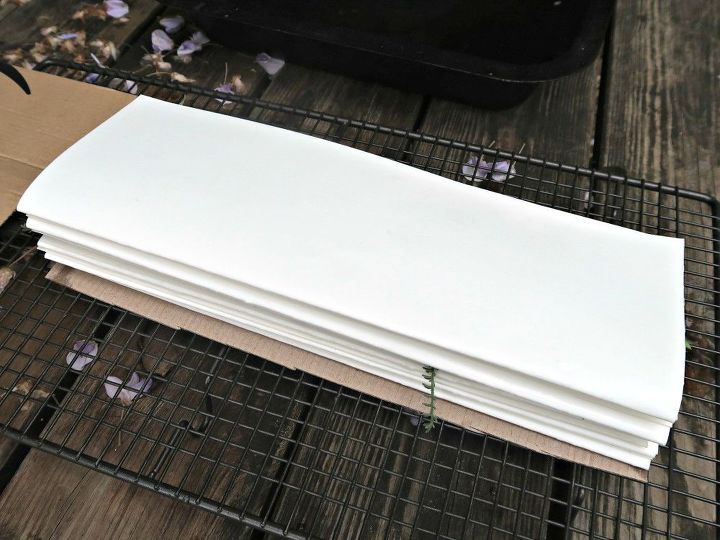
The Alum came with instructions for using as a mordant for textiles. I wanted to use it in solution to prepare the paper by soaking it before adding the leaves. I read them carefully before deciding that using ¼ cup was probably about right for a couple of litres of water and went with that. We soaked the paper in the Alum solution for about 10 minutes, before placing our leaves and flowers on the wet paper, stacking the pages up into a bundle that we secured with card and string.
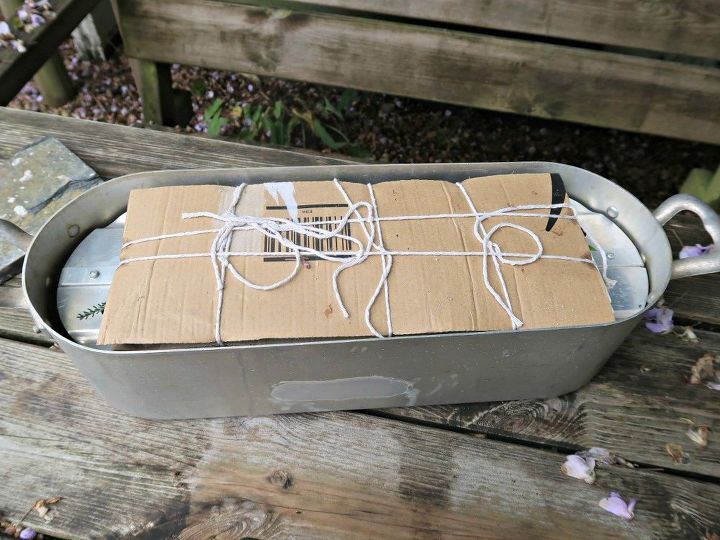
Once our bundle was nestled in the top of the steamer with water underneath the rack, we popped the lid on and weighted it down to stop the paper lifting it off. For simplicity, we decided to put in the oven rather than on the hob and left it to ‘cook’ away for a couple of hours.
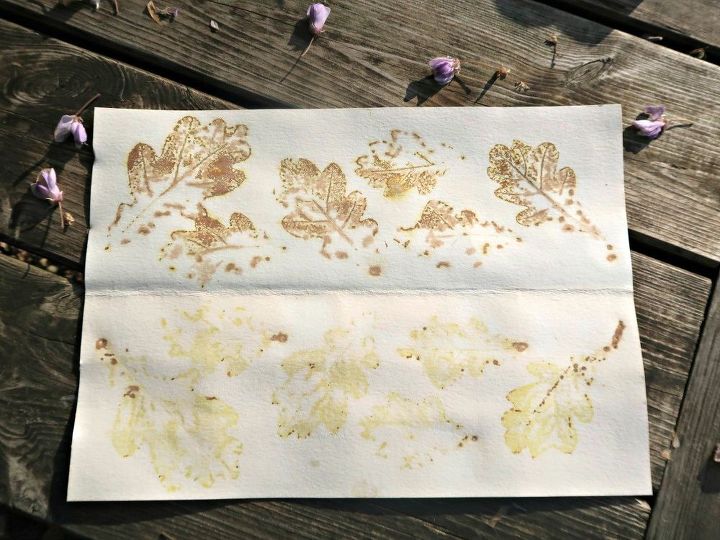
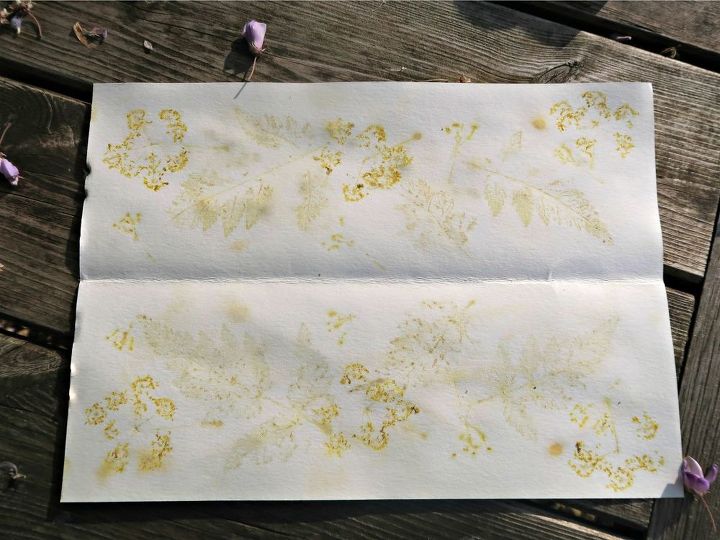
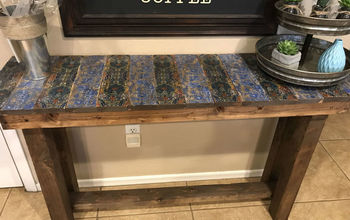
And here are our results
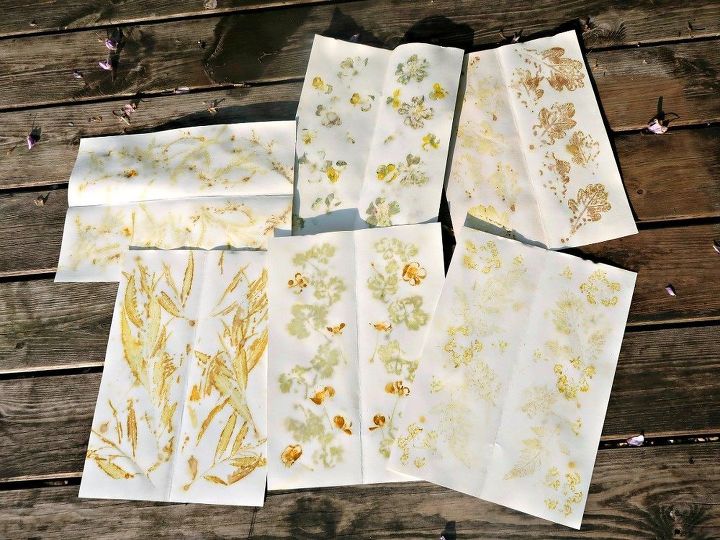
You can see that some of our leaves worked better than others, and in some cases didn’t print so well on the folded over layer.
But overall we are delighted with the results and will definitely be exploring this technique further.
If you enjoyed this tutorial you might be interested in our washable home made fabric paint and our making dye from lichen posts.

Want more details about this and other DIY projects? Check out my blog post!
Comments
Join the conversation
1 comment
-
Just yesterday I saw someone at an fancy market selling this done on fabric.It was very expensive. I am definitely going to do it myself once I have sourced alum. Perhaps one could use a roasting dish with one of those removable things that allows the drippings to fall away.


Frequently asked questions
Have a question about this project?