


The Surprisingly Easy Way to Make Your Own Botanical Prints
Today I want to show you how to make botanical prints almost instantly. They are easy to make from greenery and flowers in your garden or even items you have around your home.
This post was transcribed by a member of the Hometalk editorial team from the original HometalkTV episode.
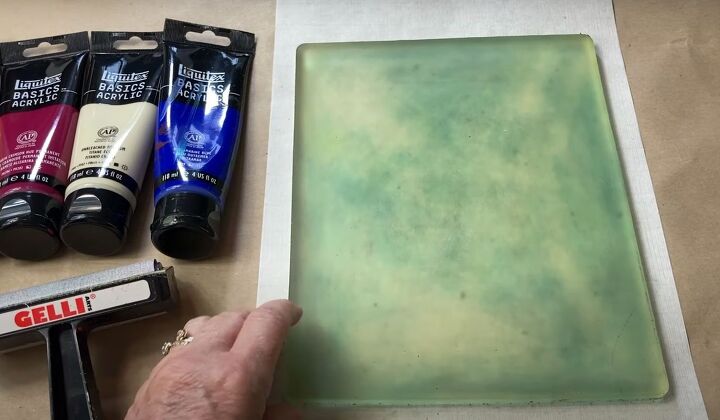
To start off, I needed my gel press printing plate. It's like a huge lump of jelly. They don't look green when they come, they start off clear but mine is well used.
I also had a collection of greenery from my garden. I used some leaves, grass, horse tail, and a variety of other little plants and flowers.
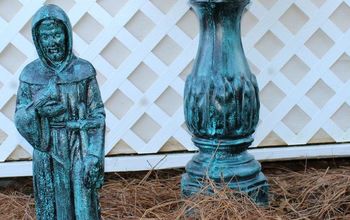
Blue botanical print on paper
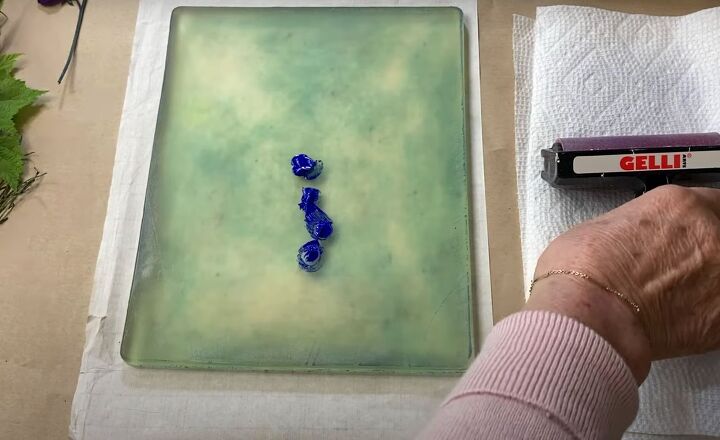
1. Squeeze paint onto the printing press
To make my DIY leaf prints, I first added some blue paint to the center of the plate. You don't need a lot. When you first start doing this, you will likely use too much. I think everybody does to start with but you really don't need a lot.
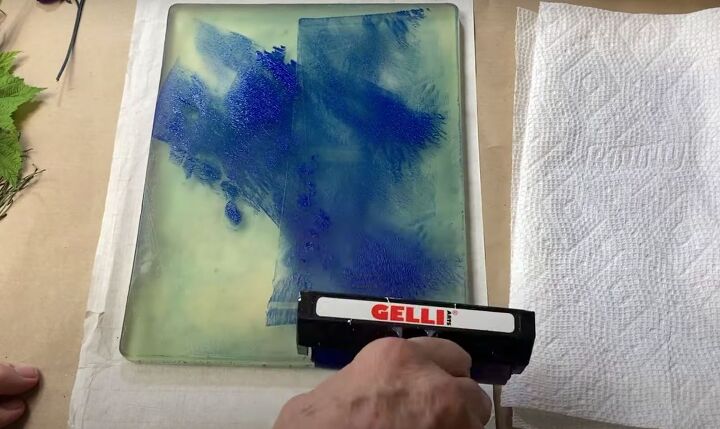
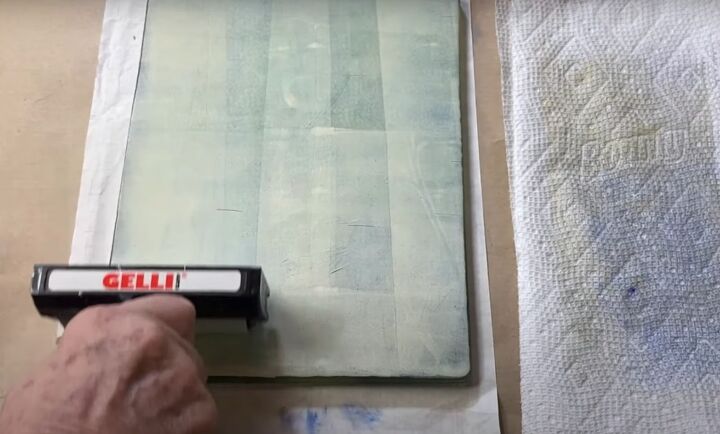
2. Use a brayer to spread the paint
Then I moved the paint around with my brayer. Just move the paint all over the plate lifting the brayer up as you go. It's as simple as that.
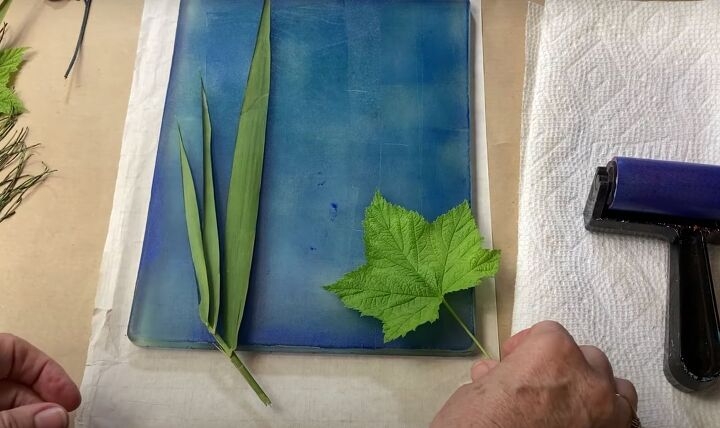
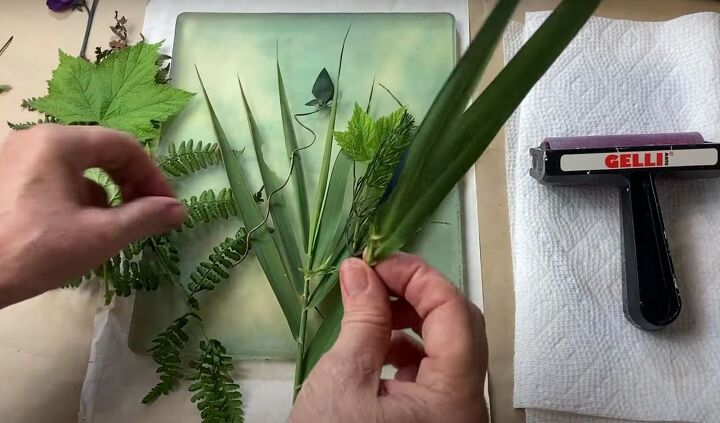
3. Arrange greenery
Next, I took some of my greenery; some grass, a leaf, a flower, and some of the horsetail, and laid them over the blue paint.

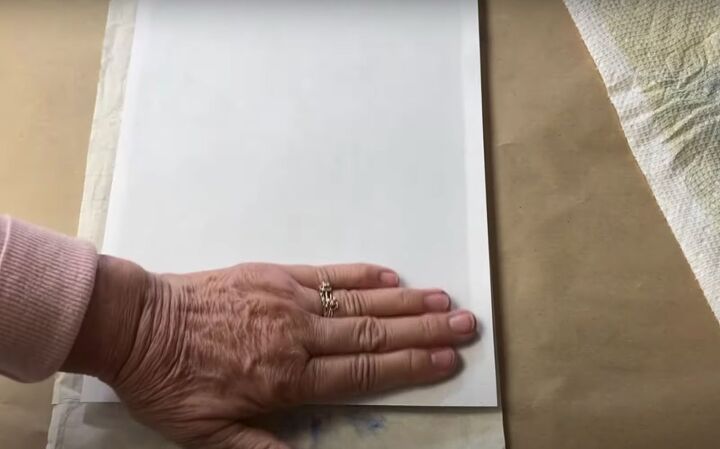
4. Place paper over the greenery while applying pressure
Once they were all in place, I took a piece of regular printer copy paper, laid it on top, and pressed fairly hard all over the paper. I wanted to remove as much of the blue paint as I could.
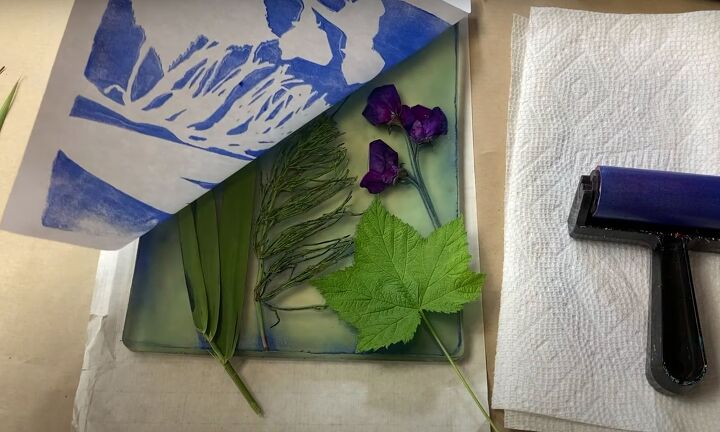
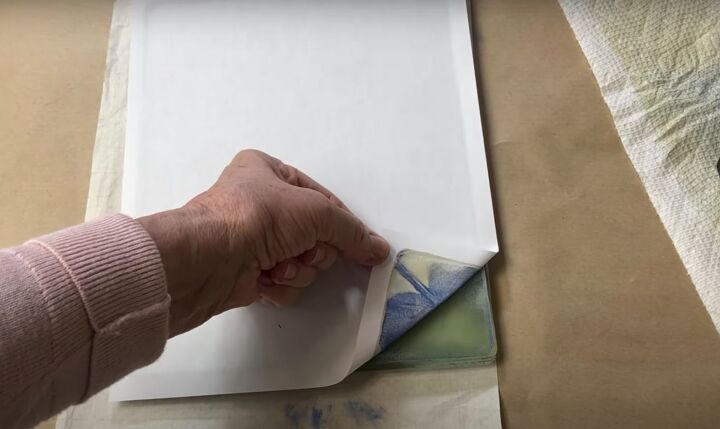
5. Peel the paper off of the printing plate
After pressing it firmly all over, I peeled the paper up and then removed the greenery from the plate.
You will see that it left an imprint of the leaves and the flowers. I left it to dry for a few minutes.
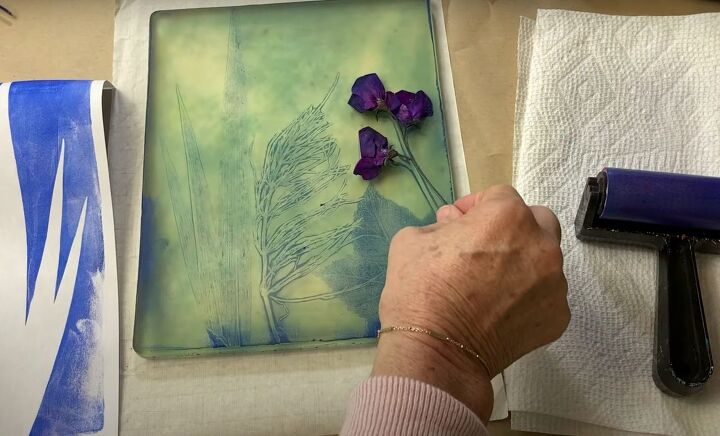
6. Add a lighter shade of paint to the printing plate
Once the paint on the gel plate was dry, I wanted to pull off a print. To do that, I needed to add some more paint to reactivate the blue and remove it so I added a little paint in a softer color,
7. Spread the paint over the printing plate
I worked it onto my plate using my brayer again. Make sure this layer is quite thin and fine.
8. Lay a fresh piece of paper over the paint
Then, I laid another piece of paper on top and smoothed it out again making sure it made contact with the whole plate.
You can have a little peak to see if it's working.
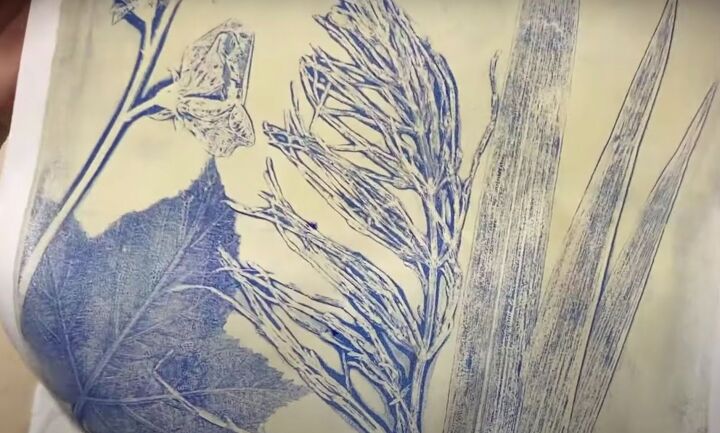
9. Peel the paper off the plate
Once I knew it had worked, I started at the top and peeled my paper off. Look at all the fine details in this grass and the veining on the leaves. They are so pretty!

Yellow botanical print on paper
Now I wanted to make another one so that I would have a pair.
1. Add paint to the gel press printing plate
This time I started with yellow first and used my brayer to spread the paint all over the surface of the printing plate.
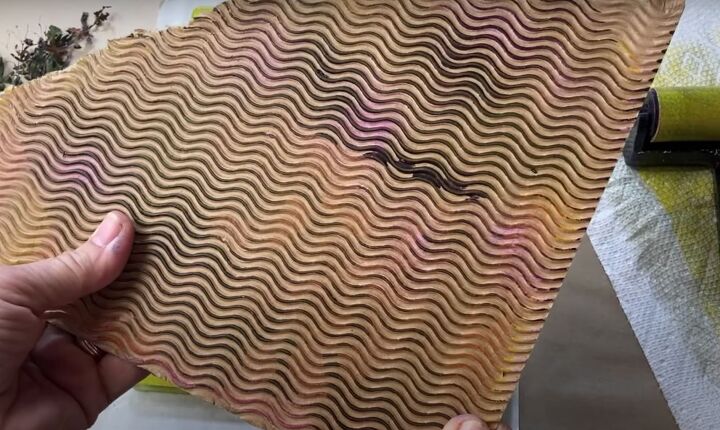
2. Lay textured cardboard over the paint
To give this one a little texture, I laid a piece of cardboard that had a wavy pattern on it into the paint and pressed it down.
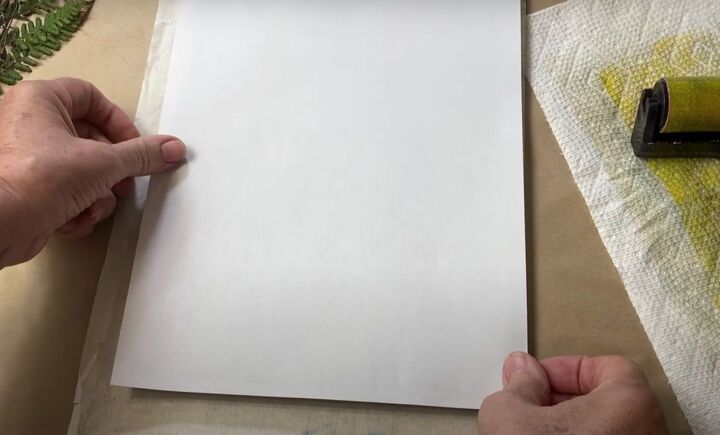
3. Remove excess paint
Next, I wanted to remove a little of the paint so laid down another layer of paper and pressed it all over.
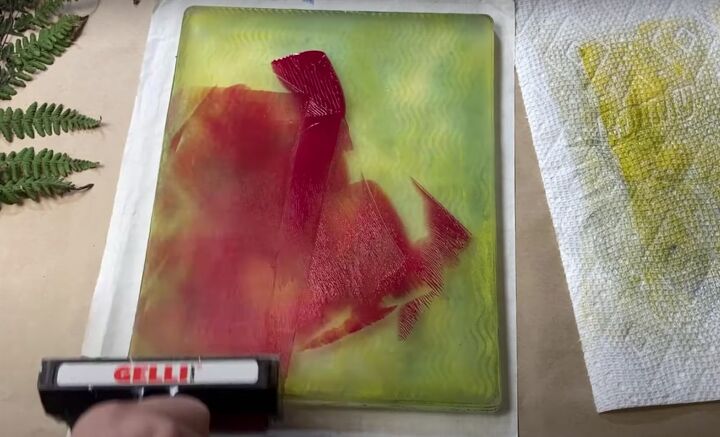
4. Add a second layer of paint
I added a little red paint after I removed the paper.
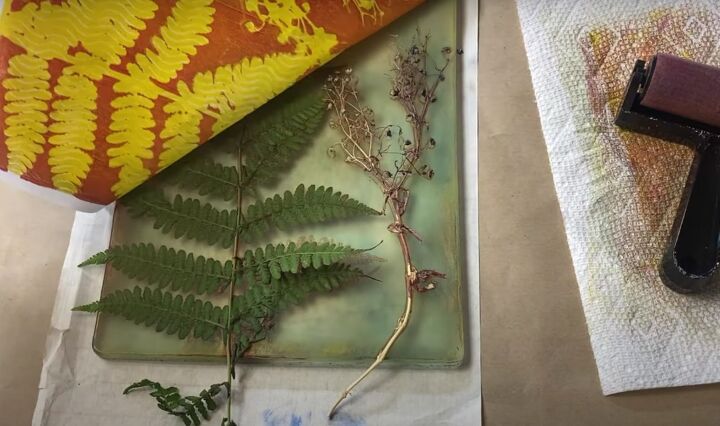
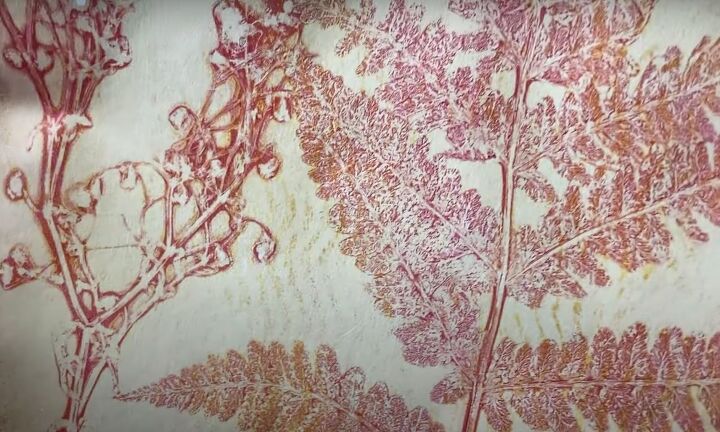
5. Arrange plants and press paper onto the printing plate
Taking a piece of fern and a dead flower, I laid them in the paint, and then laid a piece of paper over them and pressed it all over. Once I peeled the paper up, it created a negative image that was quite pretty in and of itself.
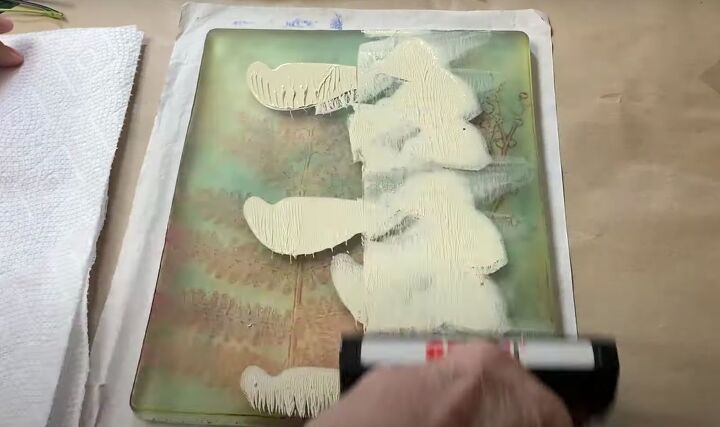
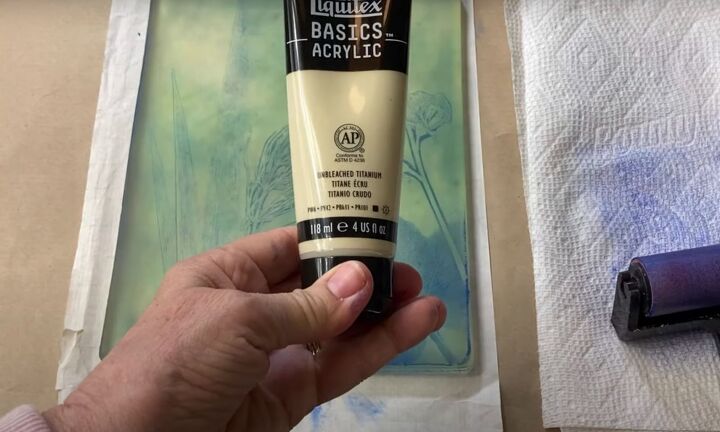
6. Add a lighter paint color
Next, I added a layer of my unbleached titanium again and smoothed it out with my brayer.
7. Lay a piece of paper over the paint
I laid the final piece of paper on top and smoothed it out to make my leaf print.
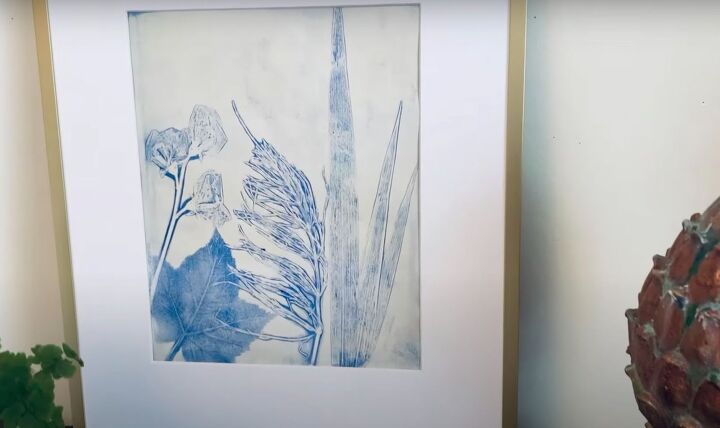
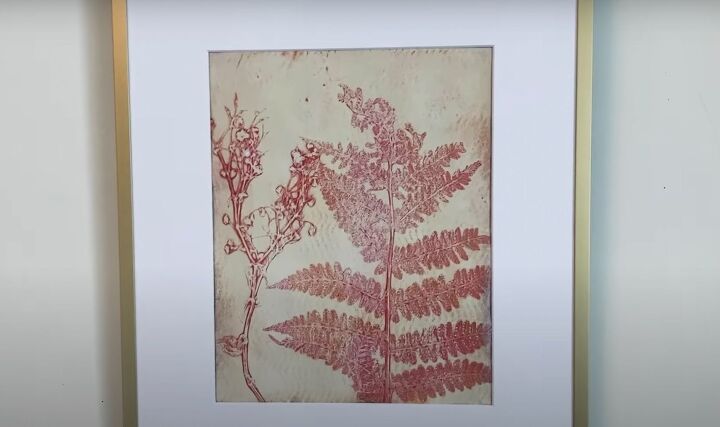
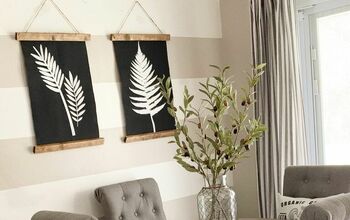
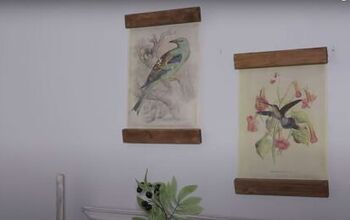
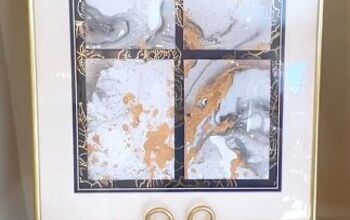
The surprisingly easy way to make your own authentic botanical prints
Here are my new botanical prints framed. The detail is amazing and it hardly took any time at all to make them. I hope you liked this project on how to make leaf prints with paint.


Comments
Join the conversation
-
Very pretty. Love the colors.
-
They came out beautiful..


Frequently asked questions
Have a question about this project?