


DIY: $15 Dried Magnolia Wreath
5 Materials
$15
30 Minutes
Easy
I rediscovered these beauties…from my Christmas centerpiece.
I knew that these gorgeous, now dried, Magnolia leaves deserved a permanent place in my home and suddenly my inner Joanna began to emerge.
If you are a Fixer Upper fan like me, then perhaps you have been longing for one of Joanna’s trademark Magnolia wreaths. I have!
I have browsed in the past and have fallen in love with some lovely Magnolia wreaths but, of course, I fell in love with the ones out of my price range…isn’t that the way it always goes?
Fresh or dry. Faux or real. I simply cannot justify that amount of spending on a wreath.
With this pile of dried leaves staring back at me and knowing that I spent just $15 for this bundle before Christmas, I wasn’t going to let these beauties go to waste.
In just 30 minutes, I made my own Magnolia wreath that even Chip would be proud of!
Here’s how I did it…
With this pile of dried leaves staring back at me and knowing that I spent just $15 for this bundle before Christmas, I wasn’t going to let these beauties go to waste.
In just 30 minutes, I made my own Magnolia wreath that even Chip would be proud of!
Here’s how I did it…
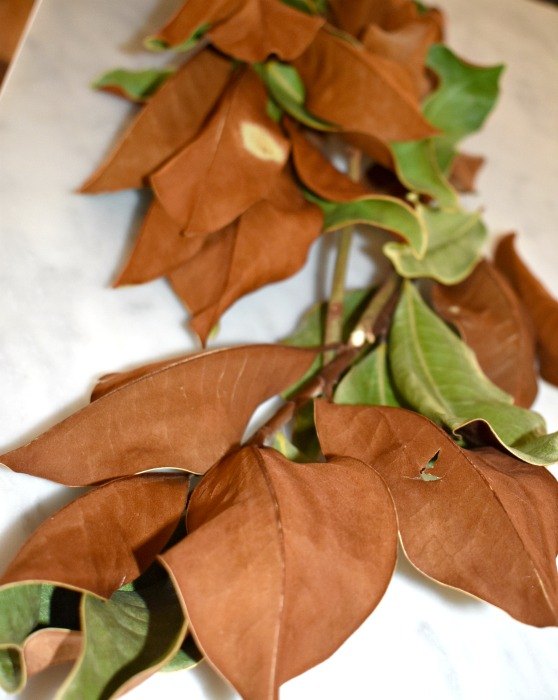
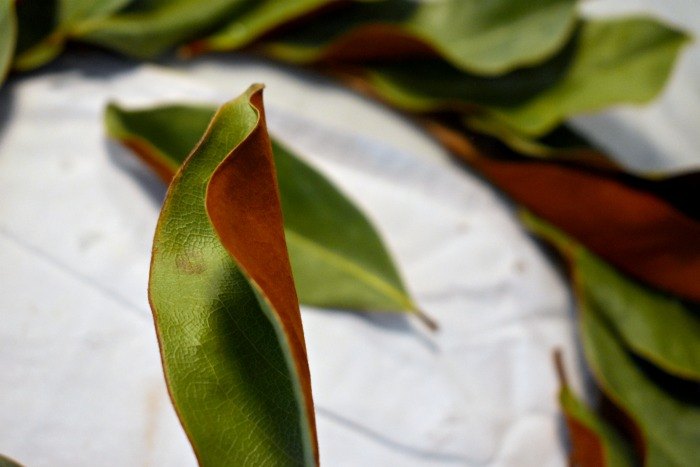
I gently stripped the leaves from their branches.
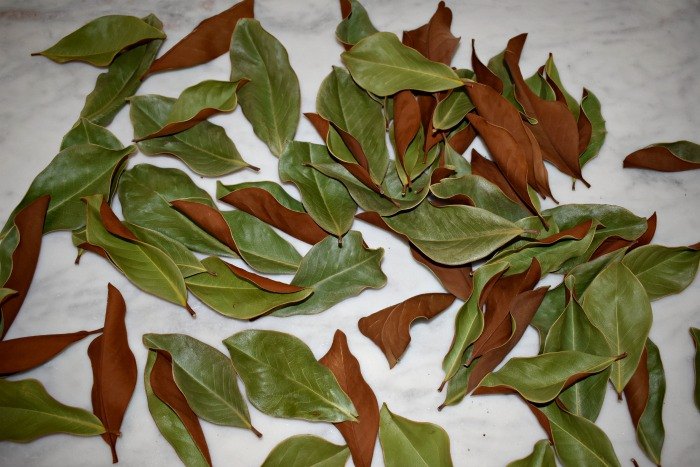
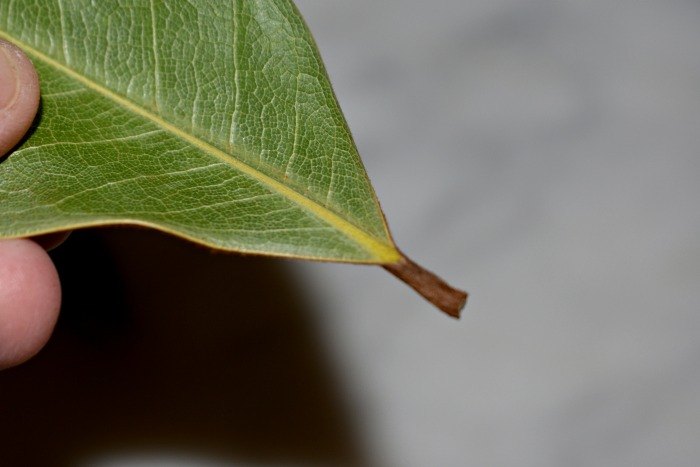
I organized the leaves by size and then I separated the flattest leaves from the ones that had curled.
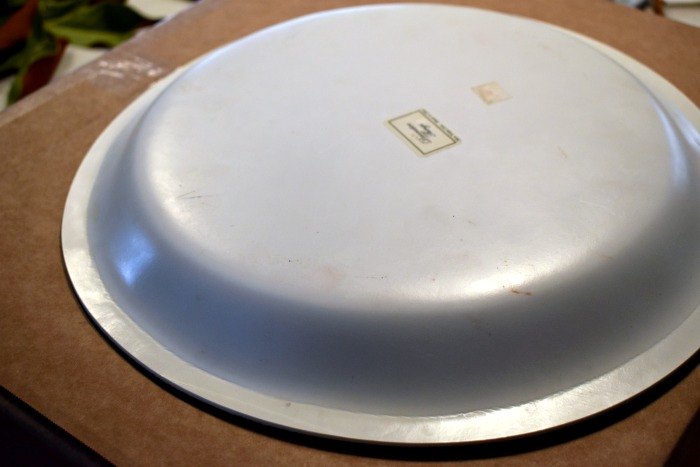
My leaves were also so delicate and brittle that I didn’t want to use wire to attach them to traditional grape-vine wreath base. I decided to make my own wreath base with some sturdy cardboard.
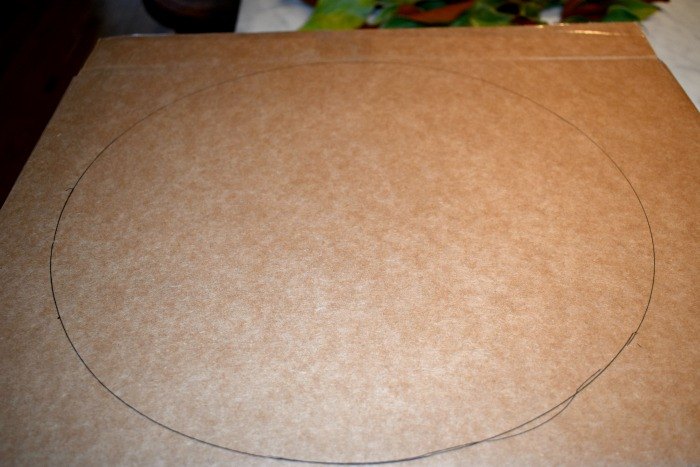
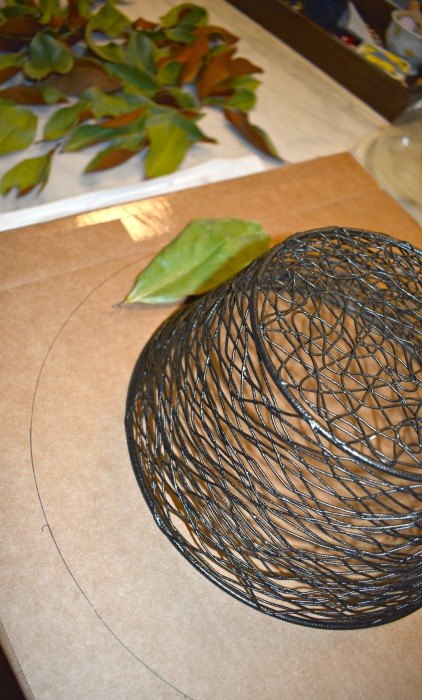
I simply traced a platter and a basket and used my sharpest scissors to cut the new wreath shape out.


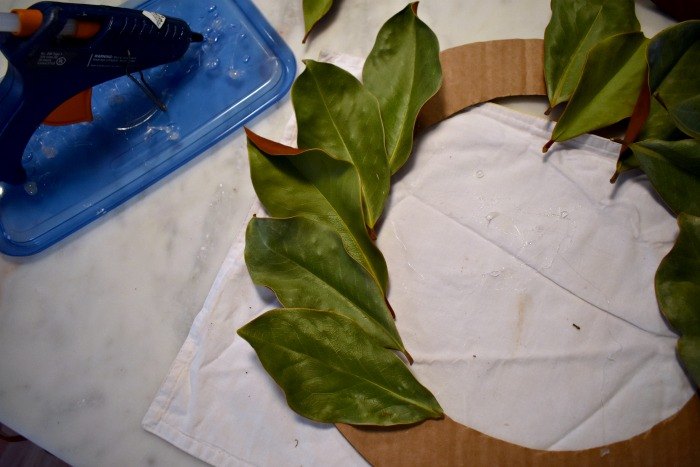
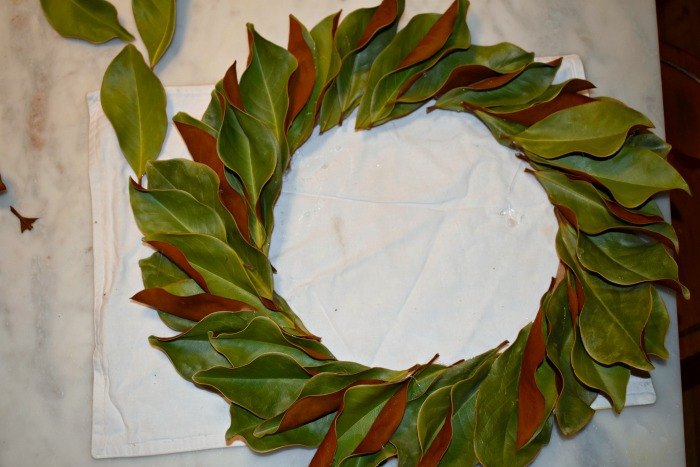
I started to place the flattest, largest leaves in one direction, overlapping the ends, to get a feel for how I was going to design my wreath.
I used my hot glue gun to attach these leaves one by one.
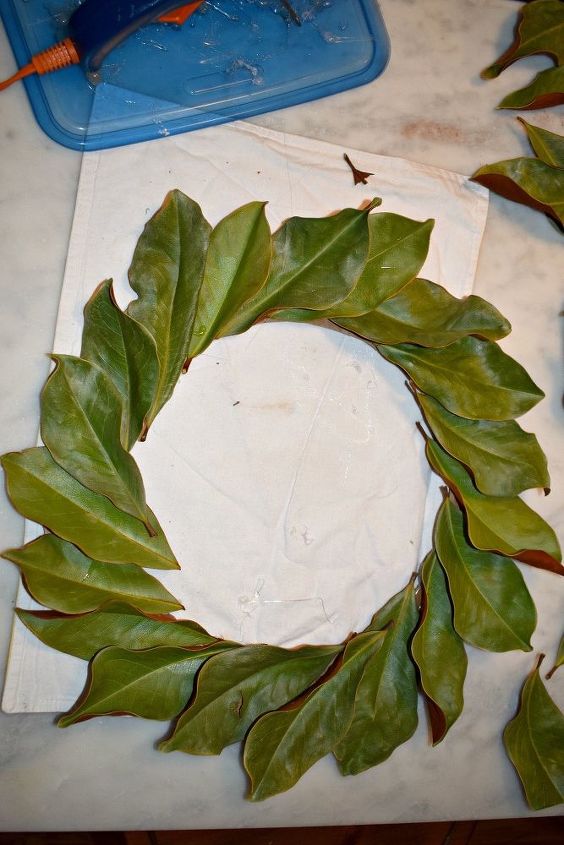
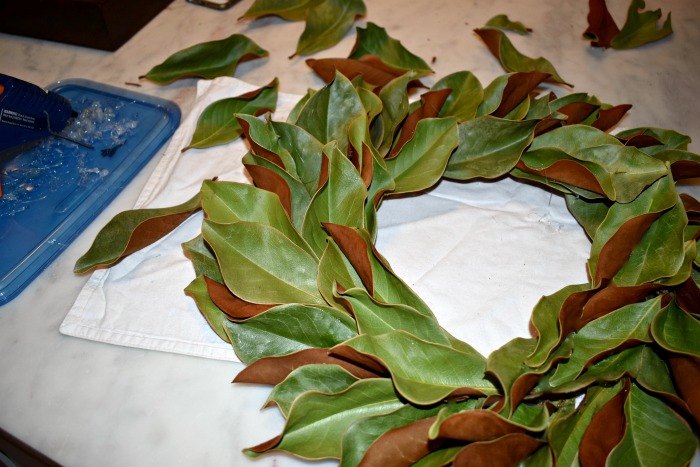
Once the cardboard was covered and the first layer of leaves were secure, I grabbed some rolled up leaves and began to tuck them in around the flat leaves, securing them with a little hot glue.
It helped to stop every so often, hold up the wreath, and see where there were holes or areas deserving of a leaf.
I used my remaining flat leaves to make another row on the inside of the wreath, giving it more body.
And again, I used the curled leaves and tucked them in wherever necessary to fill in the wreath.
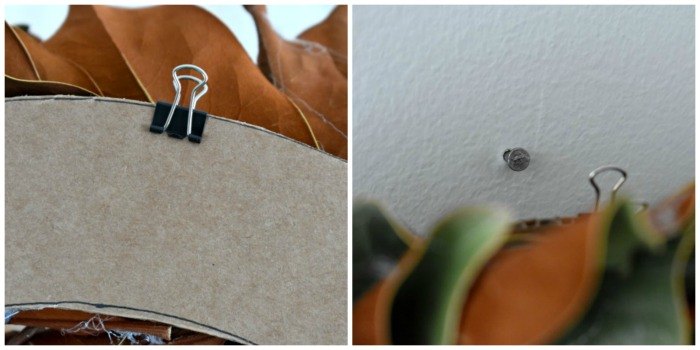
Since the leaves are so delicate, I couldn’t wrap a ribbon around it for hanging. Instead, I used one of these binder clips attached right to the cardboard and now it can easily hang on a nail.
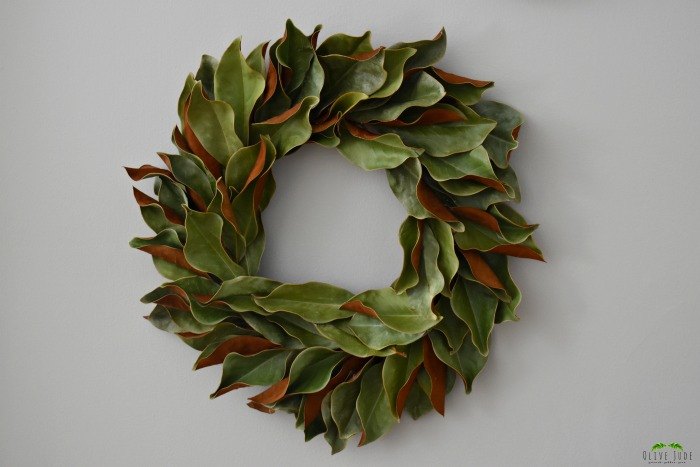
In just under a half hour and for just $15, this lovely Fixer Upper inspired wreath came together so easily!

Want more details about this and other DIY projects? Check out my blog post!


Frequently asked questions
Have a question about this project?