


Installing Cabinet Hardware
If you love this project, grab your quick start DIY guide & subscribe to our blog!
This post is brought to you by Liberty Hardware. All opinions are entirely my own. You can read my full disclosure on my website (link at the bottom).
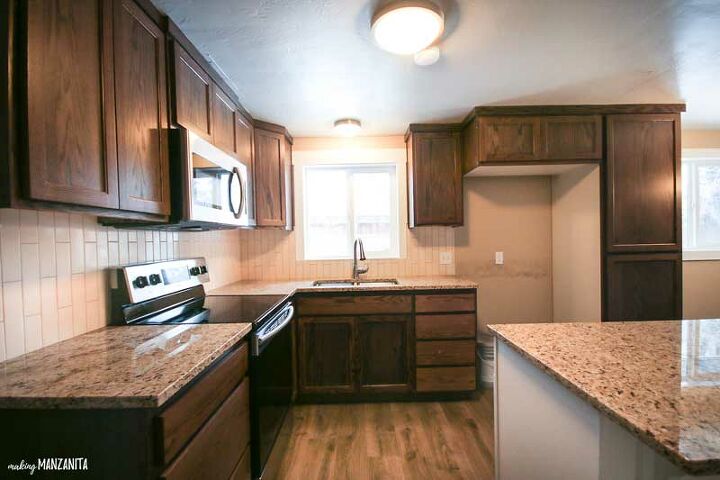
If you're looking for a quick and cheap way to update the look of your kitchen, installing cabinet hardware is the way to go! This tutorial walks you through the step by step process of how to install cabinet hardware the easy way.
Here's a quick before photo of our kitchen so you can see what our kitchen looked like before we added the hardware to the cabinets.
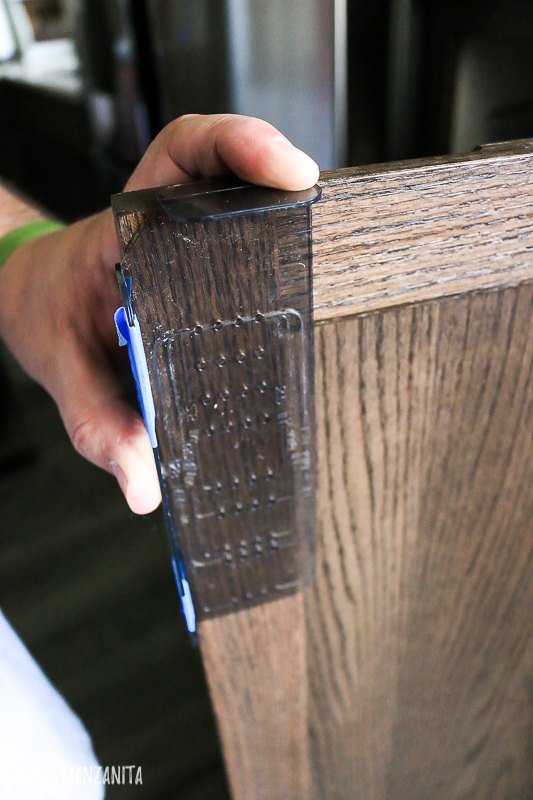
Step 1: Hold template in corner of door.
This cabinet hardware installation template is sooooo handy! All you do is hold it flush on the corner of the door.
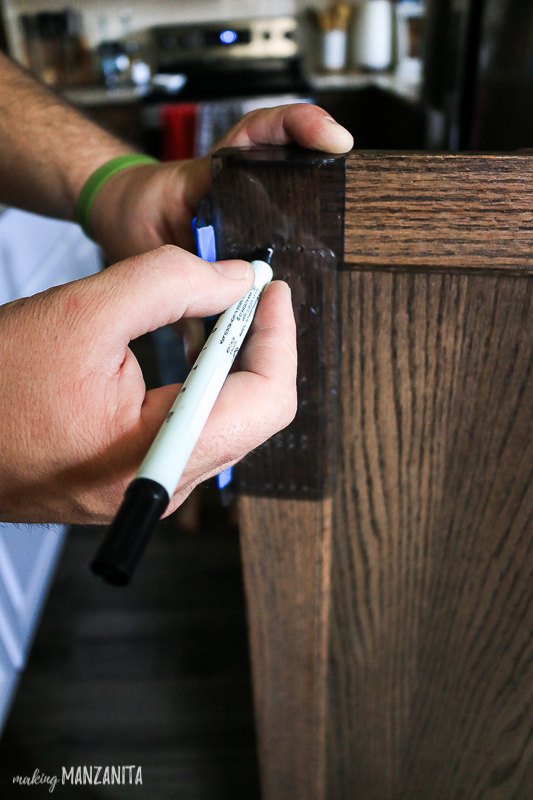
Step 2: Make your marks.
Using a small pen, make your marks through the template on the holes that line up with the center of the frame on your door.
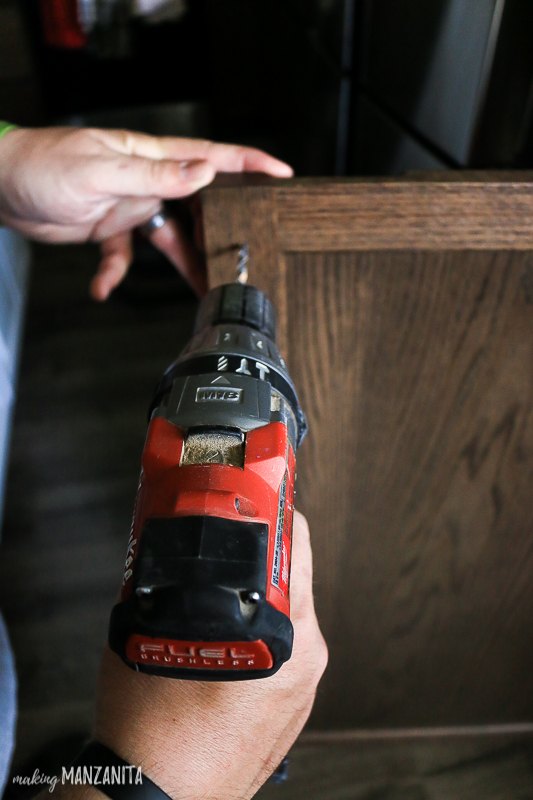
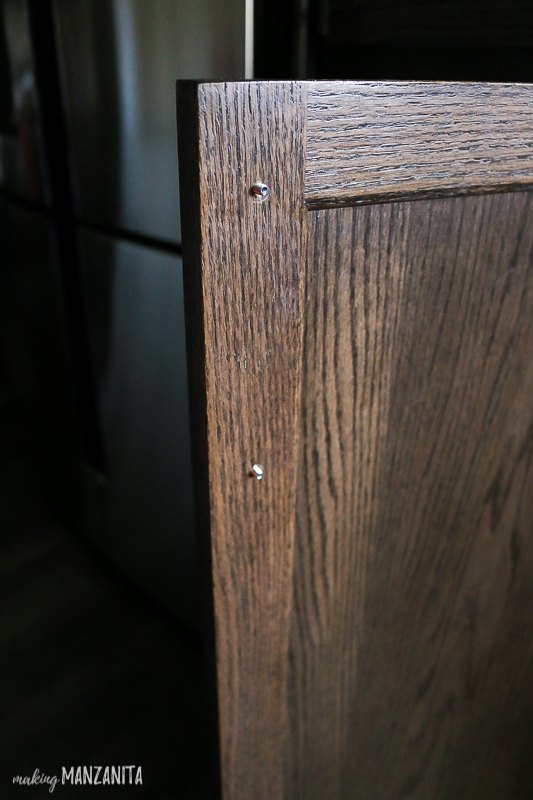
Step 3: Drill holes.
That handy cabinet hardware installation template even comes with a 3/16'' drill bit so you're ready to go! Drill the holes directly where your marks are on the cabinet door.
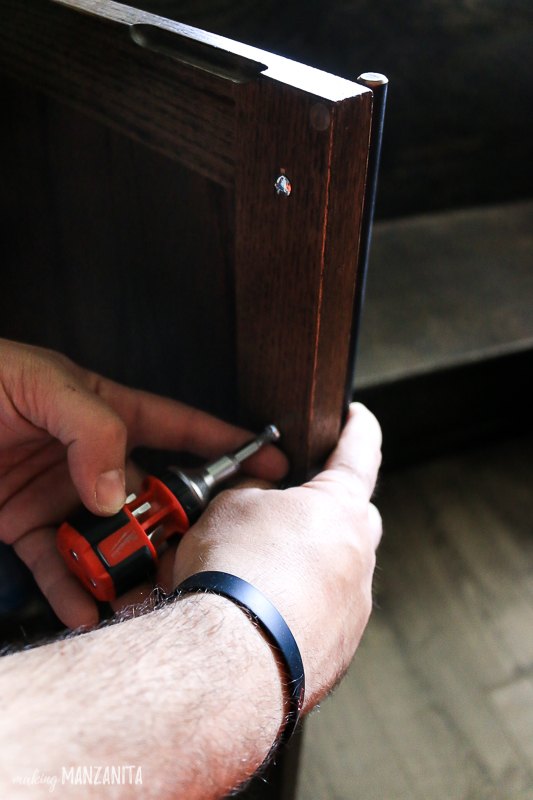
Step 4: Add screws.
Using the screws provided with the hardware, push them through the drilled holes from the inside of the cabinet.
Step 4: Add screws.
Using the screws provided with the hardware, push them through the drilled holes from the inside of the cabinet.
To learn how to make your own cabinet installation template from scrap wood for drawers and read up on hardware placement, be sure to hop on over to the blog post to see more details.
Resources for this project:
See all materials


Frequently asked questions
Have a question about this project?