


Antiqued Victorian Mirror Gallery Wall

A beautifully framed mirror is gorgeous and can make such a stunning focal point in a home. And with the modern Victorian trend gaining popularity, it’s becoming a must-have item. Here’s how to create your very own Antiqued Victorian Mirror as part of a gallery wall for a striking focal. 
You’ll need:
· 15” x 48” mirror
· ¼” x 20” x 53 ” hardboard (Masonite)
· 2 x 78 3/4” x 4” crown moulding (use the moulded plastic version, not the foam-type)
· 5/8” x 2” x 12ft wood strips to create a support frame for the hardboard
· 1 ½” x ¼” x 53” pine lath for the pediment
· Spray-on paint stripper
· Anti-mould spray (hydrochloric acid and bleach mixture from your local hardware store)
· Gold spray paint
· Black spray paint (gloss)
· Moulding adhesive and caulking gun
· 5/8” wood screws
· 4ft x 1” curtain rod
· 2 decorative finials
· 2 brackets *
· Curtain rings
· Decorative frames and objects to complete the gallery wall
* PRO TIP: It is best to use a bracket with a short projection to ensure that the frame stays close to the wall.
You’ll also need:
· Hand saw
· Cloth
· Sandpaper
· Mitre box
· Metal scraper
· Gloves, mask and protective glasses
Step 1:
Lay the mirror down to expose the painted back. Spray the paint stripper liberally around the edges and lightly on the central part of the mirror. Wait 3-6 minutes for paint stripper to do its thing.
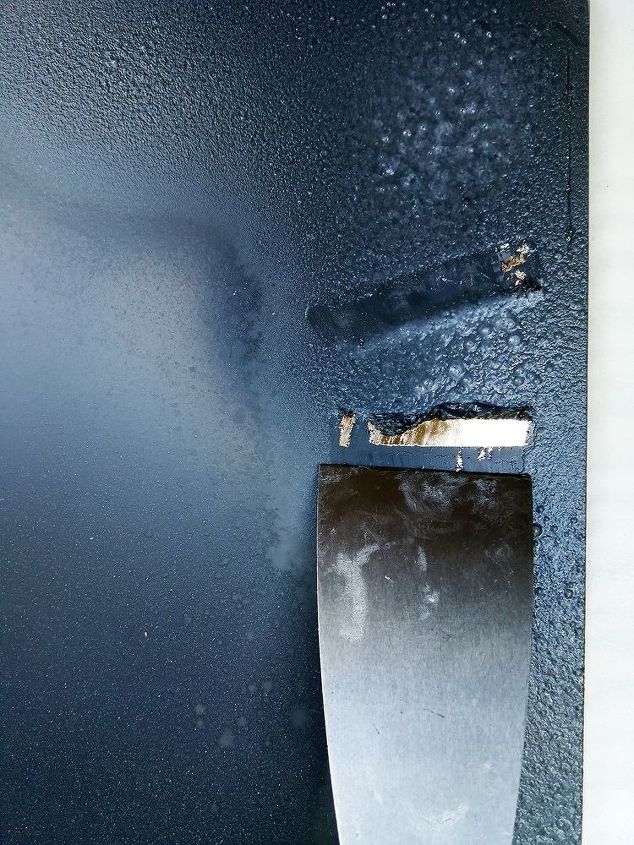
Step 2:
Use a metal scraper to remove paint from the mirror edges and corners. Scratch the central part of the mirror lightly with sandpaper, taking care not to remove too much paint.
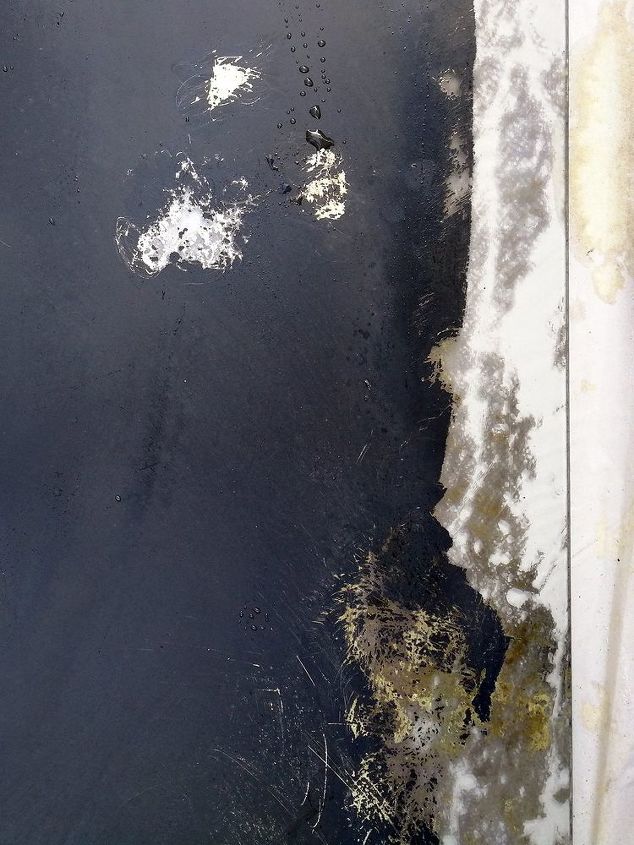
Step 3:
Mist the back of the mirror with anti-mould spray. Don’t use too much, as this will remove the reflective bits completely. Mist, wait a few minutes and rub lightly with a cloth and sandpaper to get the desired effect. Repeat if necessary.
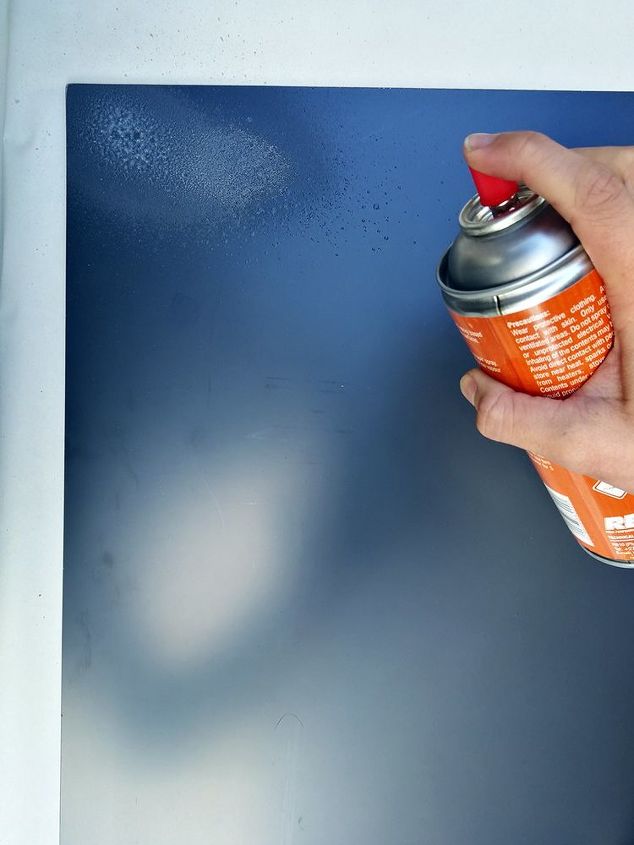
Step 4:
Cover the exposed parts of the mirror with gold spray paint and leave to dry.
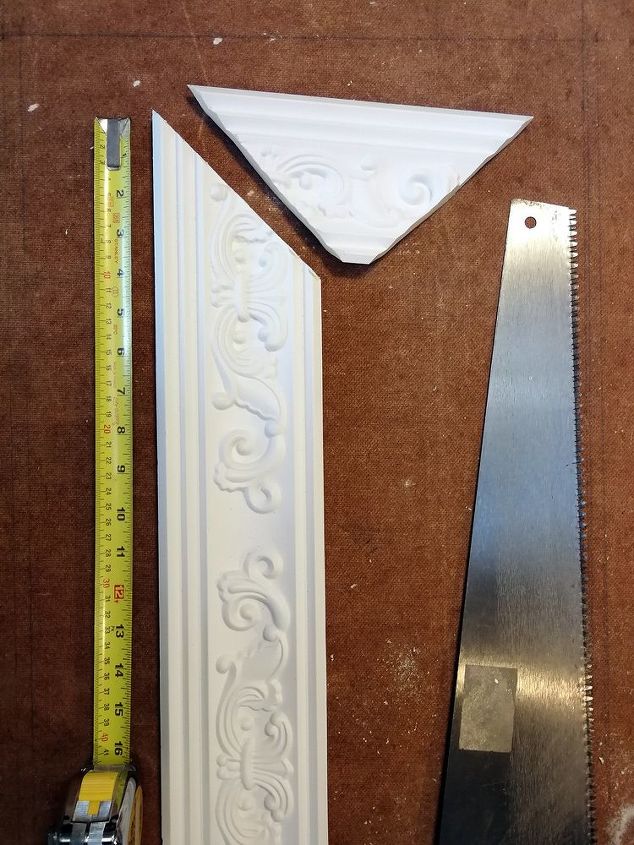
Step 5:
Use the handsaw and mitre box to cut the crown moulding angles. The interior dimensions of the frame should be ½” smaller than the mirror on all sides. This will allow the mirror to fit behind the moulding.
Step 6:
Spray all the moulding pieces black and allow to dry.
Step 7:
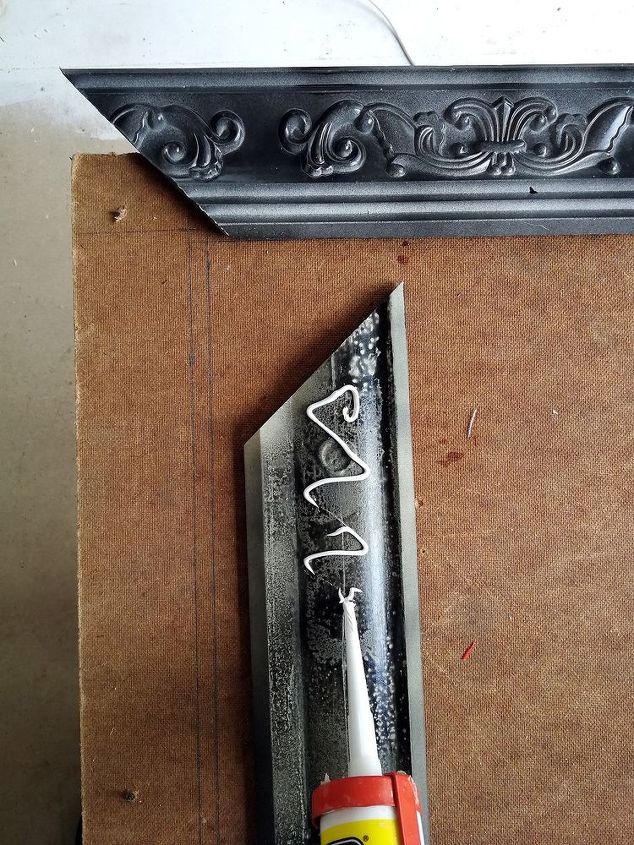
Fix the sides and bottom pieces to the hardboard, using the moulding adhesive. Once they’re in place, screw fix them from the back as well for extra support.
Fill any gaps with the moulding adhesive, using a wet cloth to wipe away any excess. Then allow to dry. See how here.
Step 8:
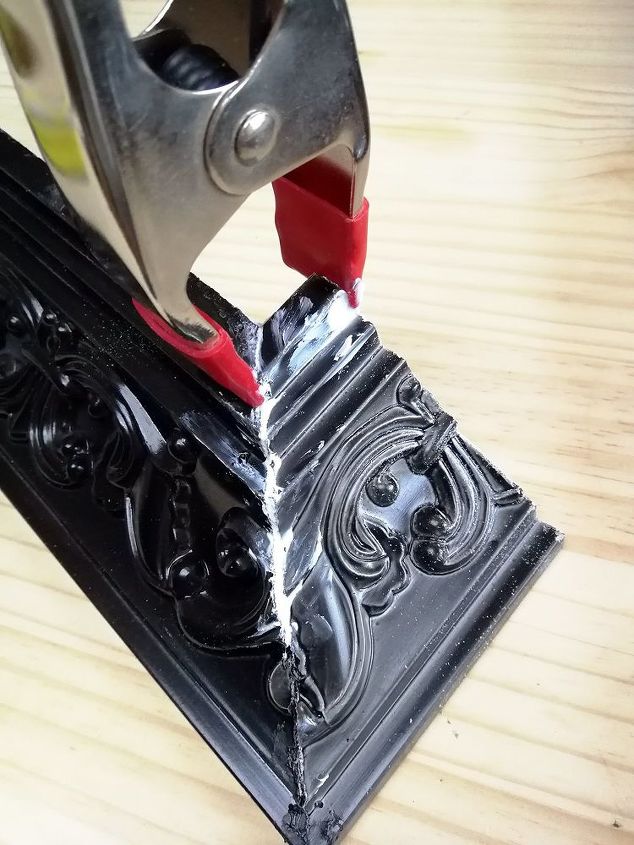
To create the pediment, carefully attach the side pieces to the front using with the moulding adhesive. Wipe away any excess with a damp cloth. Use clamps to keep things in place while they dry.

Step 9:
Once the moulding is secure, it’s time to install the mirror! Spread some adhesive on the hardboard and then insert the mirror into the frame by gently sliding it down from the top.
Step 10:
Next, add the pine lath at the top to secure the mirror in place. Then attach the pediment to the lath with some more moulding adhesive. Touch up any visible adhesive with paint and allow to dry.
Step 11:
Attach hooks to the wooden frame behind the pediment to hang the mirror from.
Install a decorative curtain pole and finish the gallery with a collection of frames, prints and paintings. Remember to add pretty finials to complete the look!

That's it! Sit back and enjoy your fabulous gallery wall!

Comments
Join the conversation
-
Love it and the wall paper.
-
Its beautiful. Nice job!


Frequently asked questions
Have a question about this project?
What's the purpose of the anti mold stuff?
Please re-check your "anti-mould spray." Surely it's not bleach and hydrochloric acid?
Mixing Bleach and Acids
When chlorine bleach is mixed with an acid, chlorine gas is given off. Chlorine gas and water combine to make hydrochloric and hypochlorous acids.
Chlorine gas exposure, even at low levels and short periods of time, almost always irritates the mucous membranes (eyes, throat, and nose), and causes coughing and breathing problems, burning and watery eyes, and a runny nose. Higher levels of exposure can cause chest pain, more severe breathing difficulties, vomiting, pneumonia, and fluid in the lungs. Very high levels can cause death.
Chlorine can be absorbed through the skin, resulting in pain, inflammation, swelling, and blistering. Hydrochloric acid also causes burns to the skin, eyes, nose, throat, mouth, and lungs.
https://www.doh.wa.gov/YouandYourFamily/HealthyHome/Contaminants/BleachMixingDangers