


Create A Modern Farmhouse Side Table

Shiplap - almost everyone knows what it is thanks to Joanna Gaines but not everyone wants to shiplap their entire house or even a room.
Here’s a little project to get a little bit of shiplap in your decor.
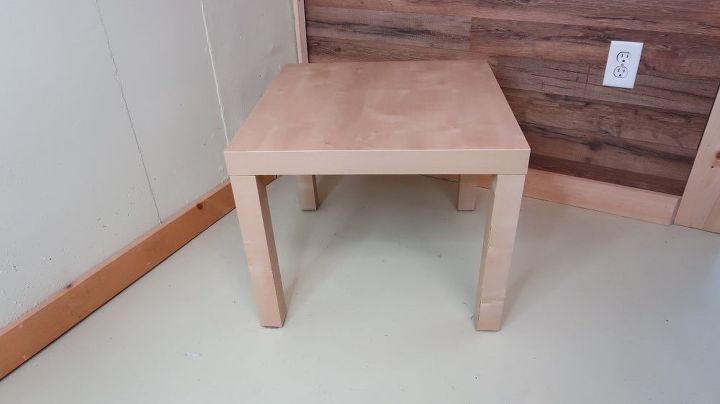
I have this table that’s okay but very plain - a perfect canvas for a little bit of shiplap.
Step 1: Clean the table
Using mild soap and water, I wiped the table and then allowed it to dry.

Step 2: Remove legs
The legs on this table unscrewed and I could easily remove them. This isn’t something you have to do but it makes the project a little easier.
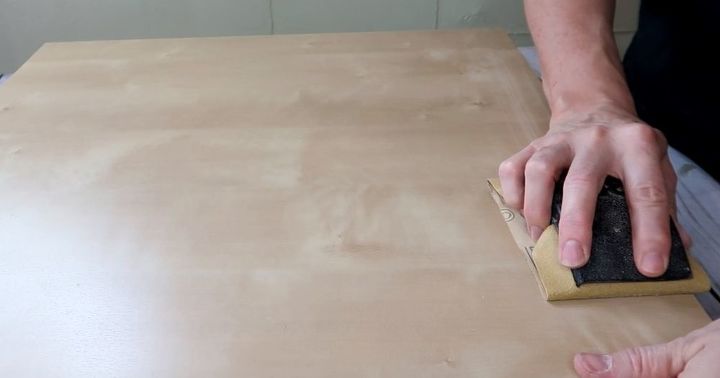
Step 3: Sand table
Using a medium grit sandpaper, I sanded the entire table, legs included. This table has a laminate covering which is easy to sand.
Step 4: Wipe clean
After the entire table was sanded, I wiped it clean with mild soap and water and allowed it to dry.
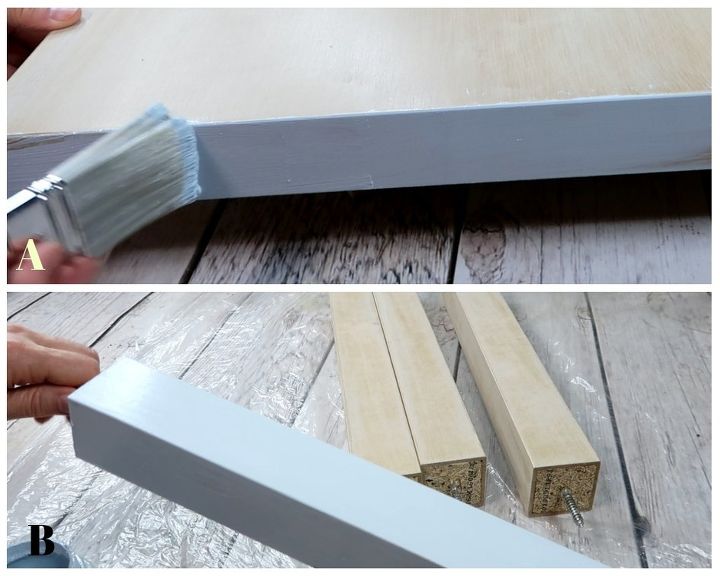
Step 5: Paint
A - I painted the sides of the table
B - and painted the legs too
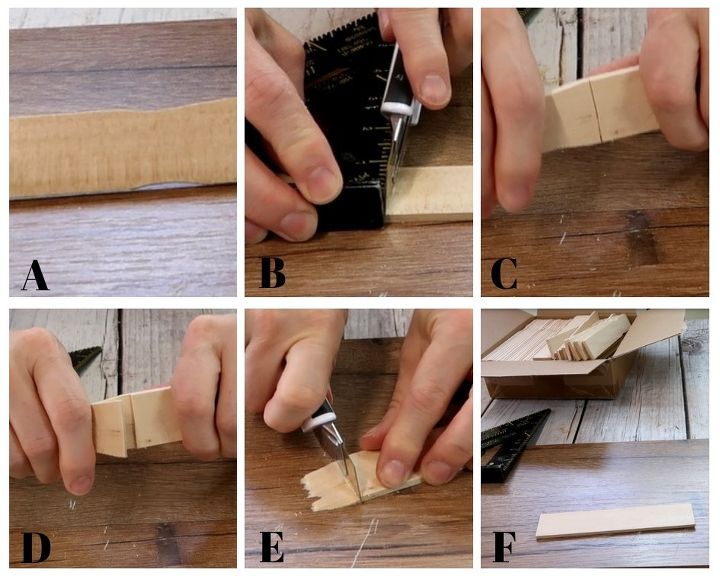
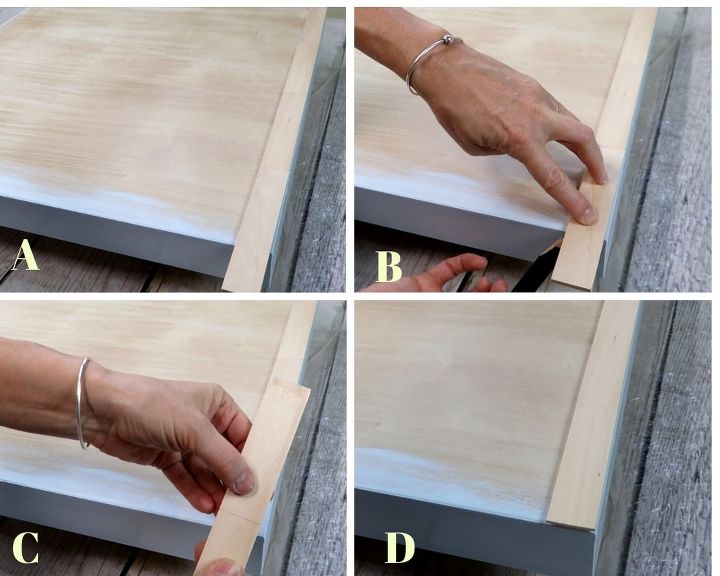
Step 6: Cut the wood to size
Because this is a little project, I used paint stir sticks as my shiplap.
A - If you look at a paint stirrer, it is curved at the top.
B - Using a utility knife & speed square, I made my cut just below the curve.
C - Once it's scored,I placed my thumbs behind the stirrer
D - and I snapped it and half
E - There was wood that was left after it was snapped in half, so I cut that with the utility knife
F - I cut 75 stirrers for this project

Step 7: Applying wood
Beginning at the bottom corner, I applied wood glue to the back of the first stick and aligned it in the bottom corner.
A - When I reached the end of the first row, the last stirrer overhung the end
B & C - I marked the stirrer
D - I cut at the mark and glued it to the table.
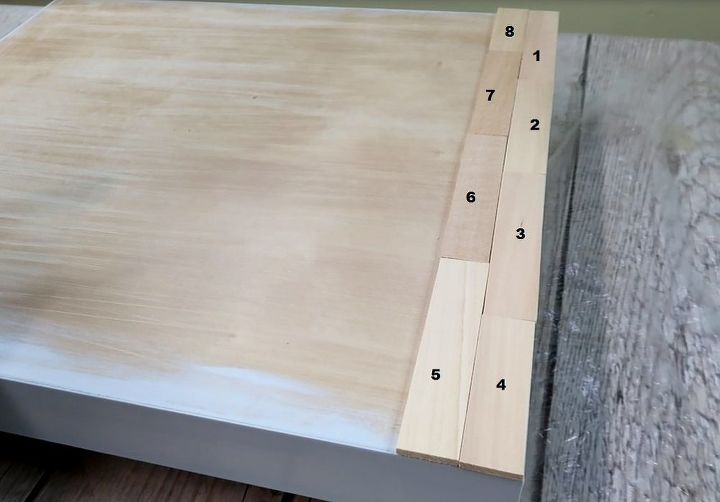
To begin the next row, I started at the far end of the table with a full paint stirrer and worked my way to the close end - see the numbers above.
At each end, I had to cut a stirrer to length.
You want to make sure that you stagger the ends of the stirrers so you don't have seam across the table.
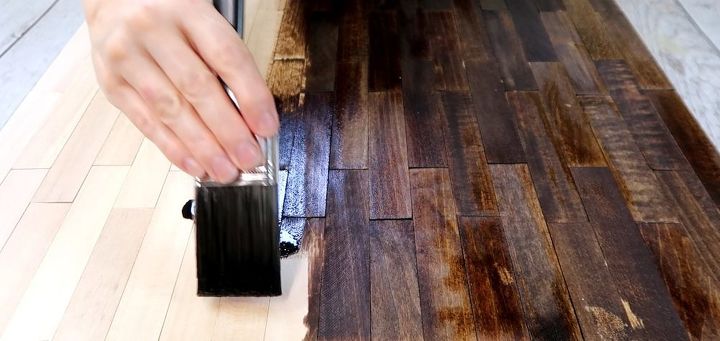
Step 8: Stain
I allowed the table to dry for an hour then stained the top using Minwax Early American stain.
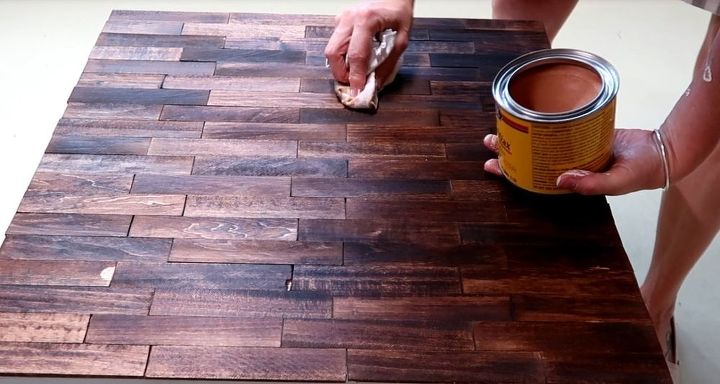
I removed any excess stain with a soft cloth.
And here’s the little shiplap table! It looks so much better and has more personality than the plain table.
Step 9: Seal
Once the stain was dry, I applied Minwax Wood Seal using a soft cloth.
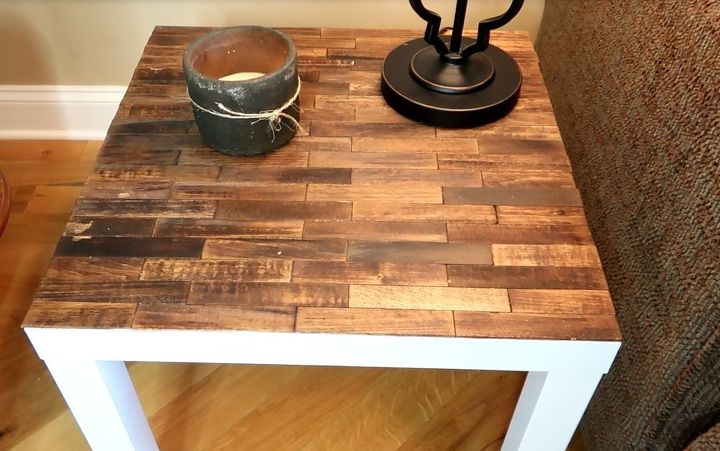
Here is the table. Scroll to the top and look at it before and now after.
The difference is amazing, isn't it? I just love it.


Comments
Join the conversation
-
So pretty, so clever, I love it.
-
I need to do this. Love it.


Frequently asked questions
Have a question about this project?
I don’t have a question about this project , but one from the past I think last year , you made canisters Out of empty coffee containers, I want to know how to make them please my name is Erma
I don't get HGTV, so the assumption in the 1st line is incorrect-- I DON'T know what shiplap is.
I see what it is supposed to look like, at the end of the project. But what is the Real Thing?
Do you have to reapply the wax sealer on a regular basis? Would a polycrilac work?